2
Set Up the Hardware
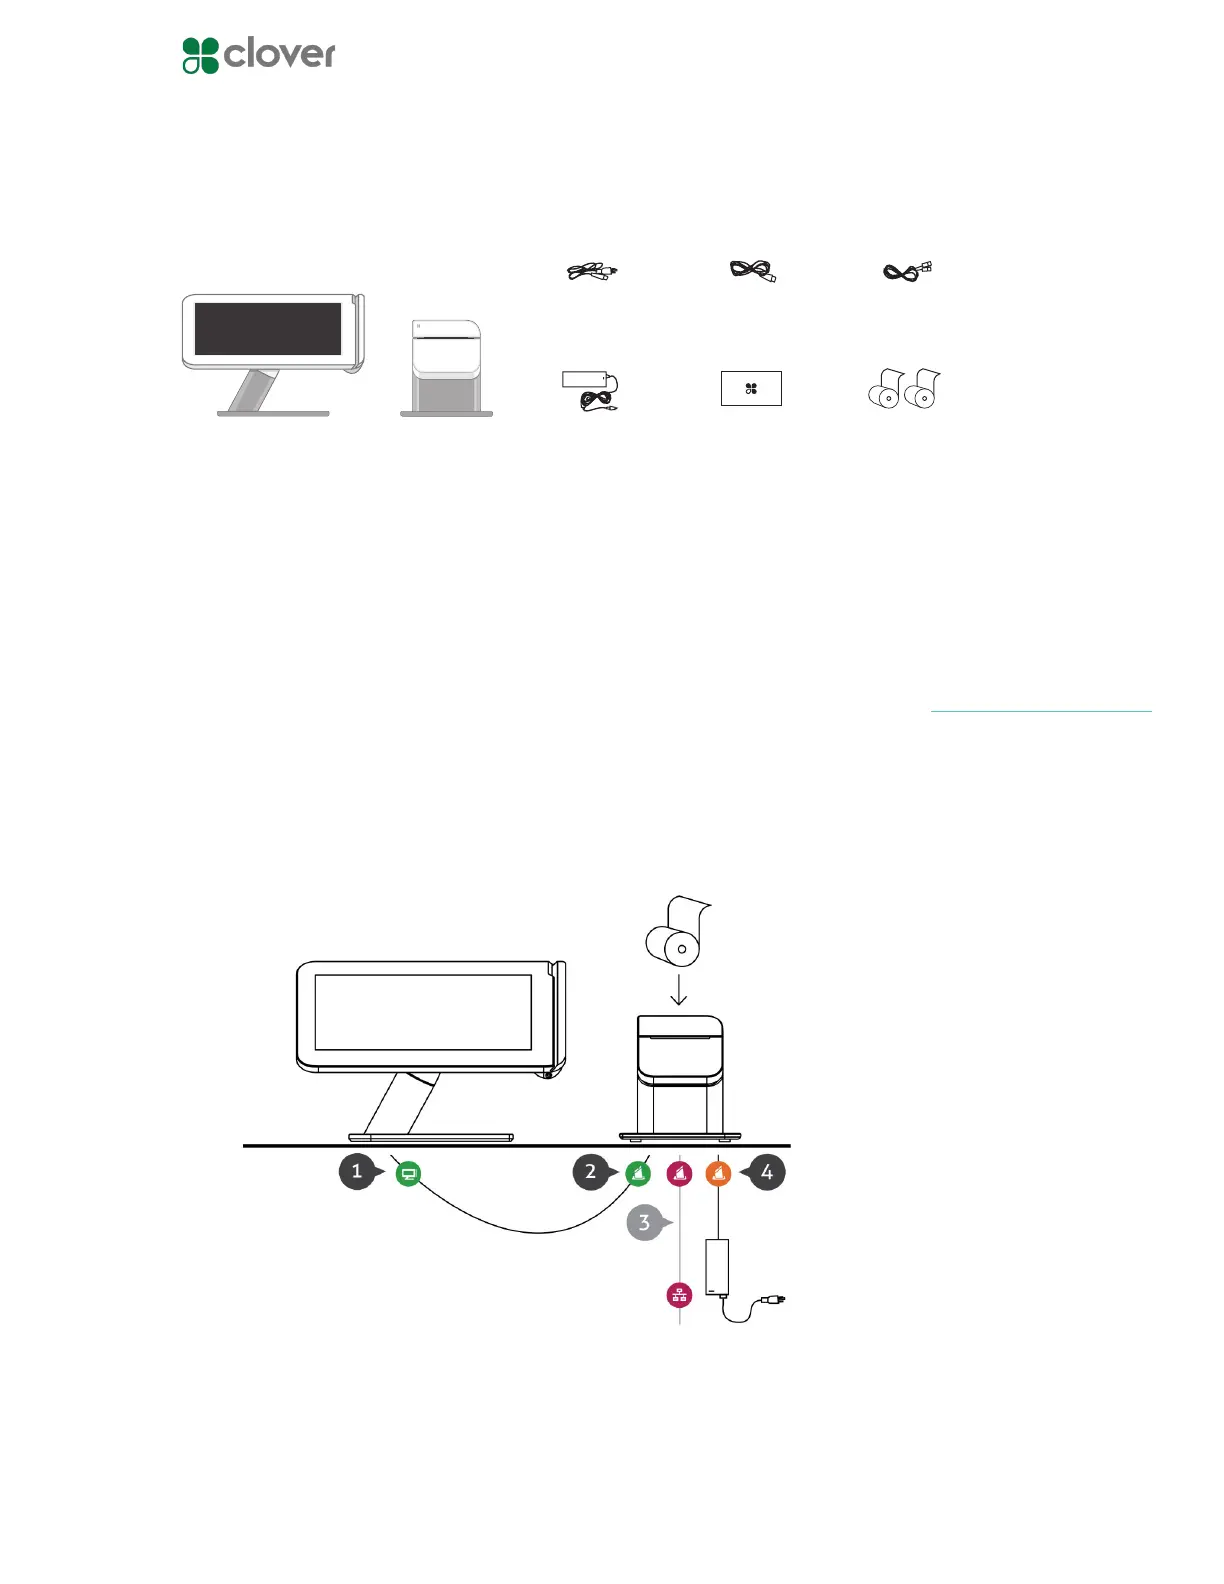
What’s included
Plug in the cables for your Clover Station
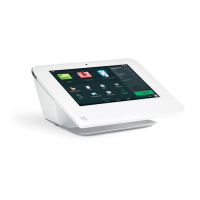
1. Plug the L-shaped end of the Display Cable into the Display
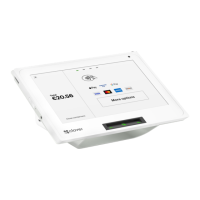
2. Plug the other end of the Display Cable into the Printer
3. If using a wired network, plug the Ethernet Cord into the Printer
4. Plug the power cable into the power brick
5. Plug the Power Cable into the Printer
6. Plug the Power Cable into a power source
Clover Station display Receipt Printer
Power brick
DisplayPower
(region specic)
Ethernet
Deposit bag
Receipt paper x2
(Optional) Plug the RJ-11 Ca-
ble that came with your Cash
Drawer into the Printer
NOTE