Do you have a question about the Code Alarm CA 4050 and is the answer not in the manual?
Essential safety and installation advice, including wiring practices and component placement.
Details the 4-pin main harness ignition output, its function, and bypass applications.
Explains the connection for the TACH INPUT using the PURPLE/WHITE wire.
Details connecting the GRAY wire to a hood pin switch for remote start activation.
Describes connecting the BROWN/RED wire to the vehicle's brake light switch.
Instructions for connecting the BLACK wire to a chassis ground point.
Details connecting the WHITE/RED wire for parking light input control.
Explains connecting the WHITE wire for parking light output control.
Details connecting the PURPLE wire to the vehicle's starter motor side.
Instructions for connecting the RED wire to a constant 12V battery source.
Details connecting the ORANGE wire to the vehicle's accessory wire.
Explains connecting the PINK/WHITE wire to the vehicle's 2nd ignition wire.
Details connecting the PINK wire to the vehicle's primary ignition wire.
Details the LT GREEN/BLACK wire function for disarming and pre-start pulses.
Explains the LT BLUE wire function for post-start pulse, often for door locks.
Details the GREEN/WHITE wire function for arming and post-shutdown pulses.
Explains the BLACK/YELLOW wire function for pulsing during engine crank.
Details the BLUE wire function for door unlock output while remote start is active.
Instructions for mounting and routing the antenna/receiver for optimal performance.
Details the 4-pin port for communicating with vehicle databus interfaces.
Procedure for programming transmitters to the system, including feature bank selection.
Steps for manually programming features using the valet/override button and transmitter.
Details features available across different feature banks based on LED flashes.
Steps to learn the vehicle's tach signal for proper remote start operation.
Details security features not available on this model.
Describes settings for output control functions like lock pulse timing.
Details settings for remote start parameters like run time and tach mode.
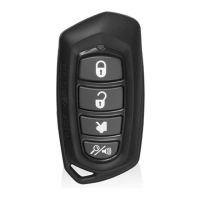
Explains how to use the 1-button transmitter for unlock, remote start, and shutdown.
Interprets parking light flash patterns to diagnose remote start shutdown causes.
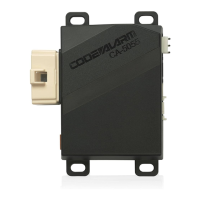
| Brand | Code Alarm |
|---|---|
| Model | CA 4050 |
| Category | Remote Starter |
| Language | English |