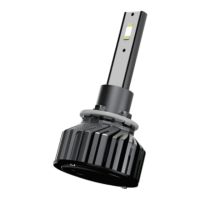
Image of the H4 cut line Image of the H7 cut line
All models that work as a low beam have a cutting line going up to the right side,
avoiding dazzling drivers coming from the opposite side. In addition to illuminating road
signs and shoulders, giving better reaction time in case pedestrians or animals cross
the road unexpectedly.
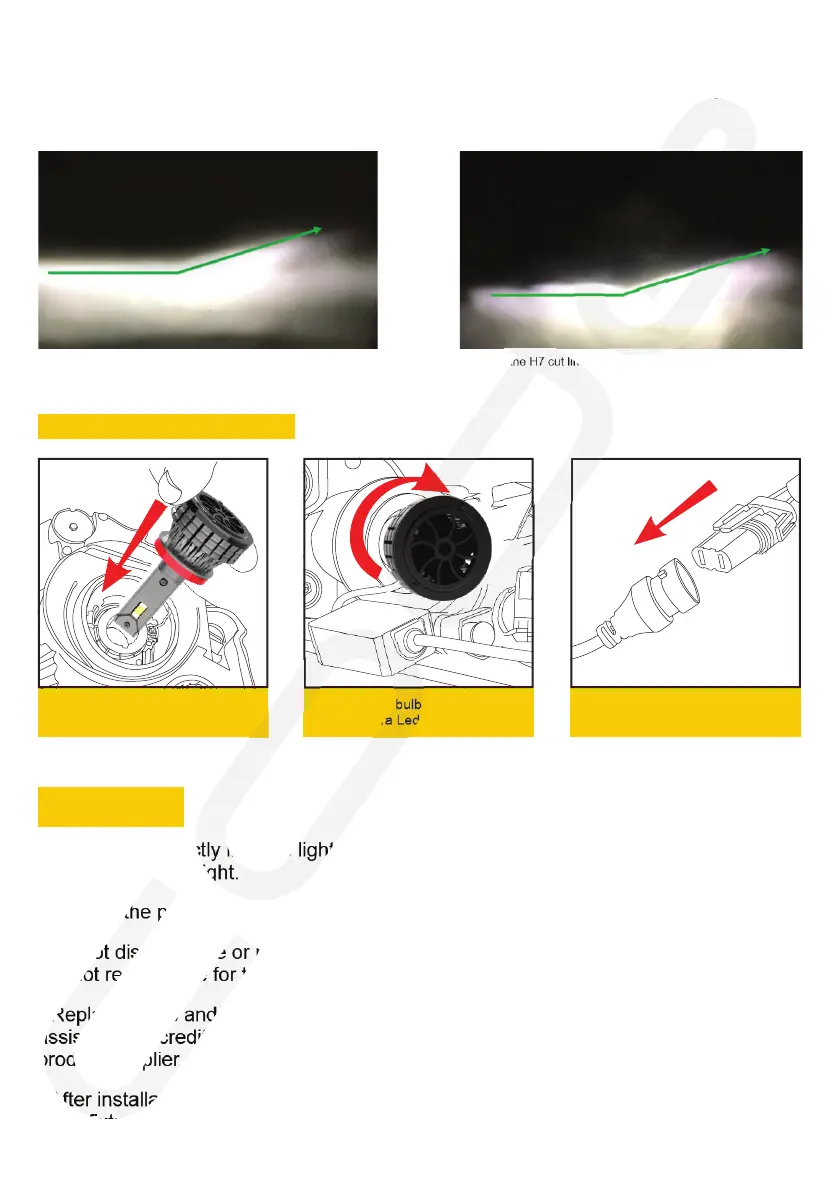
Insert the lamp body in the
direction shown by the arrow.
4
Turn the bulb clockwise until
the Ultra Led locks.
5
Plug into the power outlet with
the original car light bulb
connector.
6
H8 / H9 / H11 / H16 (HYBRID)
* Do not look directly into the light, prolonged exposure to an intense light source can
damage your eyesight.
* Turn off the power when an accident occurs to avoid any power damage.
* Do not disassemble or remodel the lamp or the Kit. The manufacturer and distributor
are not responsible for this.
* Replacements and repairs to the parts must be carried out at the technical
assistance accredited by the manufacturer. For warranty information, contact the
product supplier.
* After installation, align the fixtures properly so that the Ultra LED gets in the way of
other fixtures and pedestrians.
CAUTION
4
Merely illustrative images.