3
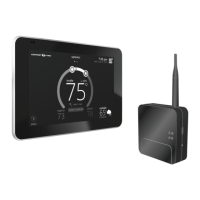
Installing New Smart Hub
1. Remove new Smart Hub from
shipping container.
2. Remove the access cover
from the Smart Hub.
3. Mount the Smart Hub on the
wall with key hole support (see
“Installation Considerations”
on page 7).
4. Use the through-hole screw
previously removed to secure
the Smart Hub.
5. Reconnect all wiring that
was documented during the
removal of the old Smart Hub.
6. Replace the access cover.
7. Unfold the antenna and
position as noted during
removal of the original Smart
Hub.
8. Restore power to system.
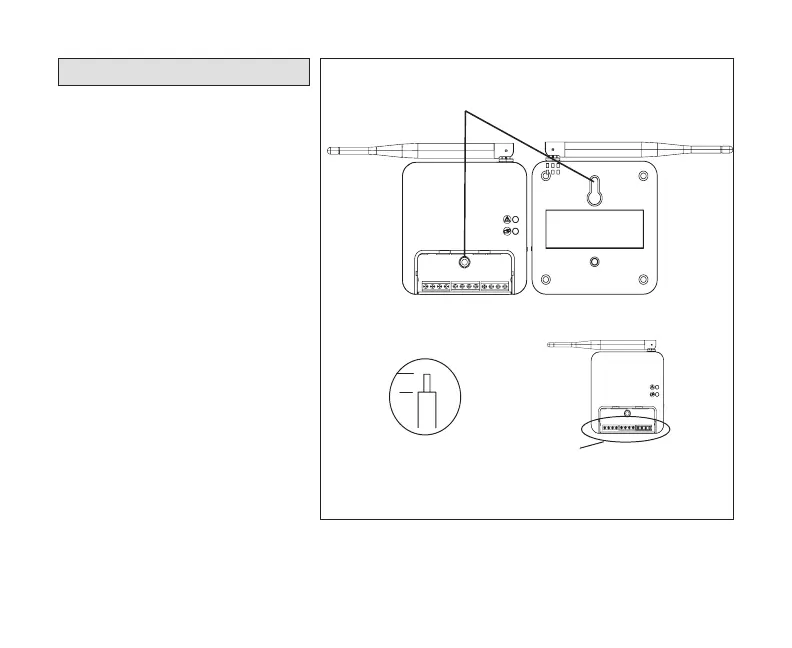
1/4”
STRIP 1/4” INSULATION FROM
END OF EACH CONTROL WIRE
A
B
D
USE SMART HUB AS TEMPLATE TO MARK DESIRED MOUNTING
LOCATIONS ON WALL OR STUD.
CAUTION: DO NOT OVERTIGHTEN LOWER MOUNTING SCREW, MAY
DAMAGE SMART HUB.
SECURE SMART-HUB TO
WALL WITH
FIELD-PROVIDED
FASTENERS
RAER
TNORF
KEYHOLE
THROUGH-HOLE
C
MAKE CONNECTIONS TO SMART HUB
SCREW TERMINALS USING WIRING
DIAGRAMS PROVIDED
TERMINALS
(screw type)
+
-
COMMBUS
A B
R i+ I- C
ACC1 ACC2
+
-
COMMBUS
A B
R i+ I- C
ACC1 ACC2