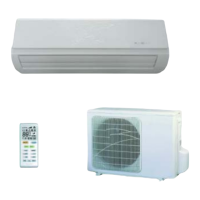
Operating Procedures / Photos
Disassemble Motor and Motor Support
(refer to Figure 7-20)
Unscrew the four tapping screws fixing the motor,
and remove the motor. Unscrew the two tapping
screws fixing the motor support, and lift the motor
support to remove it.
Figure 7-20
Motor Support
tapping screws
Motor
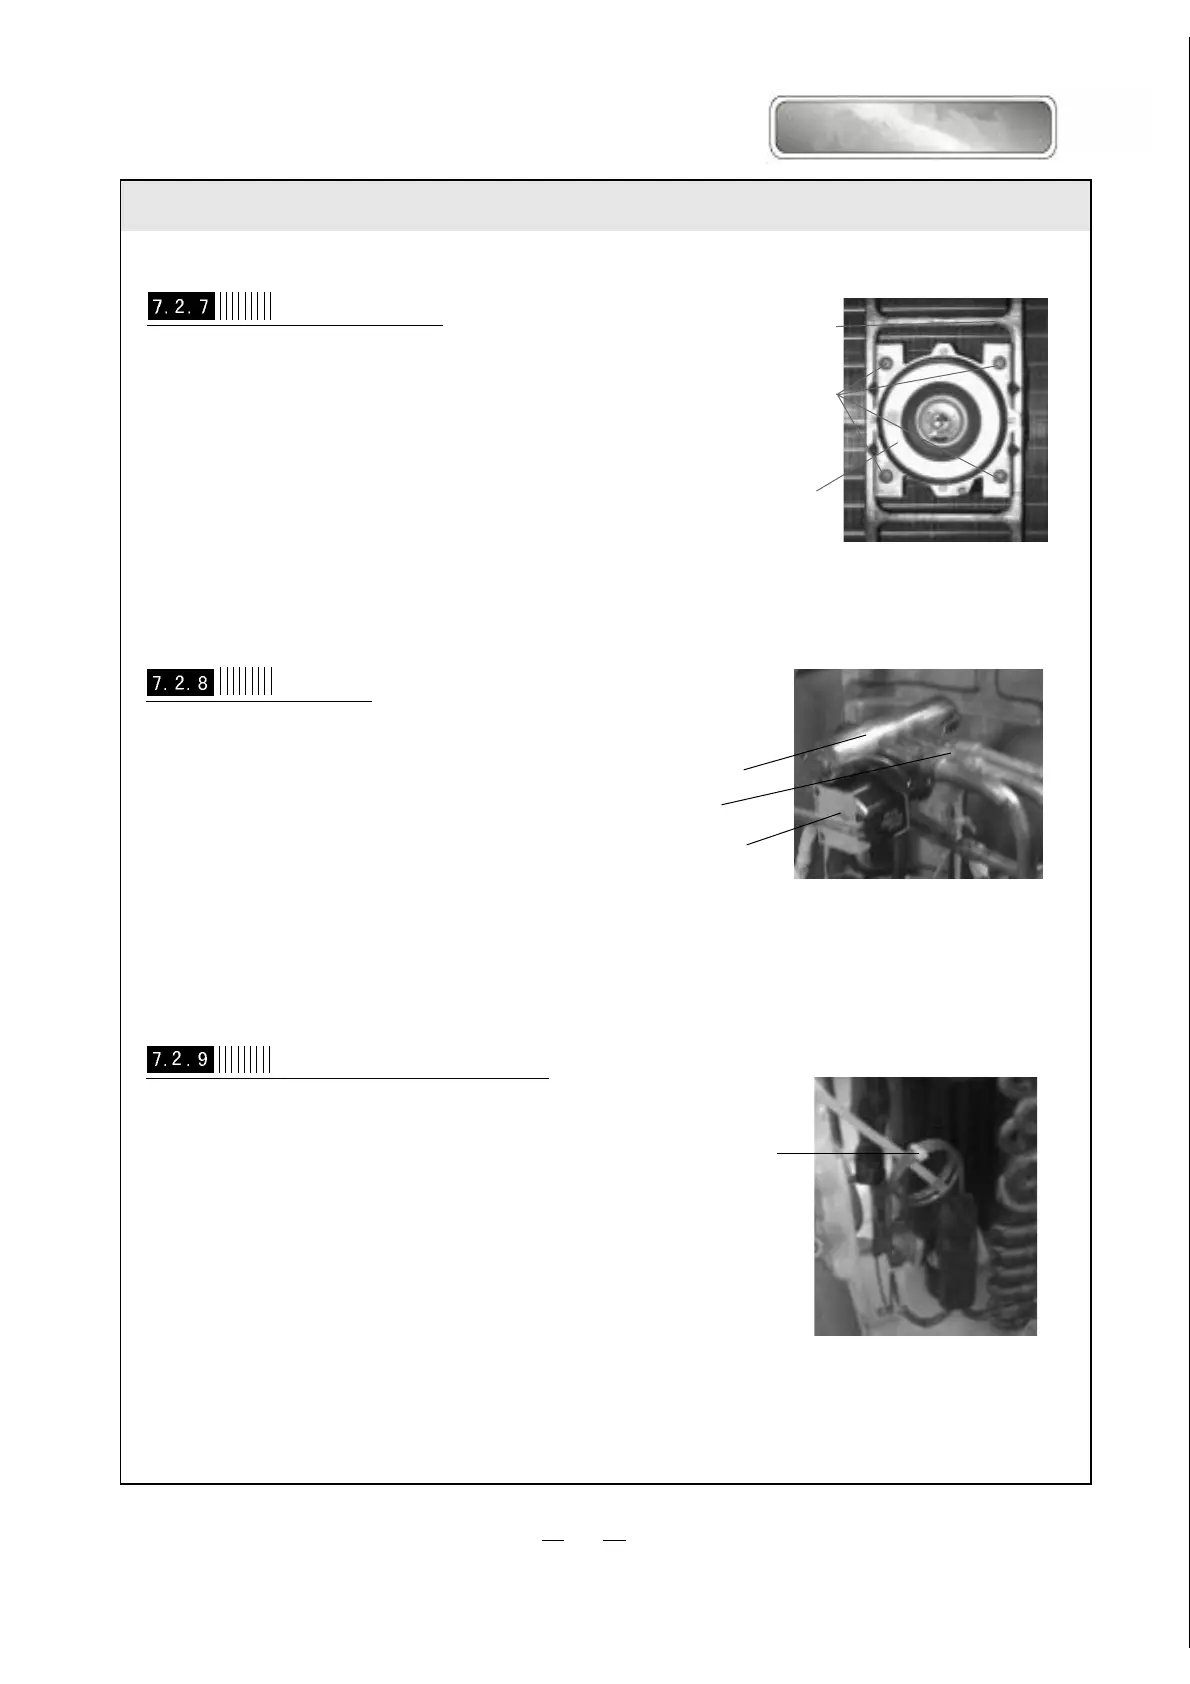
Disassemble 4-Way Valve
Screw off the holding nut of the 4-way valve coil
and remove the coil. Use wet cotton cloth to wrap
the 4-way valve, unsold the four soldering points
connecting the 4-way valve, and remove the
4-way valve. Be quick during the unsoldering
process, pay attention to keep the wrapping cloth
wet and do not allow the soldering flame to burn
the compressor lead-out cable.
(refer to Figure 7-21)
Figure 7-21
4-way valve
soldering points
holding nut
Disassemble Capillary Subassembly
Unsolder the soldering points connecting the
capillary subassembly and the other pipelines, and
remove the capillary subassembly.
(refer to Figure 7-22)
Capillary Subassembly
Figure 7-22
(Note: only after discharging all freon).
Comfortstar plus
24