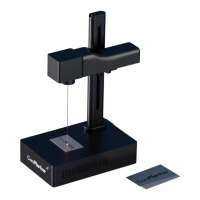
3.Turn on the machine, connect the computer with the
machine
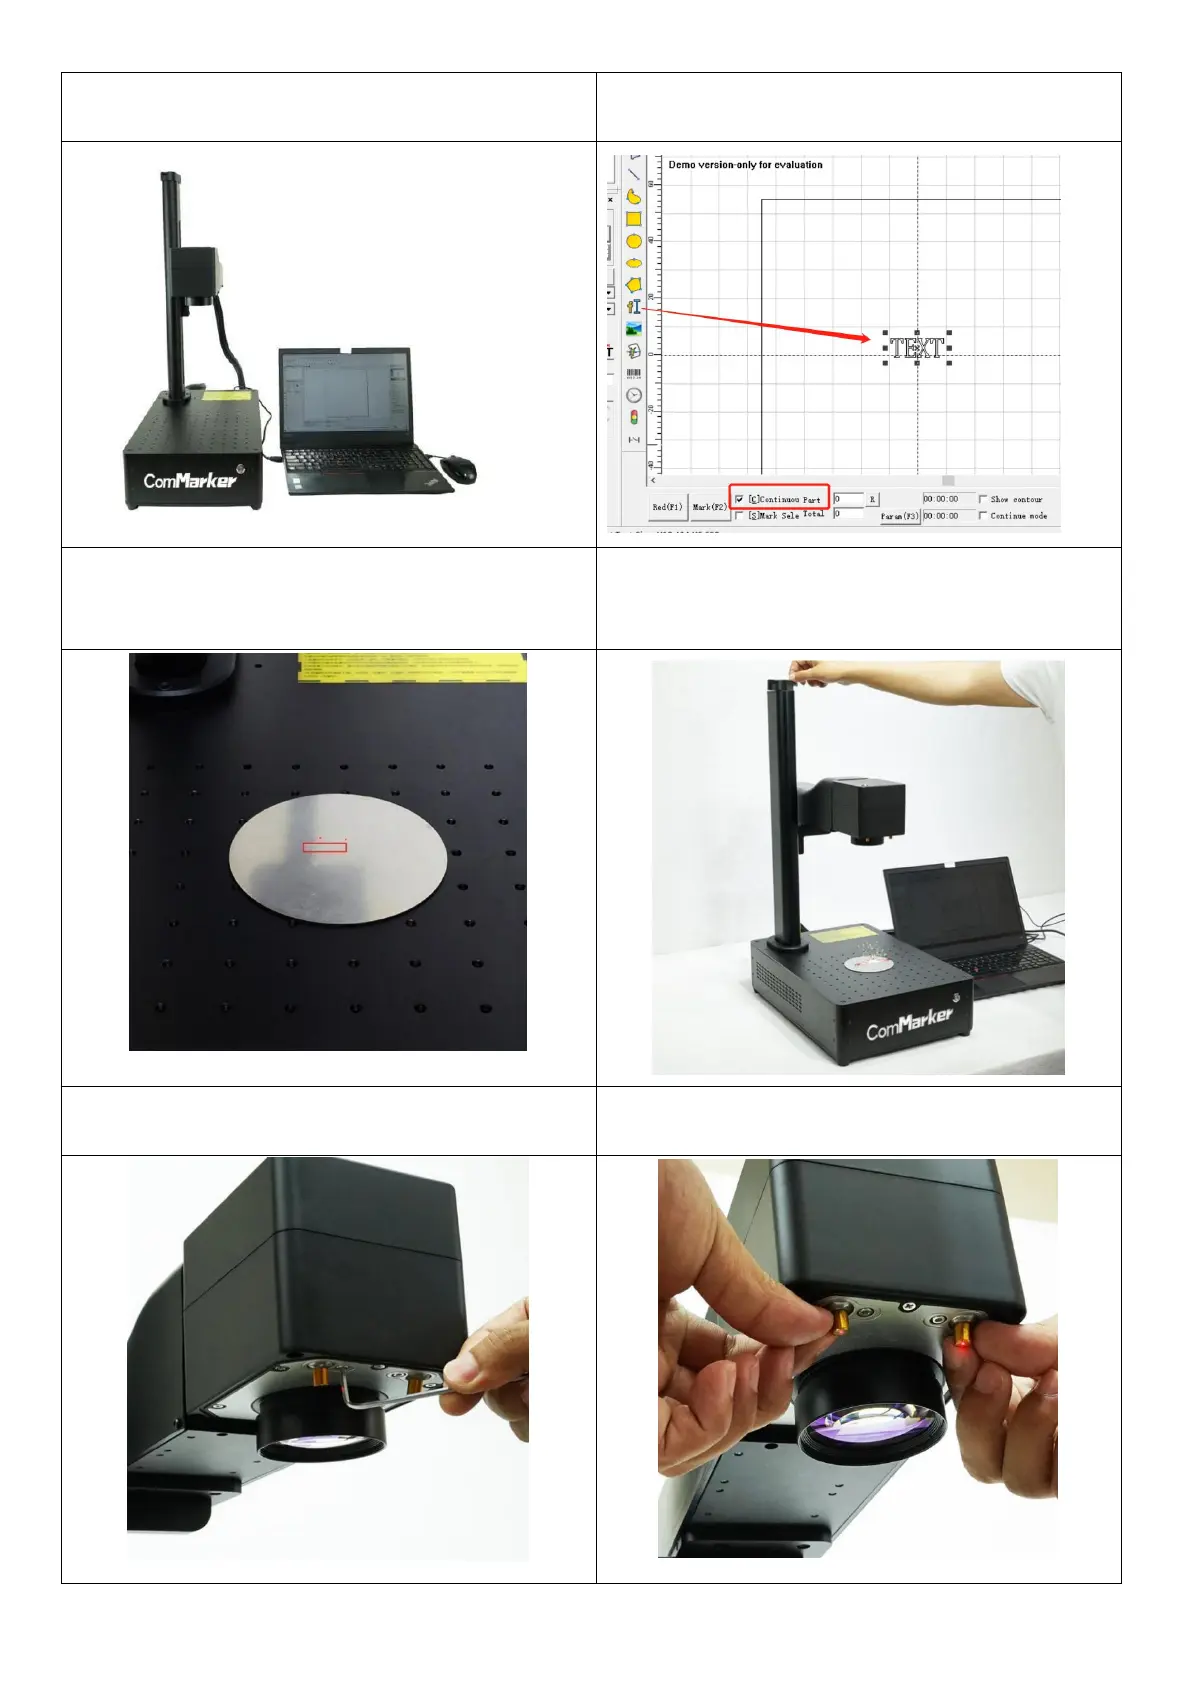
4. Import the “TEXT” for testing, select the default
parameters, and tick the “continuous part” button.
5. Press “red (F1)” to ensure it’ll mark on the test material.
Click “mark”, and the laser would be continuously marking
6. Meanwhile, lift or lower the laser head and observe the
obvious change of intensity of the laser beam. Stop when
the it works with the strongest laser
7.At this time, loosen the screws for the two beams of the
auxiliary red light
8. Manually adjust the relative position of the red light
dots to make them overlap. And tighten the screws
 Loading...