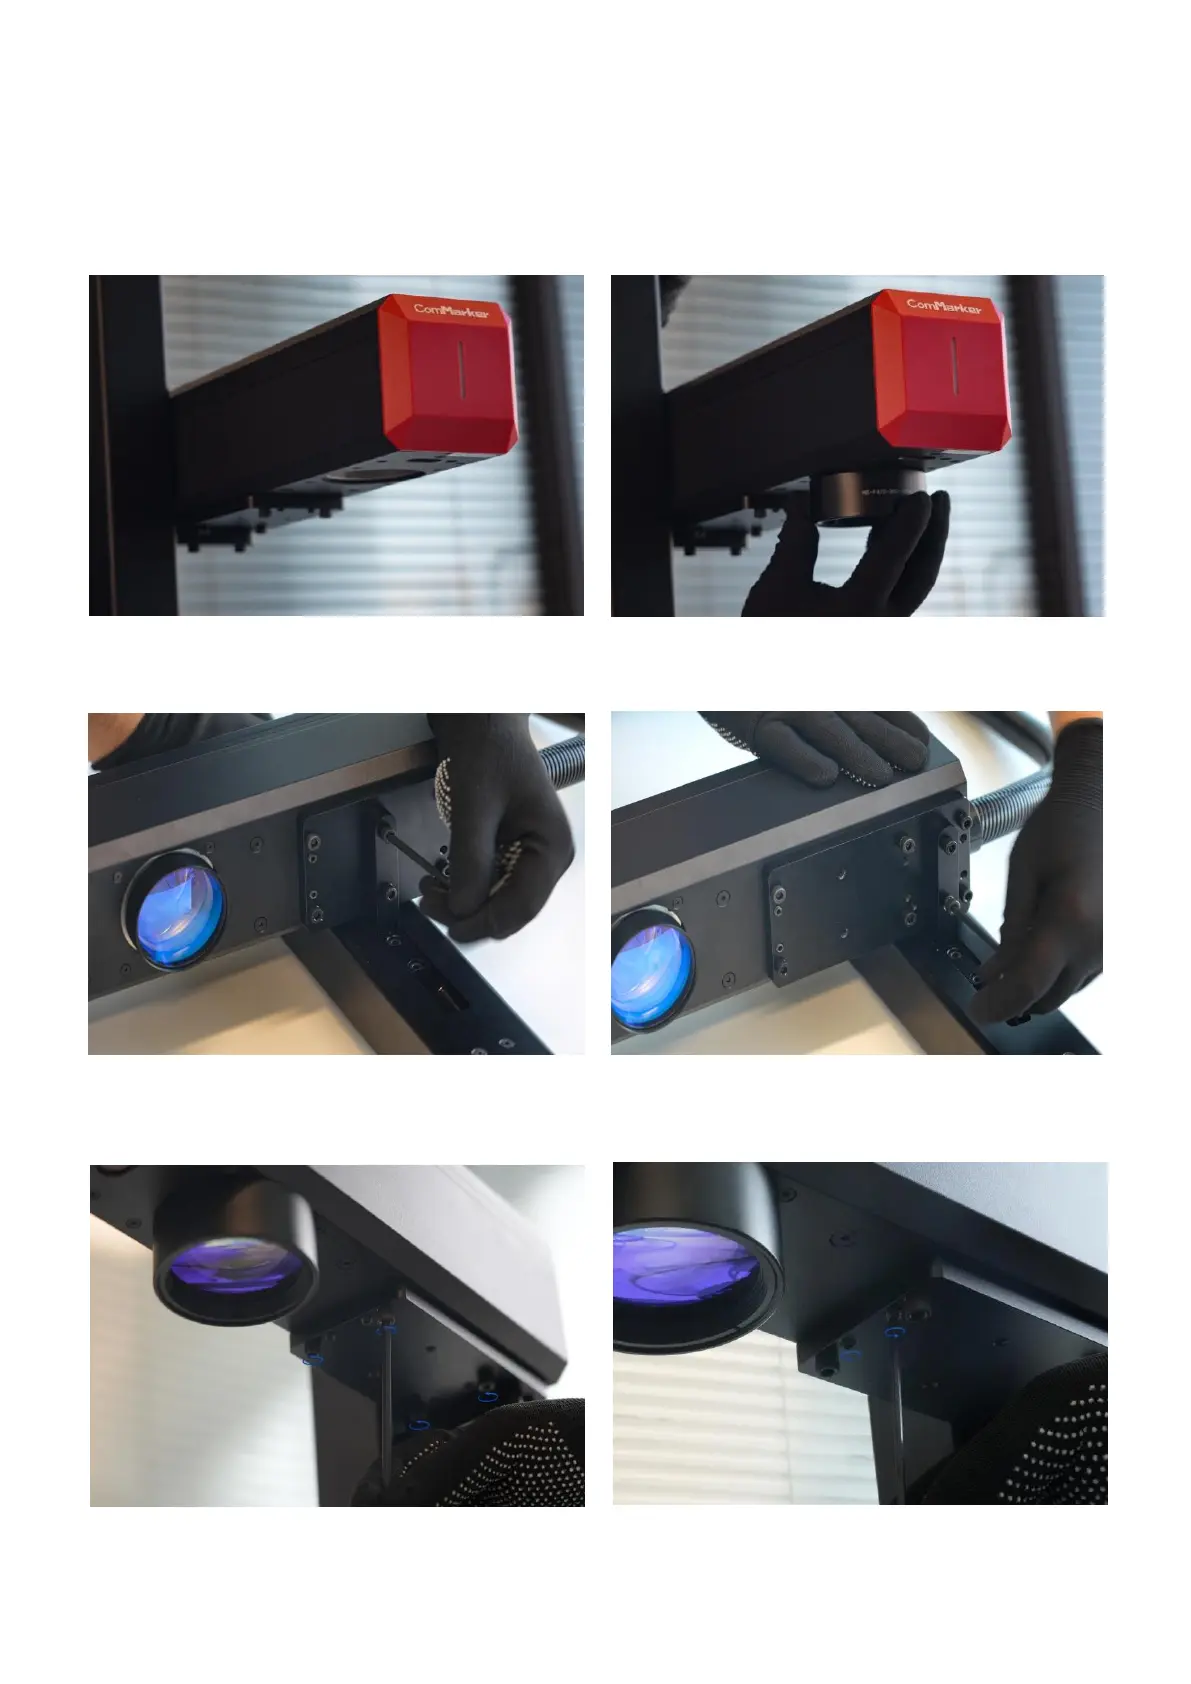
Replacement of the 300mm x 300mm Working Area Field Lens
The relative position of laser head needs to be adjusted so as to achieve bigger engraving area. The specific
operation steps are as follows:
4. Move the laser head backward and refix it in
the new position.
5. Loosen the four screws on the supporting shelf
(note: just loosen them, do not remove them).
3. Disassemble the laser head by loosening
the screws.
6. Adjust the set screws to ensure that the laser head
remains level (can use a ruler for measurement)
1. Disassemble field lens
2. Fasten the 300mm screws lens
Note: The screws at the front of the supporting plate should not be tightened, and it is not necessary to
fasten the two screws at the back of the supporting plate