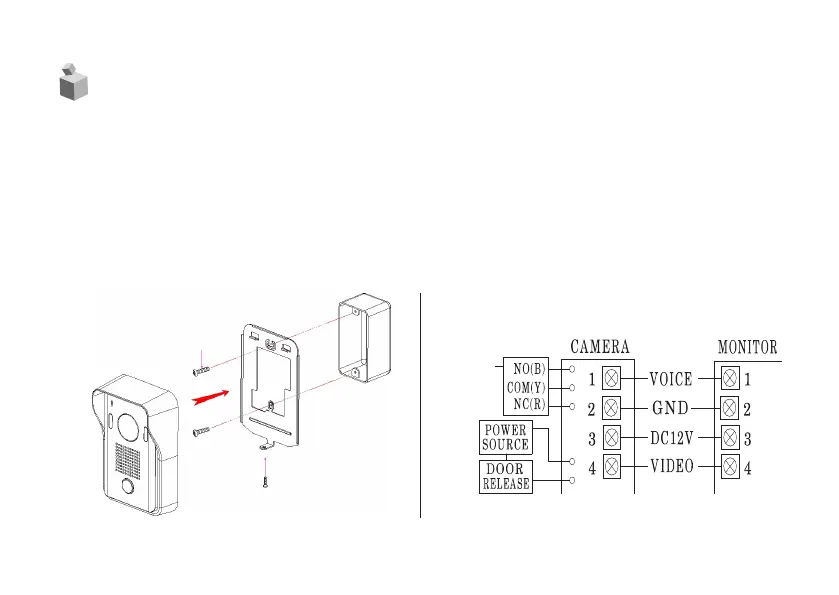
5. Wiring and Installation
7
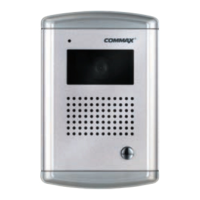
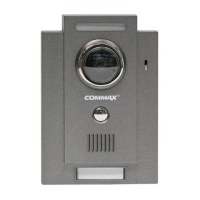
1. Match the fix the whole in the wall and the fixing bracket [FIG.1]
2. Match and connect monitor line as shown below [FIG.2]
(#1: Audio, #2: GND, #3: DC12V, #4: Video)
3. Adjust camera location on the wall by checking the image on monitor screen and
fix its location
4. Connect the Door Release Connection Line as shown below [FIG.2]
5. Tighten a screw at the bottom side of the camera [FIG.1]
2nd DOOR
RELEASE
[FIG.1]
[FIG.2]
SCREW PHM 3x8 (1EA)
SCREW GH1T 4x18 (2EA)