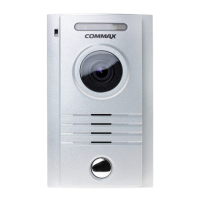
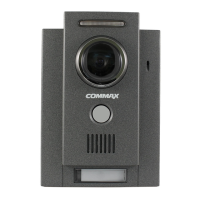
3. Parts Names
①
HANDSET
⑤
DOOR OPEN BUTTON
②
TFT-LCD
⑥
MENU BUTTON
③
MONITORING BUTTON
④
INTERPHONE BUTTON
1. Red: Talk (Audio)
2. Blue: GND
3. Yellow: Power (+12V)
4. White: Video
▷
Polarity of the camera connector
1. Red: Talk (Audio)
2. Blue: GND
3. Yellow: Power (+14V)
4. White: Call signal
▷
Polarity of interphone connector
5. Wiring and Connection Instructions
User Manual (1EA)
Connector
CDV-43KM (1EA)
CDV-43KM2 (2EA)
Wall bracket mounting
screw (4EA)
Monitor fixing
screw
(1EA)
Wall bracket
for monitor
(1EA)
4
4. Package Contents
⑦
POWER SWITCH
⑧
MICRO SD-CARD SLOT
[CDV-43KM]
[CDV-43KM2]
4 5
* Button description
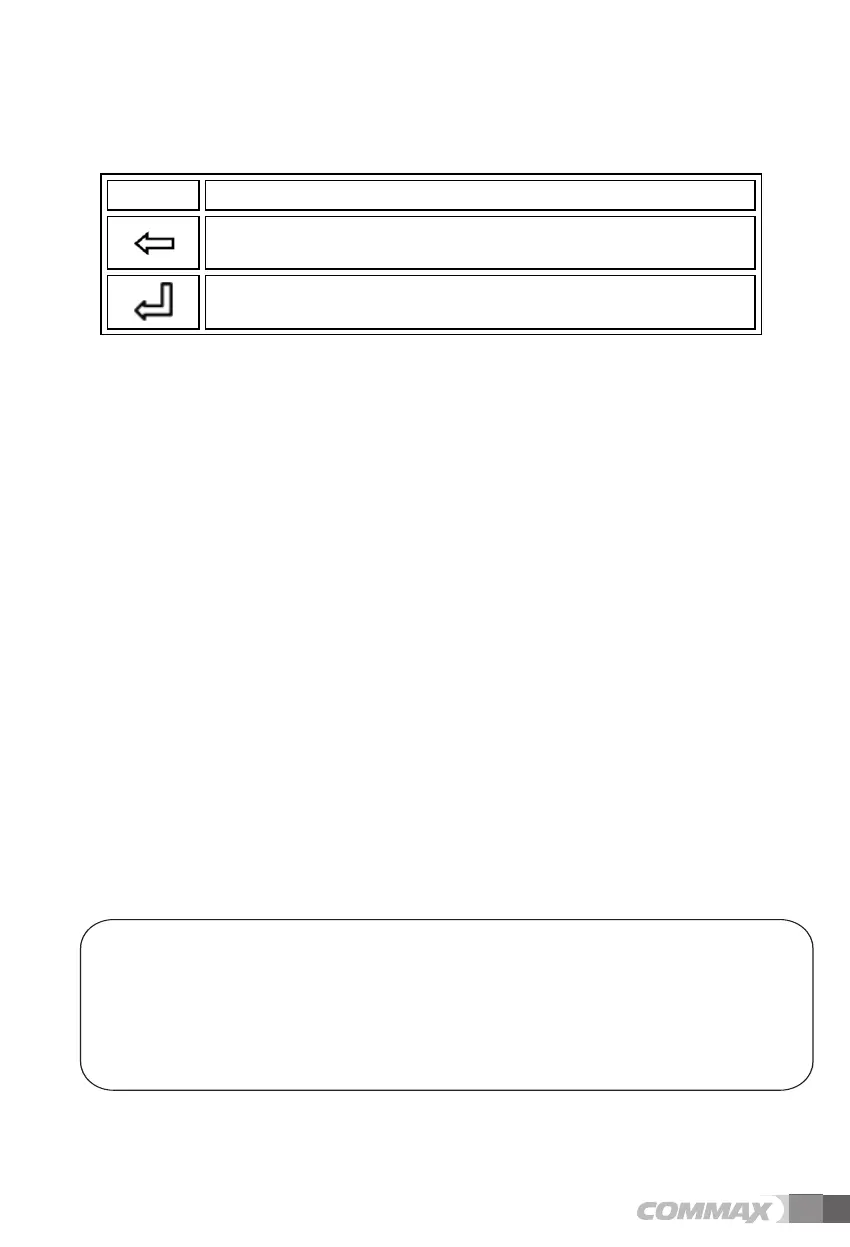
Image Description
Back, Cancel ⑤ (C : Cancel)
Use this button to cancel the function.
OK Button ⑥ (E : Enter)
Use this button for setting and execution.
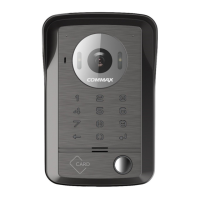
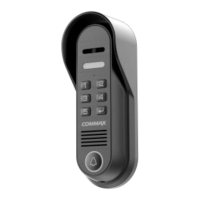
* Anti-theft alarm function ⑫
- To prevent the device from being stolen, the alarm sounds when removed from the wall.
However, the alarm sounds only when power is supplied to the unit.
- To enhance security function, the automatic call is sent to monitor call as the alarm occurs.
The automatic call operates at all time when removed from the wall, regardless of power
supply status.
* Reset password
- If you forget your password, you can reset it as follows.
1) With the monitor, enter the door camera monitoring function.
Try to press door opening button 7 times quickly within 20 seconds.
2) Then, LED of the camera is blinking and push OK Button ( E ) for 3 seconds to reset
password.
2-2. Set the functions
<Required>
1) The initial password is 1.2.3.4. Be sure to change the initial password before use.
2) 0000, 1234, 4321 can not be set as a password.
3) Password can be set from 4 to 12 digits.
(The password out of this range is not available)