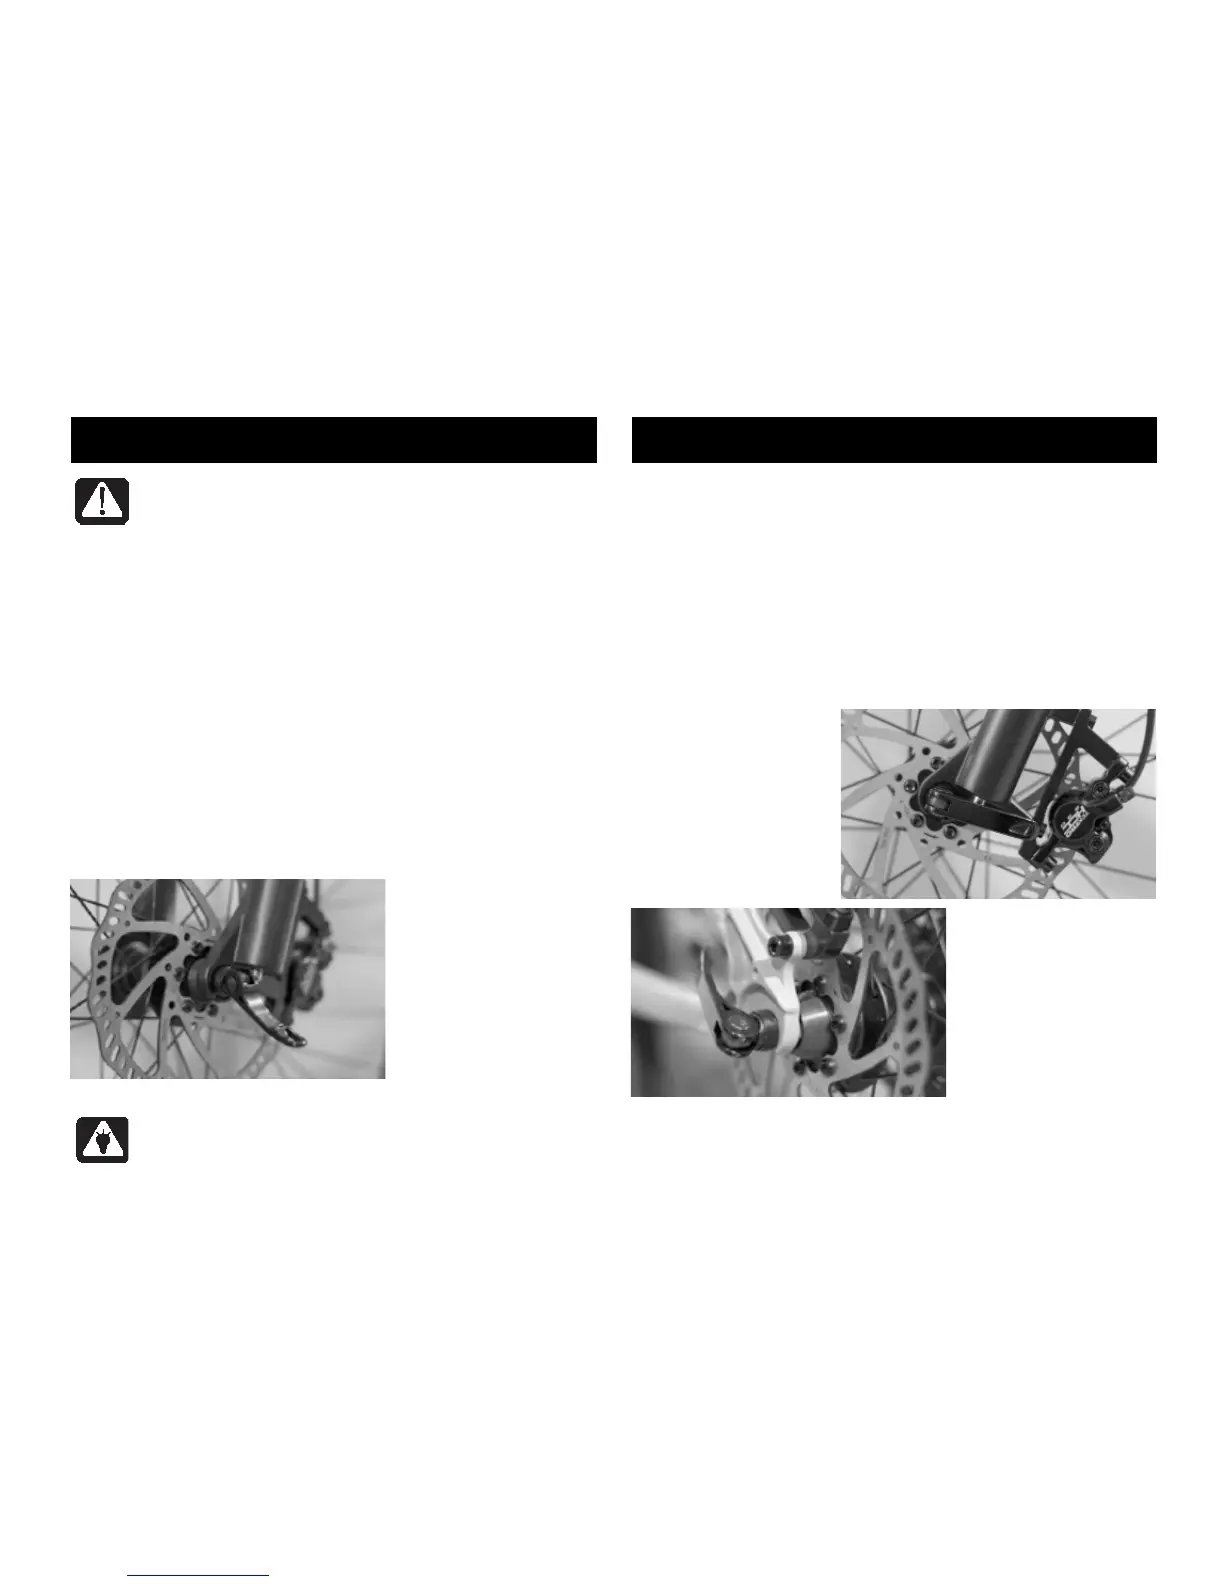
fig.8
WARNING! Quick releases are essential security elements. The wrong adjustment
can result in the loss of one or several parts of the bicycle, which can have
extremely dangerous consequences.
QUICK RELEASE ADJUSTMENT
To properly adjust your quick releases, please follow the following
instructions carefully.
Note : the following procedure is also valid for seat clamp quick releases
1. Place the lever A in the open position (g.8) and make sure that the
wheel is perfectly aligned with dropouts. To ensure this is the case, apply
pressure on the handlebars for the front wheel and on the saddle for the
rear wheel.
2. Close the lever halfway between the open and closed position and screw
in the adjustment nut on the opposite side of the lever. This nut determines
the tightening strength of the assembly.
QUICK RELEASE ADJUSTMENT
TIP! Other wheel axle systems exist, most notably on bicycles used for more aggressive riding. “QR 20” axles offer an increase in rigidity and require a specific procedure to operate. If
you have a bicycle with a system other then the one presented above, it is necessary for you to consult the manufacturers instruction manual given to you when you bought your bicycle,
so as to adjust it in complete safety.
14
3.Place the lever in the palm of your hand and push on it to close it. It is
normal if you feel resistance and need to apply extra pressure towards the
end of the lever travel. If you can turn the lever in the closed position, then
you need to start again as the quick release is not properly tightened. Open
the lever and tighten the adjustment nut a further half-turn, then close the
lever. Repeat the operation until the lever is correctly tightened.
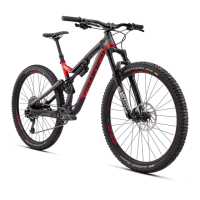
4. In the closed position the lever should be parallel to the wheel and
aligned along the length of the fork so as to avoid any accidental opening
(g.9 et 10).
fig.9
fig.10
BEFORE YOUR FIRST RIDE