™
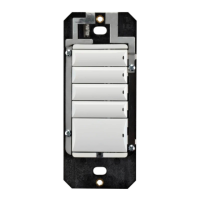
Figure 3. Dimmer Actuator Bar
Button Tap Sequences
The button tap sequences are defined in the table below. Button tap sequences
that require a single (1) button should use the top-most button installed on the
dimmer.
Function Button Sequence
Identify 4
ZigBee Channel 7
Reboot 15
Factory Reset 9-4-9
Leave Mesh and Reset 13-4-13
Troubleshooting
If the light does not turn on:
đŏ Ensure at least one LED on the face of the dimmer is lit.
đŏ Ensure the light bulb is not burned out and is screwed in tightly.
đŏ Ensure that the circuit breaker is not turned OFF or tripped.
đŏ Check for proper wiring (see “Sample Wiring Configurations”).
đŏ For help on the installation or operation of this product, email or call the
Control4 Technical Support Center. Please provide your exact model number.
Contact support@control4.com or see the web site www.control4.com.
Care and Cleaning
đŏ Do NOT paint the dimmer or its wall plate.
đŏ Do NOT use any chemical cleaners to clean the dimmer.
đŏ Clean surface of the dimmer with a soft damp cloth as needed.
Regulatory/Safety Information
To review Regulatory information for your particular Control4 products, see
the information located on the Control4 website at: http://www.control4.com/
regulatory/.
Patent Information
Applicable patents are available at http://www.control4.com/legal/patents.
Warranty
For complete warranty information, including details on consumer legal rights as
well as warranty exclusions, review the Warranty card or visit www.control4.com/
warranty.
About this Document
Part Number: 200-00307, Rev C 7/30/2013 BN
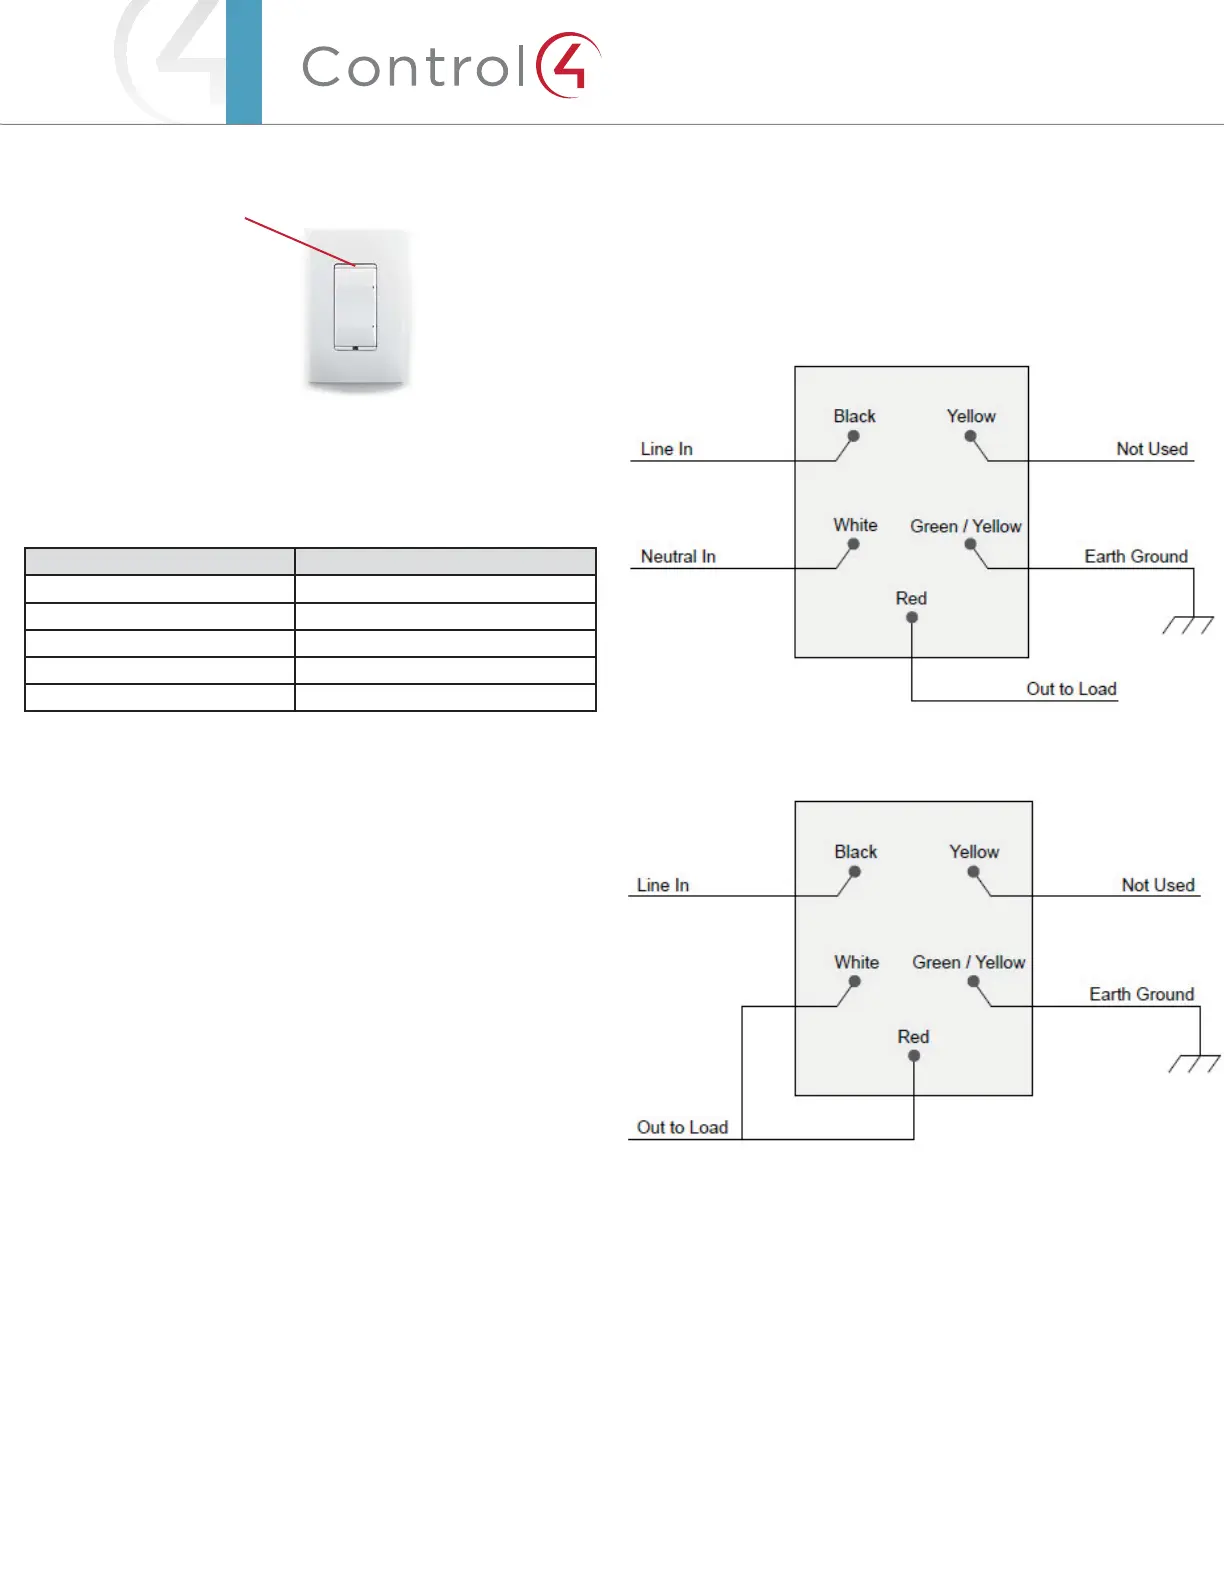
Sample Wiring Configurations
Figure 4. Single Device Location, With Neutral Connection
Figure 5. Single Device Location, Without Neutral Connection
Actuator Bar
 Loading...