Do you have a question about the Corsair SERIES 600 and is the answer not in the manual?
Instructions for releasing the latch and lifting off the acrylic side panel.
Aligning the motherboard with standoffs and securing it with screws.
Procedure for removing thumbscrews and tilting the side panel out.
Opening the front door, removing the bay shield, and inserting the drive.
Placing the drive into the tray and sliding it into the HDD cage.
Releasing, inserting, and reattaching the 2.5-inch drive tray.
Securing the PSU bracket, attaching the PSU, and sliding it into place.
Removing slot covers and securing expansion cards with thumbscrews.
Pushing tabs from inside to release and pull off the front or top panels.
Removing, cleaning with compressed air, and replacing dust filters.
Connecting SATA power, fan headers, and using the speed selector button.
Connecting USB, audio, and power switch headers to the motherboard.
Instructions for removing the top panel and pulling the I/O panel upwards.
Clarification on polarity for power/reset headers versus LED headers.
Details on compatible fan sizes for different mounting points.
| 2.5" Drive Bays | 2 |
|---|---|
| Warranty | 2 years |
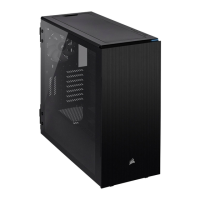
| Case Form Factor | Mid Tower |
| Color | Black |
| Motherboard Support | ATX, Micro-ATX, Mini-ITX |
| Material | Steel, Plastic |
| Expansion Slots | 7 |
| Front I/O | USB 3.0 x 2 |
| Cooling System | Air |
| Pre-Installed Fans | 1 x 120mm |
| Radiator Compatibility | 120mm, 240mm |
| Radiator Support | Front, Top |