11
ENGLISH
8. Push the spool (B) into the housing whilst feeding the ends of the line through the holes (G).
9. Press down the spool (B), depressing the spring, tug the ends of the line, freeing them from
the slots (F) in the spool.
10. Push the assembled trimmer head onto the spindle, screw on the locking cap (A) clockwise
(onlyngertight).(Seeg.22)
11. Cut the ends of the line so they are no longer than 13 cm.
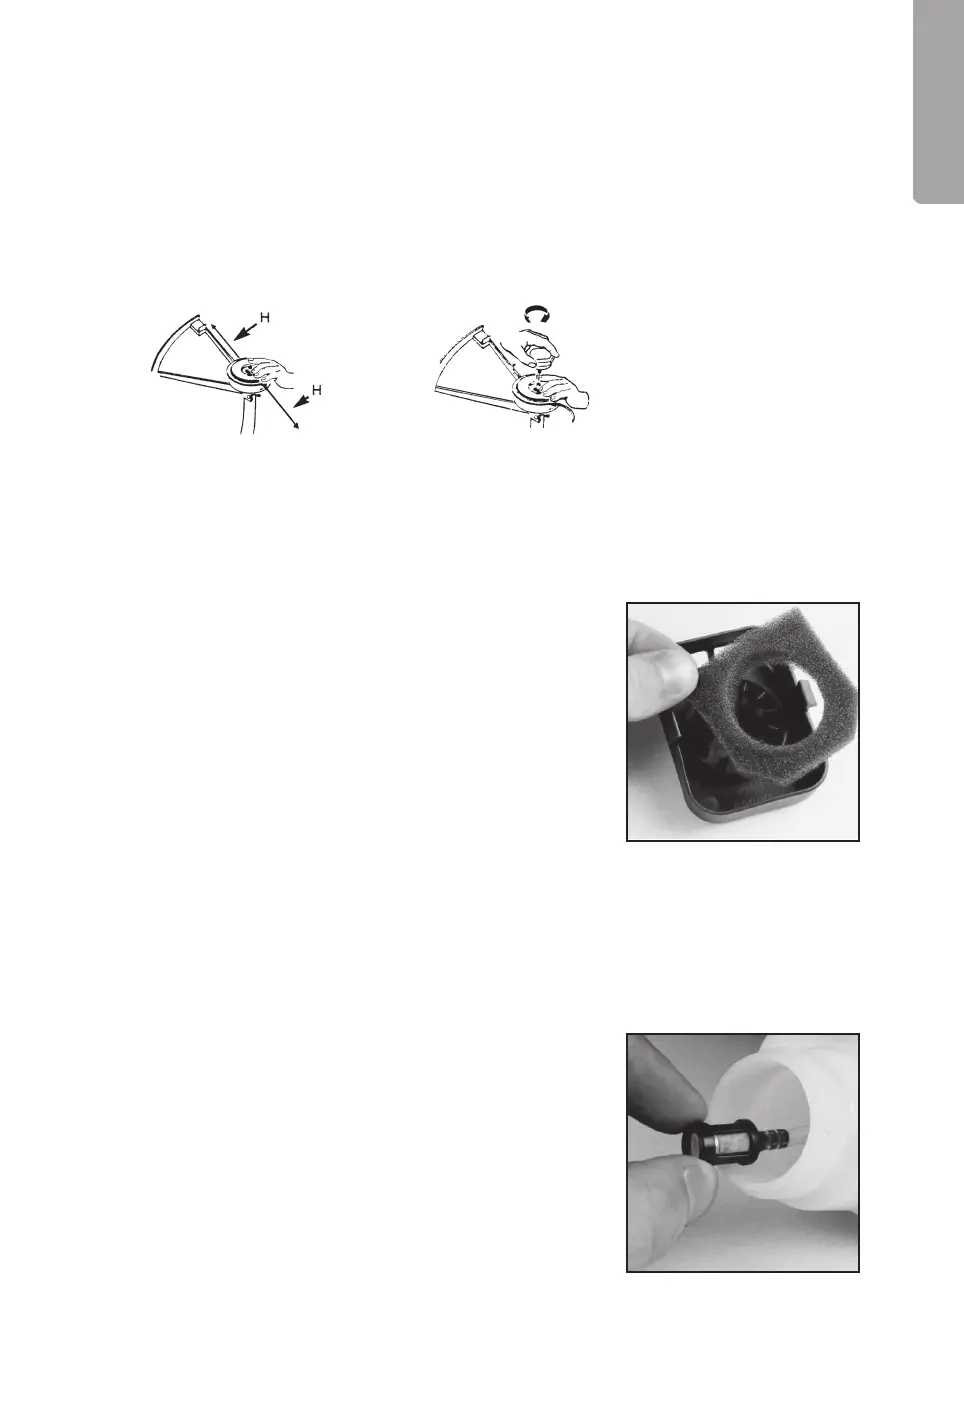
9.2 Air filter, inspection/cleaning
Never use the grass trimmer without an air lter, clean or replace the lter if it is dama-
ged or dirty.
Clean the air lter like this:
1. Pinchthesidesoftheairlterhousingandremoveit.
2. Removethelterfromthelterhousing.
3. Washthelterwithsoapandwater.Donotusepetrol!
4. Squeezethelterandletitdrynaturally.
5. Replacethelterandremountthehousingwiththe
opening facing downwards.
6. Make sure that the housing is secure so that it won’t
shake loose.
9.3 Fuel cap/fuel filter, inspection/cleaning
Remove any sources of ignition, sparks, open ames, smoking, etc. from places where
the fuel is mixed, used or stored.
Do not smoke while refuelling or using the grass trimmer.
1. Open the fuel tank carefully and release any pressure
which might have built up in the tank. Wipe off any
spillage and pour any remaining fuel into a petrol can.
2. Pulloutthefuelline/fuellterusingsomethinglikeabent
wire.
3. Inspectthefuellterandchangeitifitisclogged.
4. Changethefuellterbypullingitloose(twistinghelps
releasethelter)
5. Insertanewfuellter.
Note! Never run the engine without a fuel lter.
Fig. 21. Fig. 22.
Fig. 23.
Fig. 24.