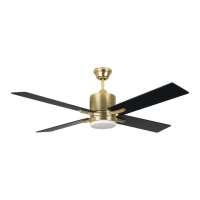
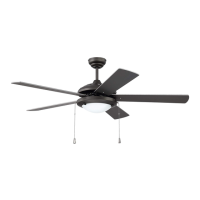
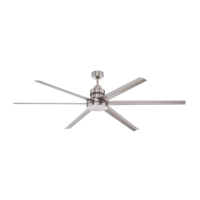
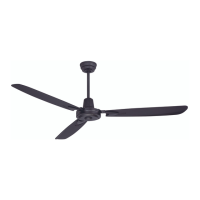
9. Blade Assembly.
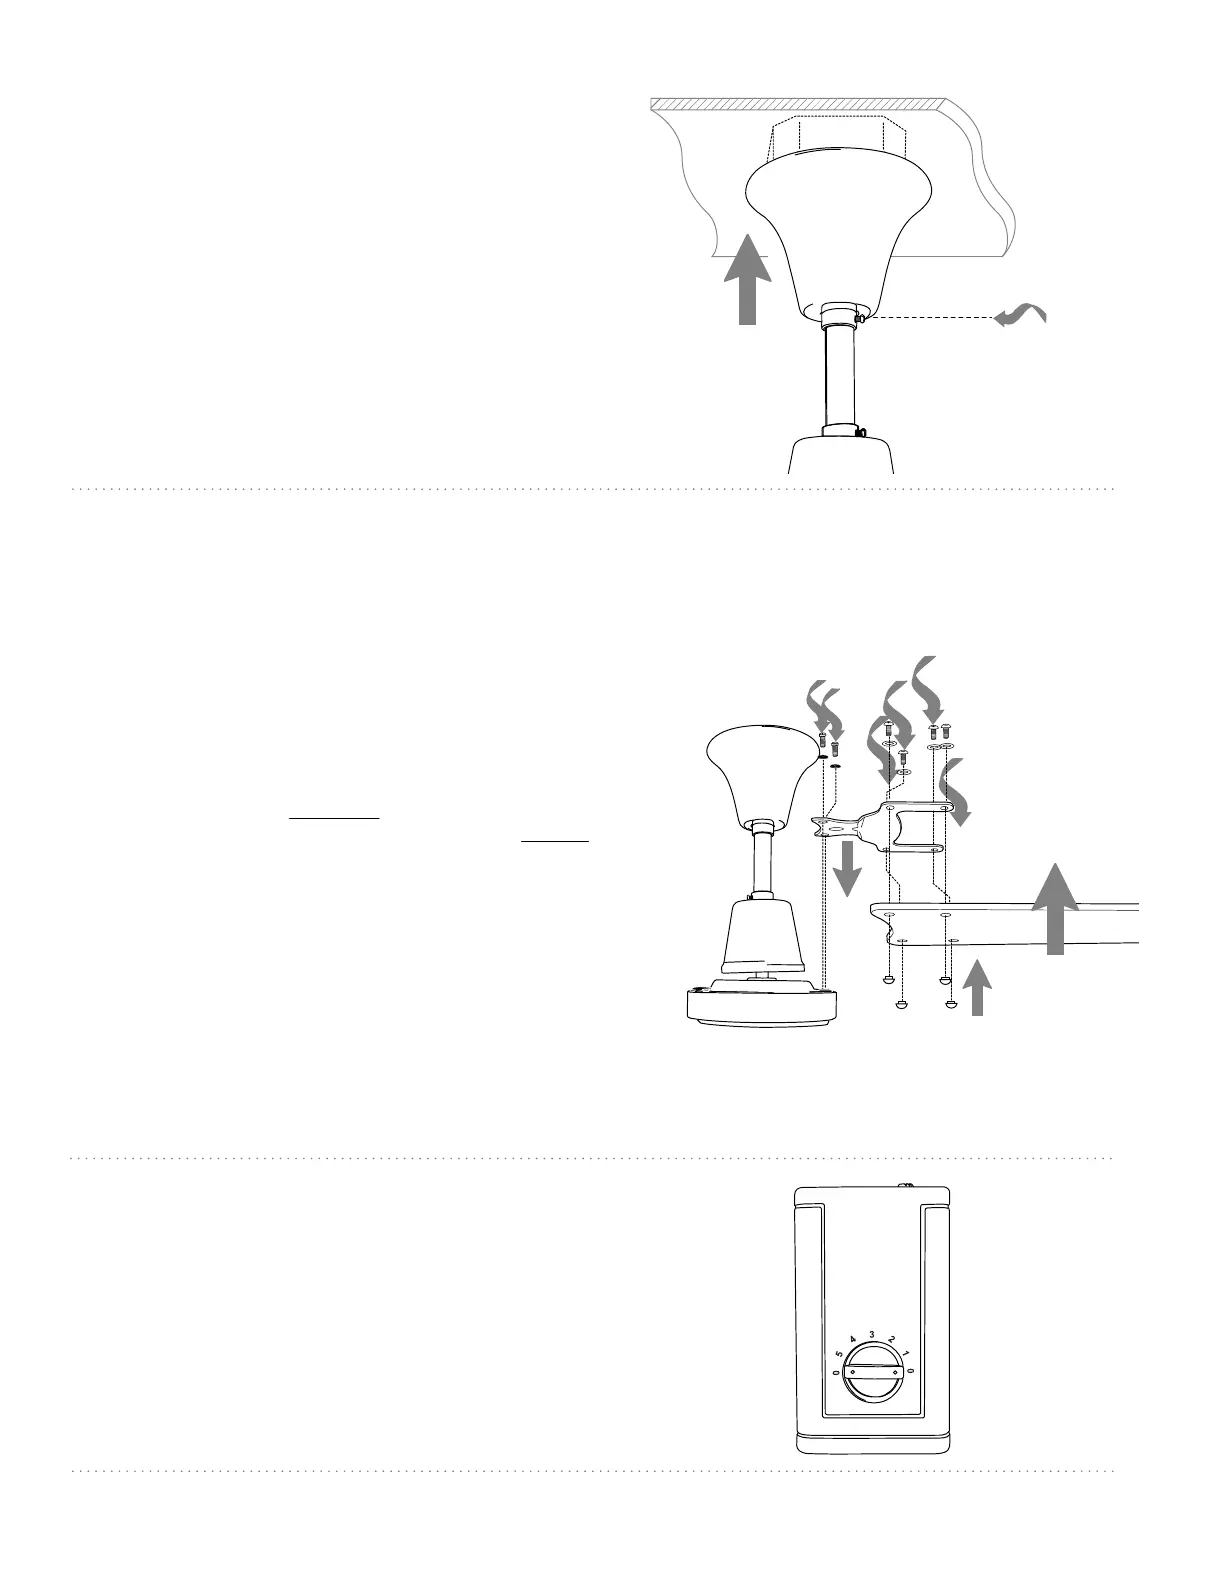
8. Canopy Assembly.
page 7
canopy set screw
canopy
10. Wall Control Operation.
0 - turns fan OFF
5 - turns fan to HI speed
4 - turns fan to MEDIUM-HI speed
3 - turns fan to MEDIUM speed
2 - turns fan to MEDIUM-LOW speed
1 - turns fan to LOW speed
Lift canopy until it covers hanging bracket
and touches ceiling. Tighten canopy set
screw to secure canopy.
blade
blade arm
motor housing
WARNING: To reduce the risk of serious bodily injury,
DO NOT use power tools to assemble the blades. If screws
are overtightened, blades may crack and break.
Tip: Break apart fiber washers from set and then place
one washer on each blade screw prior to installing blades.
Locate 12 blade attachment screws and washers and
12 decorative nuts in hardware packs. Align holes in
blade with holes in blade arm. (Note label on blade arm
indicating THIS SIDE UP.) Push decorative nuts through
holes in blade from underside of blade and insert blade
attachment screws (along with washers) from topside.
Tighten all 4 screws securely. Repeat procedure with
remaining blades.
Locate one of the rubber cushions on top of motor
housing. Remove the 2 larger screws (do not remove
center screw) and washers but leave rubber cushion intact.
Lower blade arm over rubber cushion, attaching blade
arm with screws and washers that were previously
removed. Tighten screws securely. Repeat with the
remaining blades.
NOTE: Tighten large screws for blade arm attachment
twice a year.
decorative nuts
larger screws
and washers
blade attachment
screws and washers