,, The driven depth of the fastener can be changed by turning
the depth control knob (Fig. 5, No. 37) in either direction.
,, The tool is equipped with a rotating switch that can change
the operating mode from rapid-fire to single-fire. When the
switch assembly (Fig. 5, No. 66) is rotated to the single-fire
position, the tool will fire one fastener only. To fire the next
fastener, both the trigger (Fig. 5, No. 67) and the contact
trip (Fig. 5, No. 41) must be released.
WARNING: All air power fastening tools recoil when operat-
ed. This recoil is caused by rapid driving of the fastener. Tool
may bounce from recoil causing a second, unwanted fastener
to be driven. Reduce tool bounce by holding tool firmly in
hand and pressing tool gently against workpiece. This will
allow recoil of tool to bounce away from workpiece preventing
the driving of second fastener.
OPERATING PRESSURE
,, Use only enough air pressure to perform the operation. Air
pressure in excess of that which is required will make the
operation inefficient and may cause premature wear or
damage to the tool.
,, Determine minimum air pressure required by driving some
test fasteners into the workpiece. Set air pressure so that
test fasteners are driven down flush with the work surface.
Fasteners driven too deep may damage workpiece.
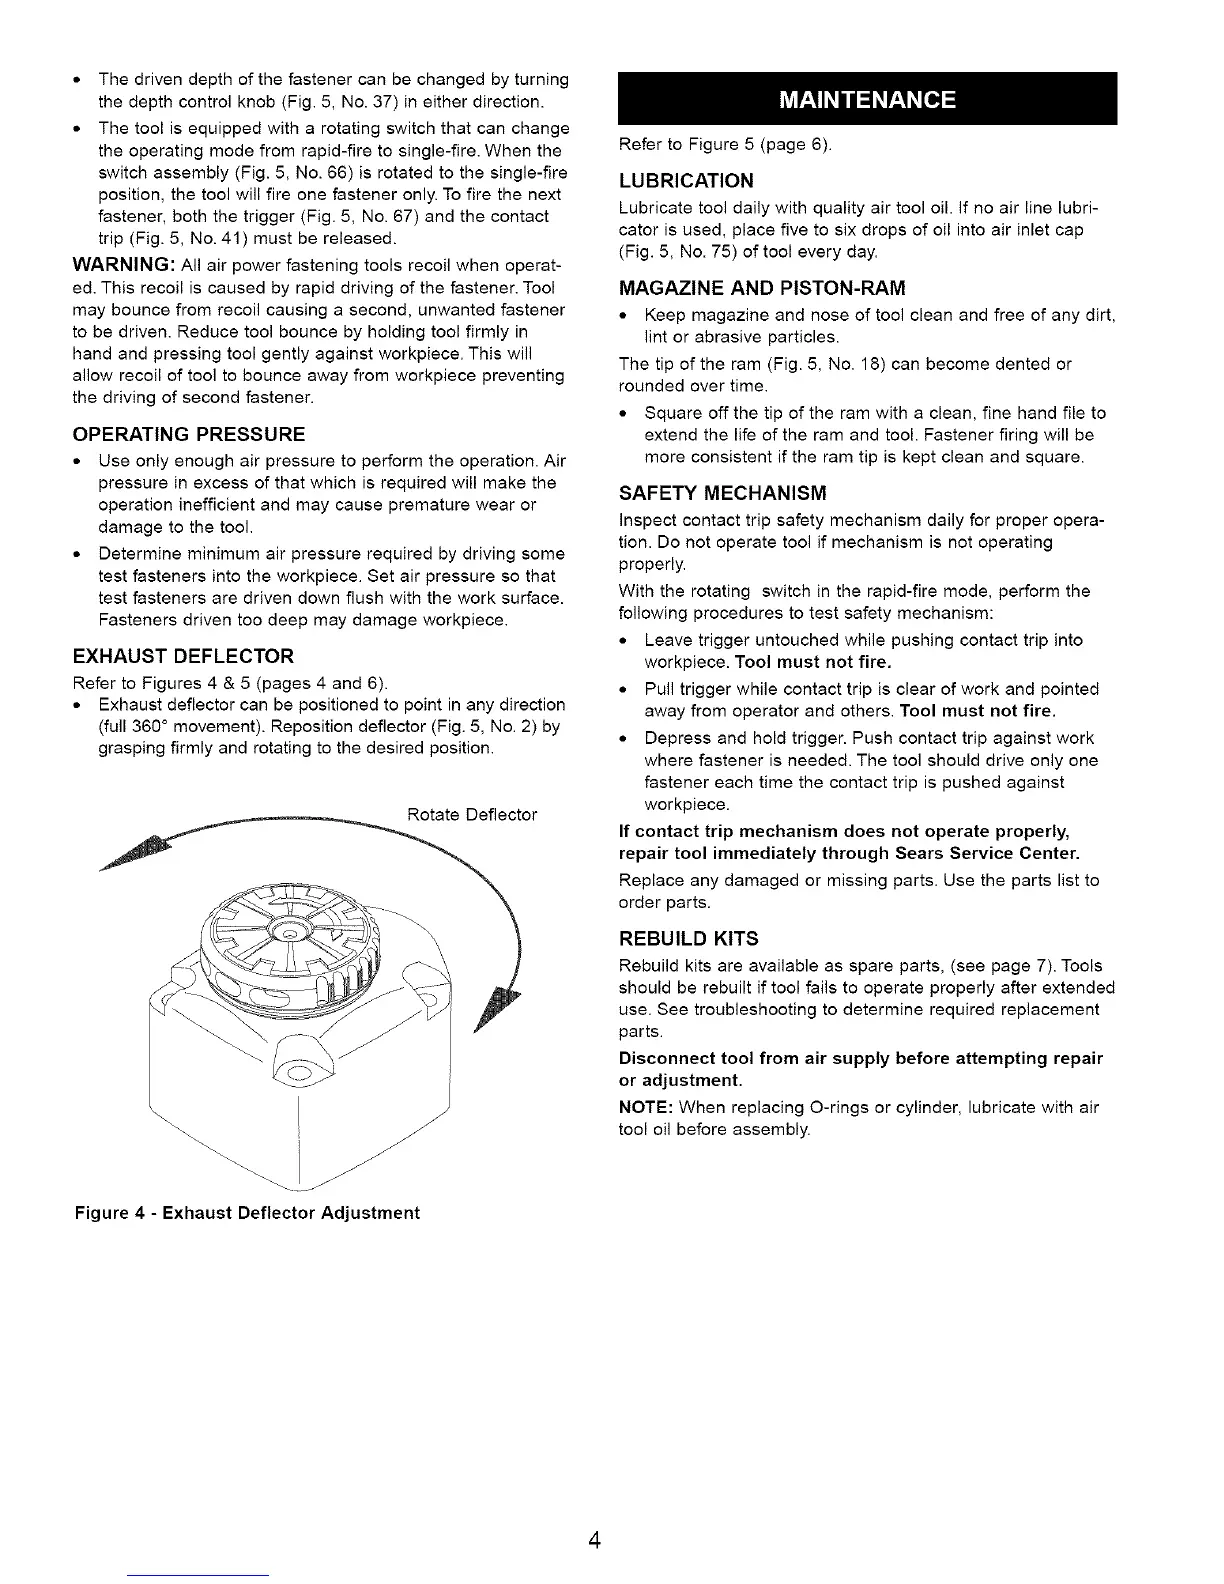
EXHAUST DEFLECTOR
Refer to Figures 4 & 5 (pages 4 and 6).
,, Exhaust deflector can be positioned to point in any direction
(full 360 ° movement). Reposition deflector (Fig. 5, No. 2) by
grasping firmly and rotating to the desired position.
Rotate Deflector
Figure 4 - Exhaust Deflector Adjustment
Refer to Figure 5 (page 6).
LUBRICATION
Lubricate tool daily with quality air tool oil. If no air line lubri-
cator is used, place five to six drops of oil into air inlet cap
(Fig. 5, No. 75) of tool every day.
MAGAZINE AND PISTON-RAM
,, Keep magazine and nose of tool clean and free of any dirt,
lint or abrasive particles.
The tip of the ram (Fig. 5, No. 18) can become dented or
rounded over time.
,, Square off the tip of the ram with a clean, fine hand file to
extend the life of the ram and tool. Fastener firing will be
more consistent if the ram tip is kept clean and square.
SAFETY MECHANISM
Inspect contact trip safety mechanism daily for proper opera-
tion. Do not operate tool if mechanism is not operating
properly.
With the rotating switch in the rapid-fire mode, perform the
following procedures to test safety mechanism:
,, Leave trigger untouched while pushing contact trip into
workpiece. Tool must not fire.
,, Pull trigger while contact trip is clear of work and pointed
away from operator and others. Tool must not fire.
,, Depress and hold trigger. Push contact trip against work
where fastener is needed. The tool should drive only one
fastener each time the contact trip is pushed against
workpiece.
If contact trip mechanism does not operate properly,
repair tool immediately through Sears Service Center.
Replace any damaged or missing parts. Use the parts list to
order parts.
REBUILD KITS
Rebuild kits are available as spare parts, (see page 7). Tools
should be rebuilt if tool fails to operate properly after extended
use. See troubleshooting to determine required replacement
parts.
Disconnect tool from air supply before attempting repair
or adjustment.
NOTE: When replacing O-rings or cylinder, lubricate with air
tool oil before assembly.
4
 Loading...