K
Karen WhiteAug 3, 2025
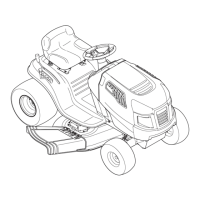
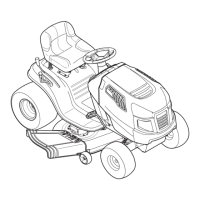
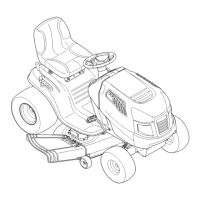
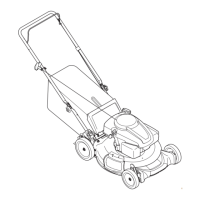
Why won't my Craftsman Lawn Mower engine start?
- MMelissa CannonAug 3, 2025
Several factors can prevent your Craftsman Lawn Mower engine from starting. First, ensure the PTO/Blade Engage lever is disengaged (OFF). Check that the parking brake is engaged. Confirm the spark plug wires are connected, and the Throttle/Choke lever is in the FAST position, or that the choke is activated. The fuel tank might be empty or contain stale fuel; refill with fresh gasoline. A blocked fuel line or faulty spark plug could also be the culprit. If the engine is flooded, crank it with the throttle in the FAST position. Also, check for blown fuses and replace them if necessary. Finally, ensure all safety switches are properly engaged, including the seat position and proper installation of the deck chute, tube, or mulch plug.