ENGLISH
6
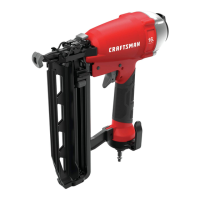
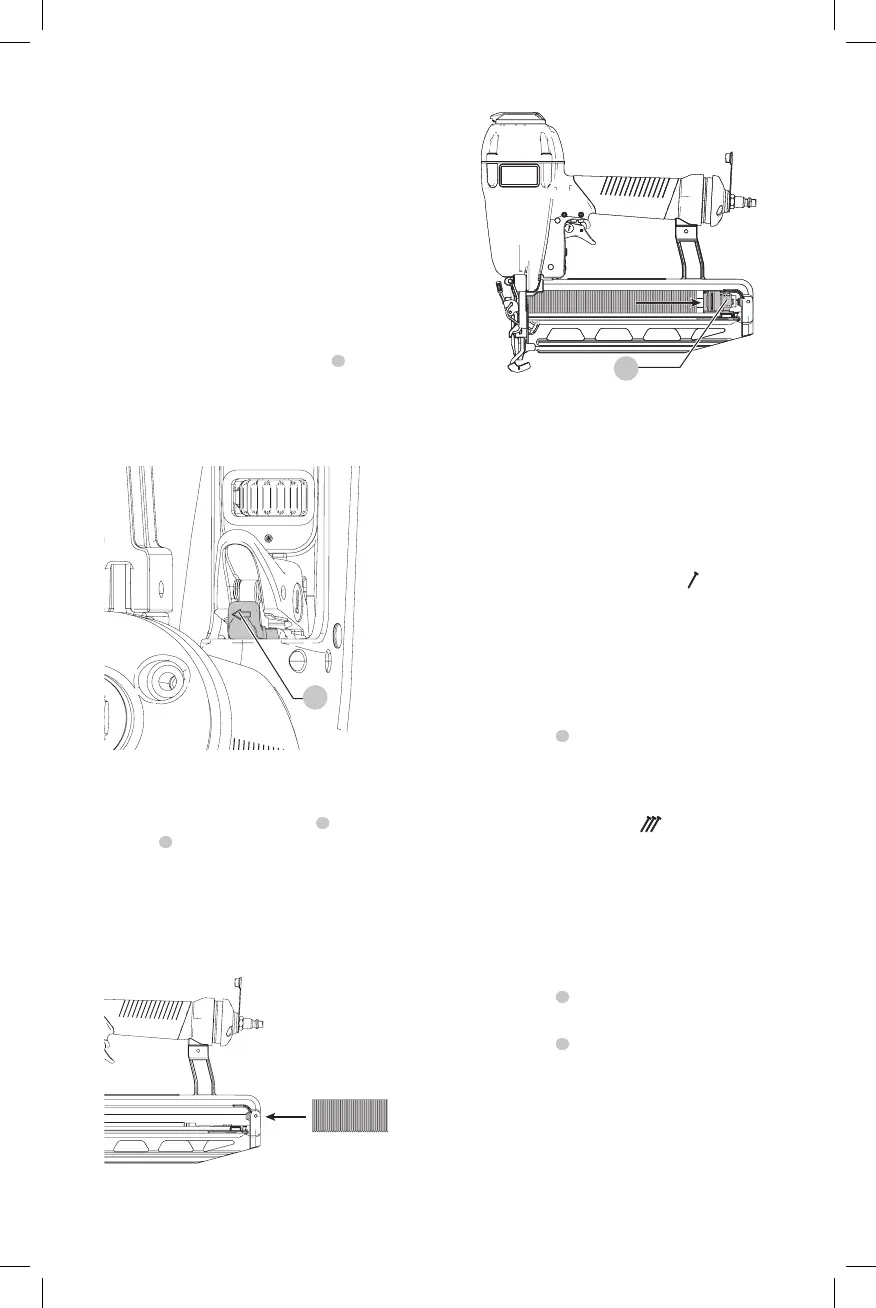
Using the Lock-Off (Fig. D)
WARNING: To reduce the risk of injury, Always wear
proper eye [ANSI Z87.1 (CAN/CSA Z94.3)] and hearing
protection [ANSI S12.6 (S3.19)] when operating
thistool.
WARNING: Do not keep trigger depressed when
tool is not in use. Keep the lock‑off switch rotated to
the right (OFF) when the tool is not in use. Serious
personal injury may result.
WARNING: Lock‑off trigger, disconnect air line
from tool and remove fasteners from magazine
before making adjustments. Serious personal injury
mayresult.
This nailer is equipped with a trigger lock-off
2
which when
rotated to the right, prevents the tool from actuating. When
the switch is centered, the tool will be fully operational.
The trigger should always be locked off whenever any
adjustments are made or when tool is not in use.
Fig.D
2
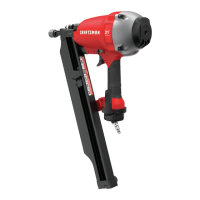
Loading Fasteners (Fig. A, E, F)
1. Disconnect the air supply from tool.
2. Disengage the magazine release lever
6
and pull back
the pusher
7
.
3. With magazine fully open insert fasteners. Points
must be against bottom of magazine.
4. Push magazine forward.
Fig.E
Fig.F
6
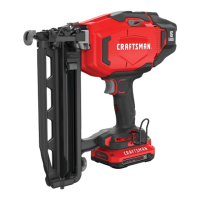
Actuating Tool
WARNING: To reduce the risk of injury, Always wear
proper eye [ANSI Z87.1 (CAN/CSA Z94.3)] and hearing
protection [ANSI S12.6 (S3.19)] when operating
thistool.
The tool can be actuated using one of two modes:
single sequential action trigger mode and bump action
triggermode.
Sequential Action Trigger - Gray
Trigger (Fig. A)
The sequential action trigger's intended use is for
intermittent fastening where very careful and accurate
placement isdesired.
To Operate the Nailer in Sequential Action Mode
1. Depress the contact trip firmly against the work surface.
2. Pull the trigger
1
.
WARNING: A fastener will be driven each time the
trigger is pulled as long as the contact trip remains
depressed which could result in accidental driving.
Bump Action Trigger - Black Trigger
(Fig. A)
The bump action trigger’s intended use is for rapid fastening
on flat, stationary surfaces.
Using the bump action trigger, two methods are available:
place actuation and bump actuation.
To Operate the Tool Using the Place Actuation Method
1. Push the contact trip against the work surface.
2. Pull the trigger
1
.
To Operate the Tool Using the Bump ActuationMethod
1. Pull the trigger
1
.
2. Push the contact trip against the work surface. As long
as the trigger is pulled, the tool will drive a fastener
every time the contact trip is depressed. This allows the
user to drive multiple fasteners in sequence.
WARNING: Do not keep trigger pulled when tool is
not in use.