1 DESCRIPTION
1.1 PURPOSE
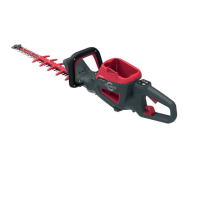
This machine is intended for cutting and trimming
hedges and bushes in commercial use. It is not
intended to be used for cutting above shoulder level.
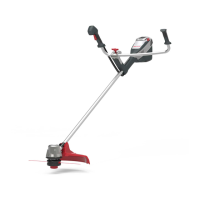
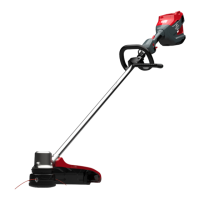
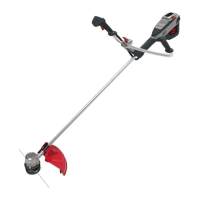
1.2 OVERVIEW
Figure A-H.
1
Blade
2
Blade guard
3
Guard
4
Front handle
5
Handle switch
6
Battery release
button
7
Trigger
8
Rear handle
9
Handle rotation
latch
10
Anti-jamming
button
11
Speed control
button
12
On/off button
13
Fault indicator
14
Blade cover
15
Gearbox plug
16
Screw
17
Wrench
2 GENERAL POWER TOOL
SAFETY WARNINGS
WARNING
Read all safety warnings, instructions, illustrations
and specifications provided with this power tool.
Failure to follow all instructions listed below may result
in electric shock, fire and/or serious injury.
Save all warnings and instructions for future
reference.
The term "power tool" in the warnings refers to your
mains-operated (corded) power tool or battery-operated
(cordless) power tool.
3 INSTALLATION
3.1 UNPACK THE MACHINE
WARNING
Make sure that you correctly assemble the machine
before use.
WARNING
• If parts of the machine are damaged, do not use
the machine.
• If you do not have all the parts, do not operate the
machine.
• If parts are damaged or missing, contact the
service center.
1. Open the package.
2. Read the documentation provided in the box.
3. Remove all the unassembled parts from the box.
4. Remove the machine from the box.
5. Discard the box and packing material in compliance
with local regulations.
WARNING
For your personal safety, do not insert battery before
the tool is assembled completely.
3.1.1 INSTALL THE BATTERY PACK
Figure B
WARNING
• If the battery pack or charger is damaged, replace
the battery pack or the charger.
• Stop the machine and wait until the motor stops
before you install or remove the battery pack.
• Read, understand, and follow the instructions in
the battery and charger manual.
1. Align the lift ribs on the battery pack with the
grooves in the battery compartment.
2. Push the battery pack into the battery compartment
until the battery pack locks into place.
3. When you hear a click, the battery pack is installed.
3.1.2 REMOVE THE BATTERY PACK
Figure B
1. Push and hold the battery release button.
2. Remove the battery pack from the machine.
4 OPERATION
• Always wear suitable high-grip work gloves and
eye protection when carrying out operation and
maintenance.
• Do not touch the blade unless the battery pack is
removed.
• Take extra care if touching the blade to remove
debris. Sharp edges may cause cuts even through
gloves.
• Do not use the machine if the blade is damaed or
bent.
• Remove all objects such as cords, lights, wire, or
string which can become entangled in the cutting
blade and create a risk of personal injury.
4
English
EN
 Loading...