Installing Your Live! Cam 3
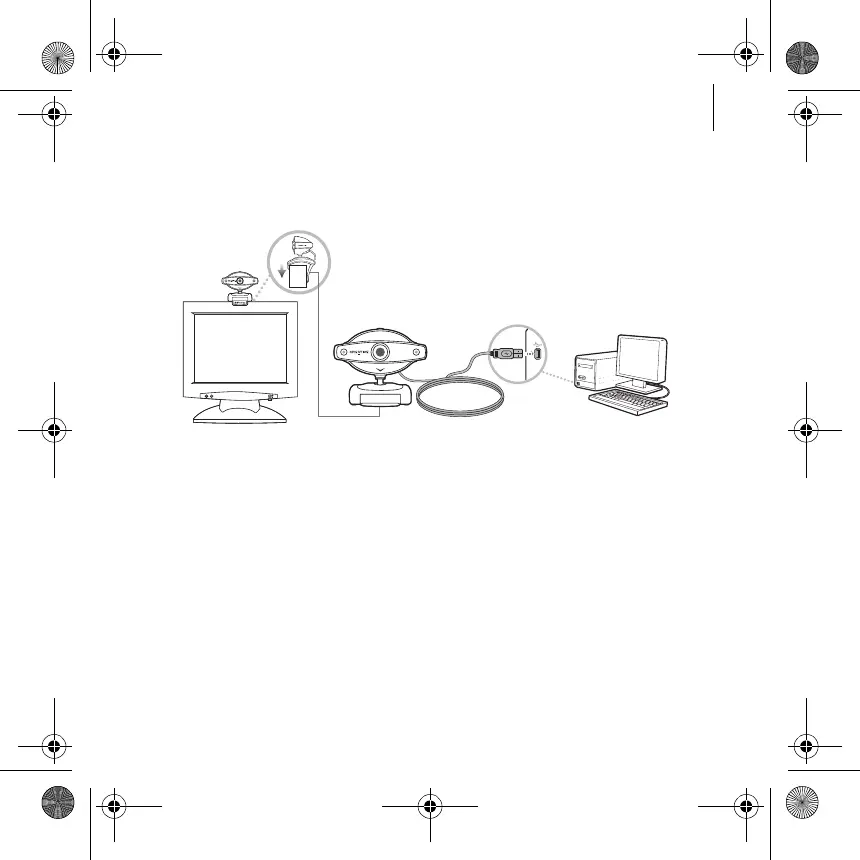
3 When prompted, connect your Live! Cam's USB cable to an available USB
port on your computer. Windows
®
automatically detects the device.
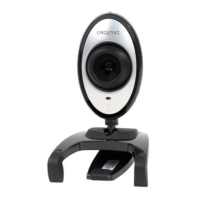
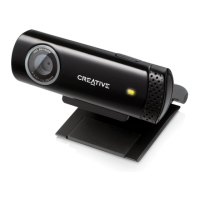
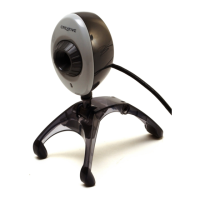
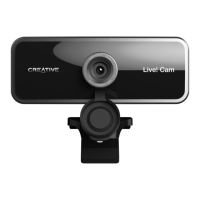
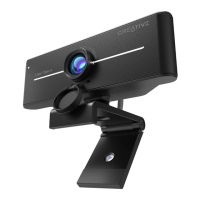
For LCD flat panel monitors or notebook computers, use the integrated
hinged lever to mount the Live! Cam (see figure below).
4 To complete the installation, follow the appropriate steps below:
For Windows XP
When the Found New Hardware Wizard dialog box appears, select Install
the software automatically (Recommended), and then click the Next
button.
For Windows 2000
When a Digital Signature Not Found dialog box appears, telling you that
Live! Cam Voice has been detected, click the Yes button.
5 Follow the instructions on the screen to complete the installation. You may
be asked, after the drivers have been successfully installed, if you want to
restart your computer. Select No until all the applications are installed.
6 Restart your computer after all the applications have been installed.
Maple QSB_Multi_CLE.book Page 3 Tuesday, June 20, 2006 9:09 AM