4
Zen and the Art of Media Synchronization
Whenever you add music, pictures, video, or media in general to a
portable media player, you are enjoying a process called Synchronizing.
To put it more simply, to get your music from your computer to your
player, you need to sync it first.
This can be done via the Sync Tab in Windows Media Player. But since
you’ve just installed all that software, why not try it out?
Go to Start > All Programs > Creative > Creative Sync Manager or click on the Sync Manager
Icon in the taskbar (near the clock).
This is the Sync Manager. A nifty
program that allows you to sync media
files to your player quickly and easily.
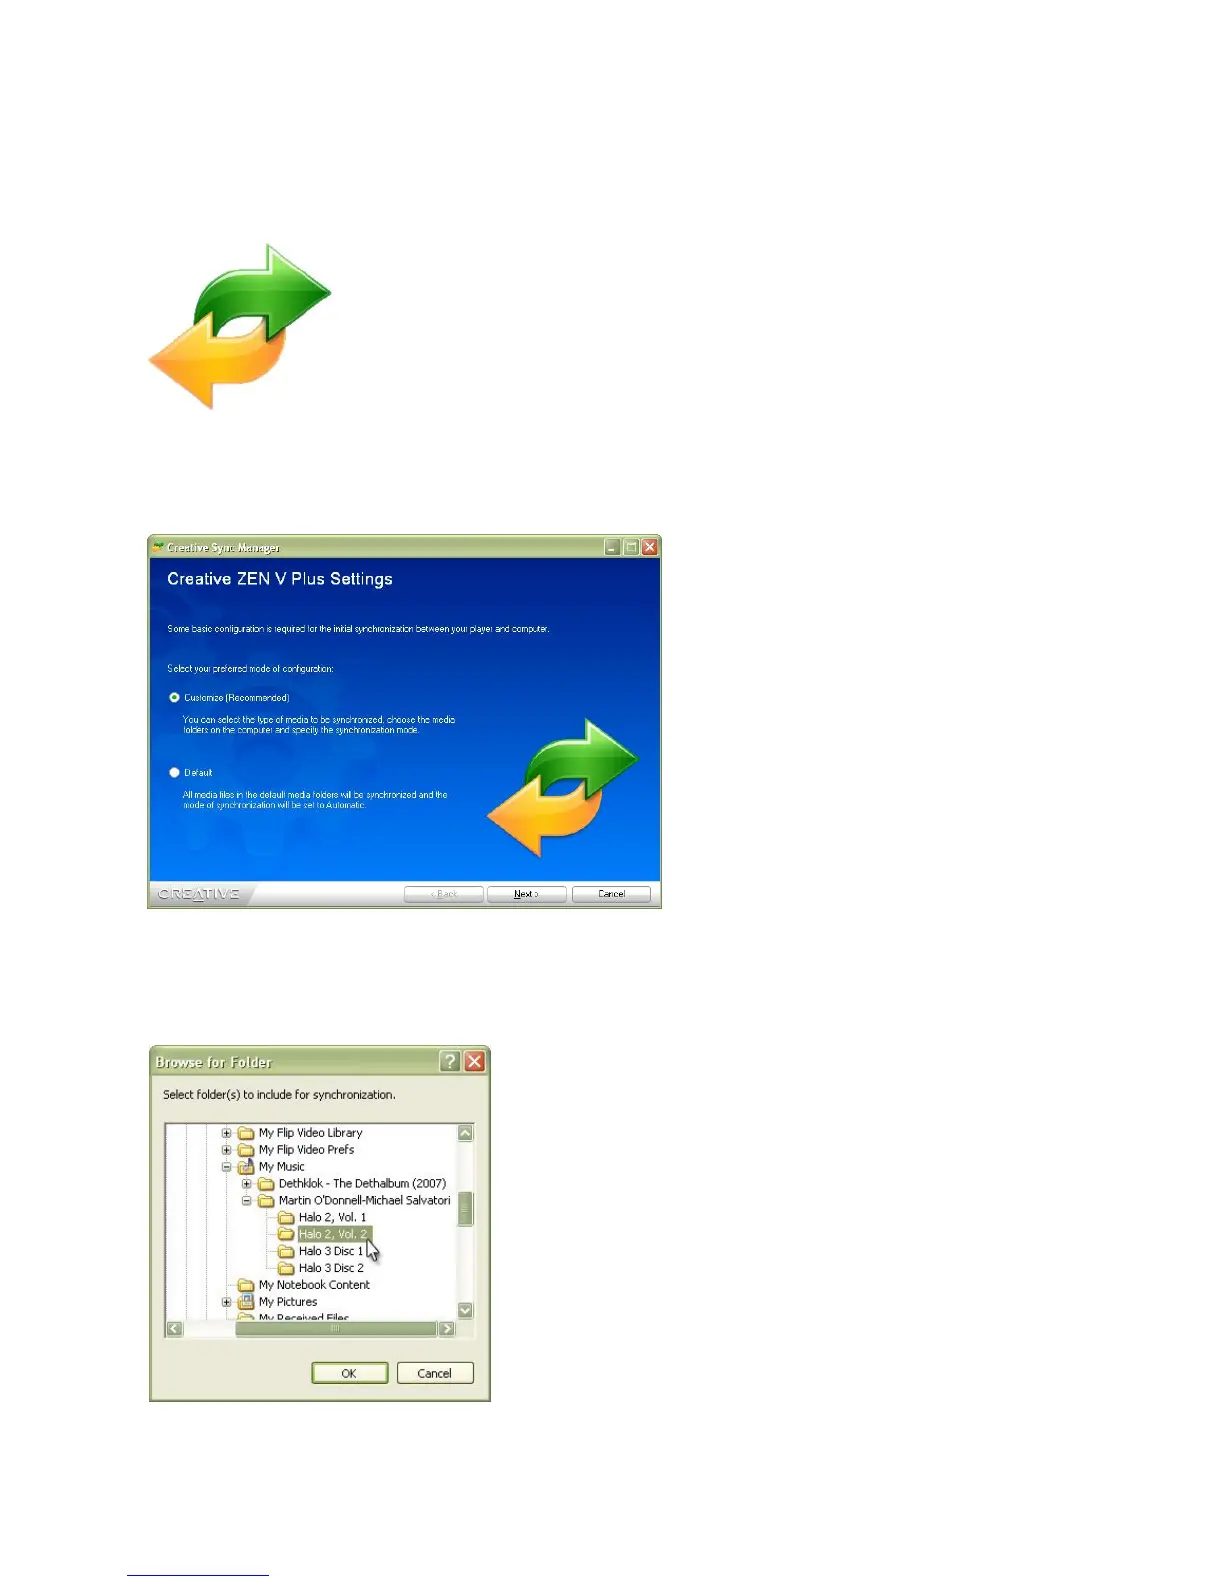
When you first start it, you’ll see that
you have two choices: Customize, and
Default.
Default searches your entire My
Documents folder and syncs everything.
This will take a long time, and way too
much space on your Zen’s hard drive!
For now, let’s go with Customize!
After hitting next, you’ll be asked what kind of media you want to sync. You can choose from
Audio, Video, Pictures, and Organizer Data. Let’s just stick with Audio for now.
Sync Manager will find you’re My Music folder
automatically. I recommend keeping it on this folder!!
However, if you want to specify a specific folder, you can
hit browse, find your folder, and then hit OK.
BEFORE you go on, notice the checkbox that says Include
tracks that do not have ID3 tags. Depending on what
you’re syncing, you might need this…
You see, whenever you “Rip” a CD, it creates a unique
folder automatically and names all of the music tracks
inside. Almost all CDs come with encoded ID3 tags which
store the song title, artist, copyright info, etc.