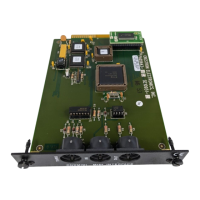
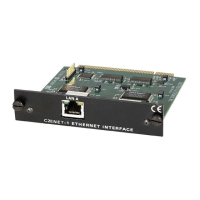
CNX Enhanced Ethernet Expansion Card Crestron CNXENET+
Initial IP Setup
NOTE: This initial IP setup MUST be done via the RS-232 COMPUTER port.
Before performing this procedure, obtain a straight-through RS-232 cable that has a
DB9 male connector on one end and a DB9 female connector on the other. Straight-
through means that pin-1 on the male end is connected to pin-1 on the female end,
etc. The male end plugs into the control system port labeled COMPUTER. The
female end plugs into the serial port of a PC. If the PC has a DB25 male connector,
obtain a DB9 to DB25 adapter (the adapter has a DB9 male end and a DB25 female
end). Thereafter, communications may be achieved by using the Crestron Viewport
to directly connect to the IP address assigned to the control system.
NOTE: It is assumed that the user has communications with the control system and
the appropriate Upgrade file has been loaded. See the CNMSX-AV/PRO or
CNRACKX/-DP Operations Guide sections “Obtaining Communications” and
“Using a Control System Upgrade file” for further details.
1. From the Crestron Viewport, select Functions | Set Control System
IP Information, as shown below:
Set IP Information via Viewport
12 • CNX Enhanced Ethernet Expansion Card: CNXENET+ Operations & Installation Guide – DOC. 8153A