quickstart guide
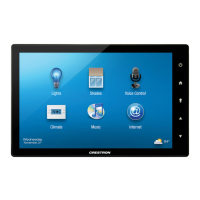
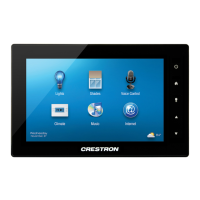
TSW-1052
www.crestron.com
888.273.7876 201.767.3400
Specifications subject to
change without notice.
TSW-1052
10.1” Touch Screen
QUICKSTART DOC. 7576B (2040593, Sheet 1 of 2) 07.14
2
2
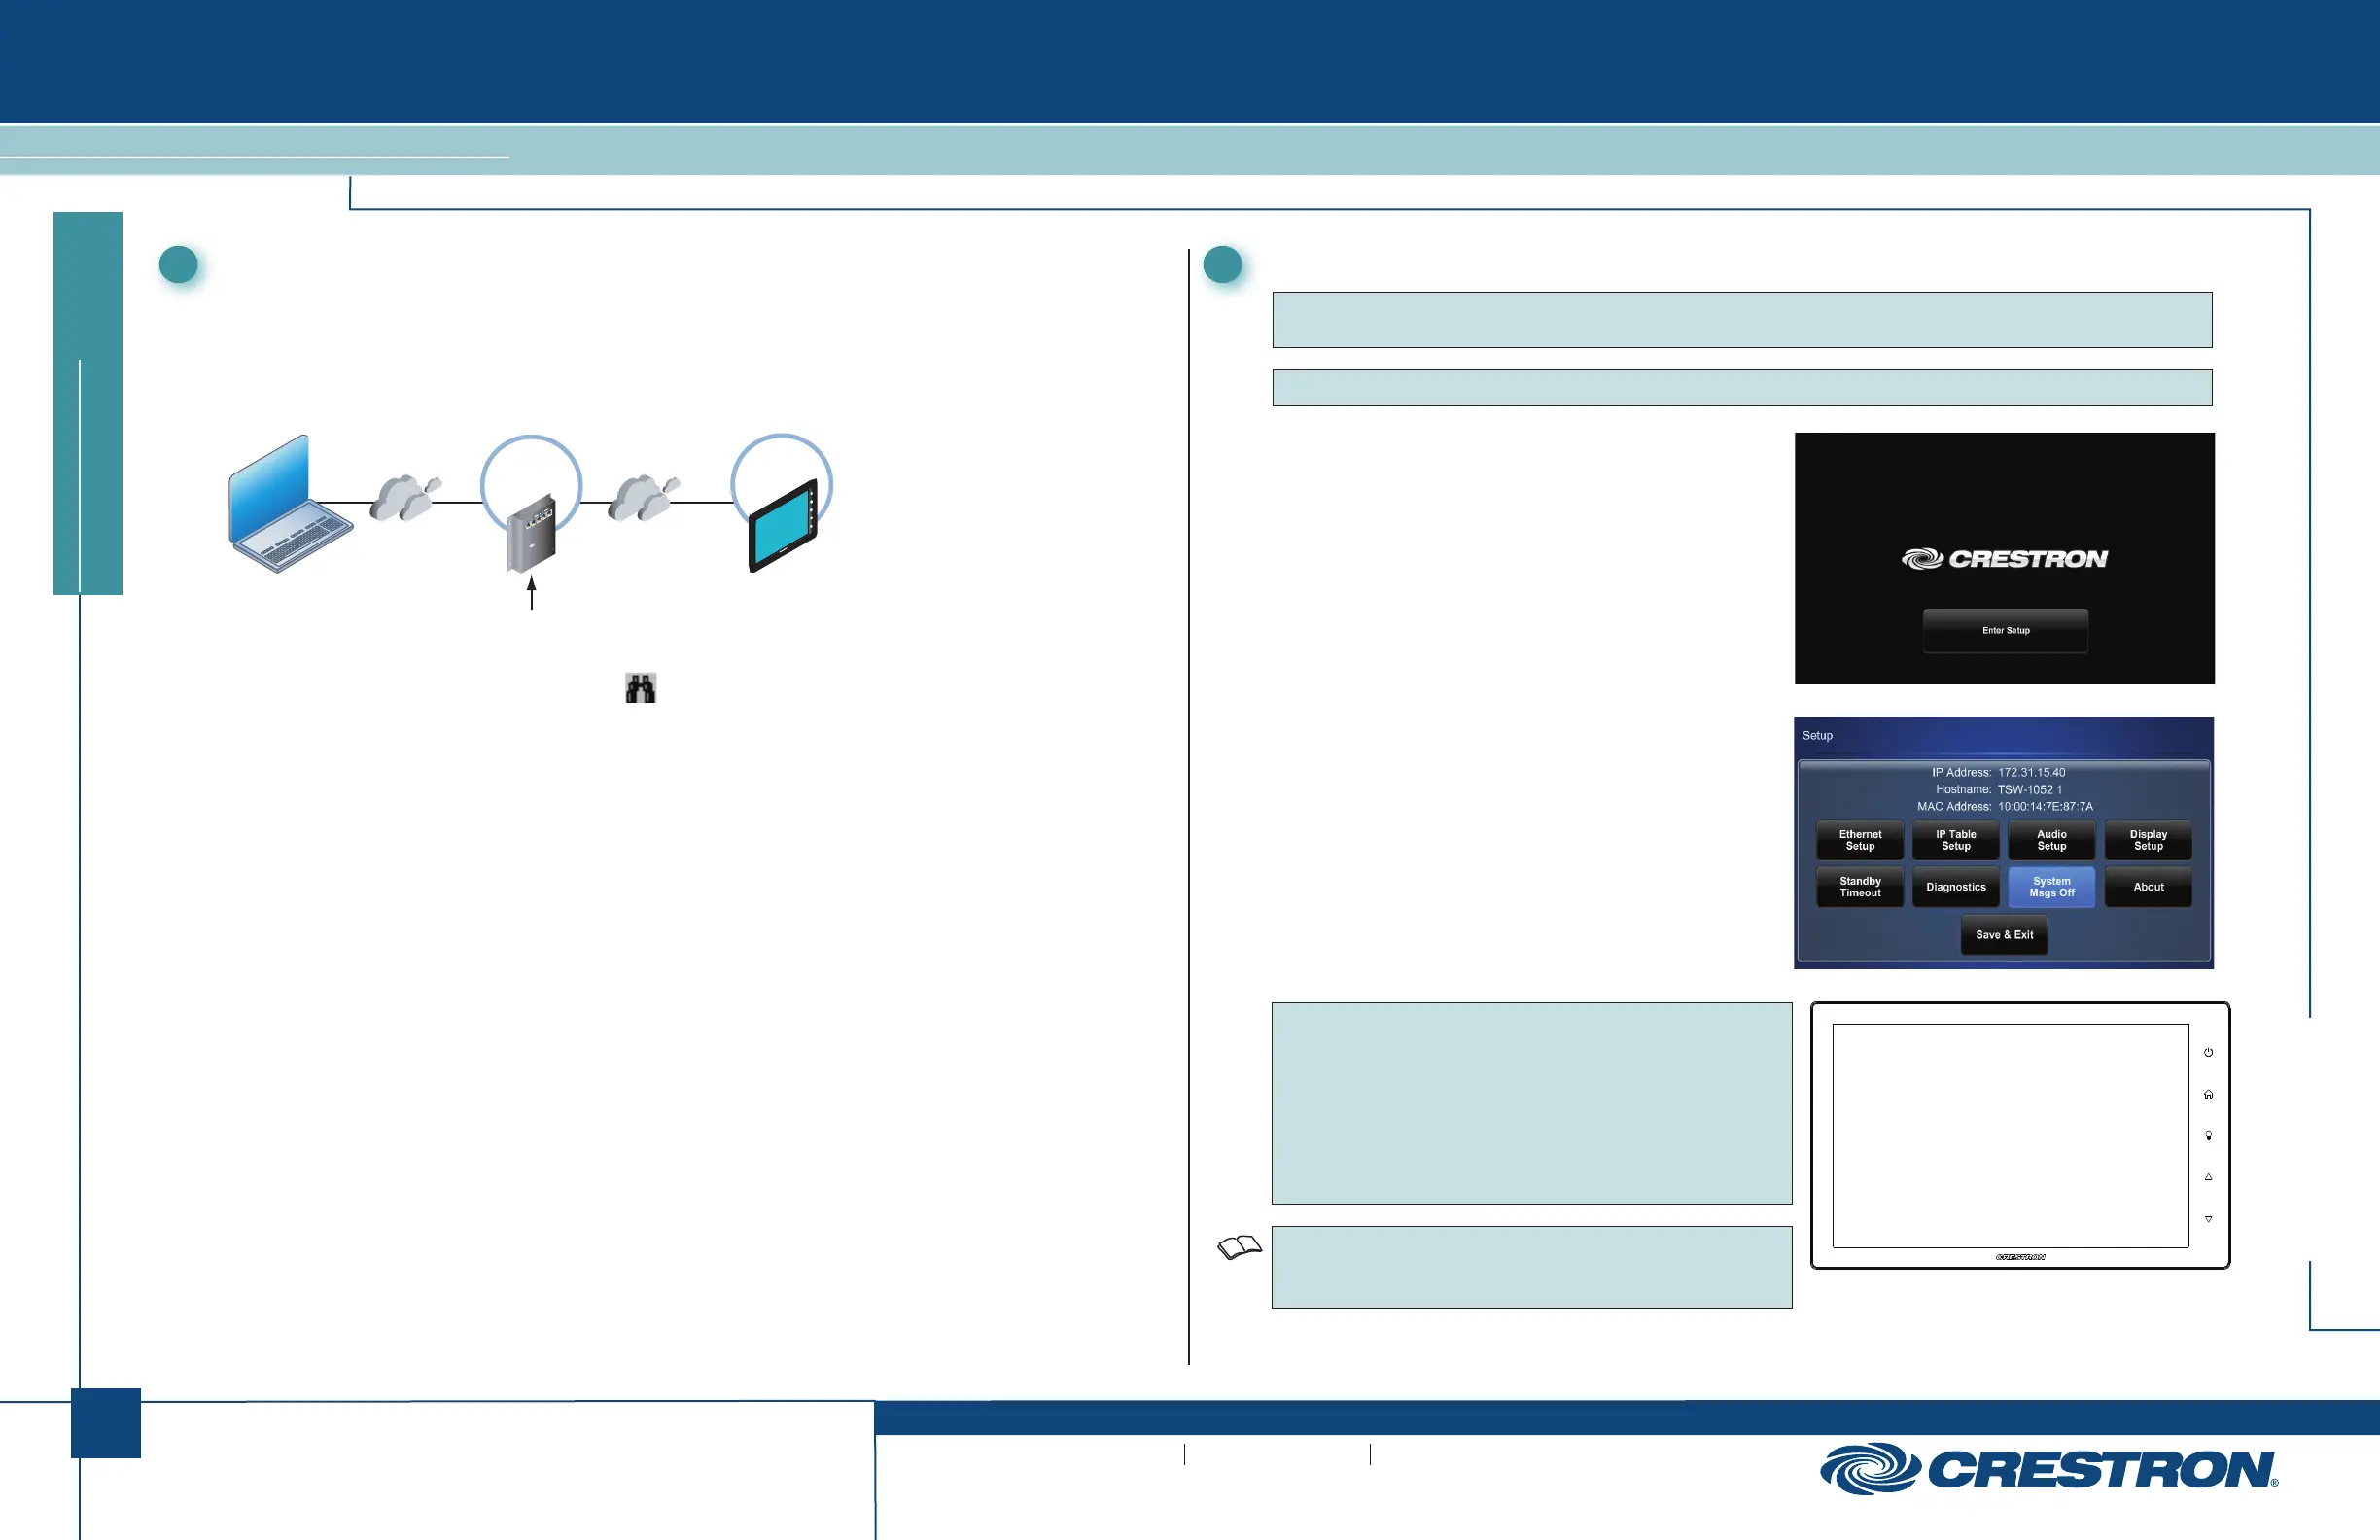
Establish Communication
Use Crestron Toolbox™ for communicating with the TSW-1052; refer to the Crestron Toolbox
help file for details.
There is a single method of communication: TCP/IP communication.
Ethernet Communication
NOTE: During regular operation of the touch screen,
there are two ways to activate the setup functions:
1. Place a button on the project main page and assign
the reserved join number (17242) that activates setup.
2. Touch “hard keys” 1, 2, 3, and 4, to the right of the
touch screen display, in sequence twice (touch
1, 2, 3, 4, 1, 2, 3, 4) within a five second period.
When power is applied for the first time, the screen
shown in the illustration to the right appears.
3
Configure the Touch Screen
NOTE: The only connection required to configure the touch screen is power.
Refer to step 2 in section
➊
“Install the Touch Screen” for details.
Touch the Enter Setup button to display the TSW-1052
main “Setup” menu, as shown in the illustration to the
right. The setup screens enable basic configuration
procedures prior to regular operation of the TSW-1052.
NOTE: For details on configuring the TSW-1052, refer to
the TSW-552/752/1052 Configuration Guide (Doc. 7578)
at www.crestron.com/manuals.
For regulatory compliance information, refer to Doc. 7577.
NOTE: The TSW-1052 can take up to 120 seconds to boot to a display after initial power up.
1
2
3
4
PC Running
Crestron Toolbox
LAN
Power
Injector
CRESTRON
CEN-SW-POE-5 Power over Ethernet Switch
Uplink
PoE
1
2
3
4
48VDC
Power
120 Volts
POE
TSW-1052
The TSW-1052 connects to PC via Ethernet:
1. Use the Device Discovery Tool (click the icon) in Crestron Toolbox to detect all Ethernet
devices on the network and their IP configuration. The tool is available in Toolbox version
1.15.143 or later.
2. Click on the TSW-1052 to display information about the device.
 Loading...