This product is Listed to applicable UL
®
Standards and requirements tested by Underwriters
Laboratories Inc.
Ce produit est homologué selon les normes et les exigences UL applicables par Underwriters
Laboratories Inc.
Federal Communications Commission (FCC) Compliance Statement
This device complies with part 15 of the FCC Rules. Operation is subject to the following two
conditions: (1) This device may not cause harmful interference, and (2) this device must accept any
interference received, including interference that may cause undesired operation.
CAUTION: Changes or modications not expressly approved by the manufacturer responsible for
compliance could void the user’s authority to operate the equipment.
NOTE: This equipment has been tested and found to comply with the limits for a Class A digital
device, pursuant to part 15 of the FCC Rules. These limits are designed to provide reasonable
protection against harmful interference when the equipment is operated in a commercial environment.
This equipment generates, uses, and can radiate radio frequency energy and, if not installed and used
in accordance with the instruction manual, may cause harmful interference to radio communications.
Operation of this equipment in a residential area is likely to cause harmful interference in which case
the user will be required to correct the interference at his own expense.
Industry Canada (IC) Compliance Statement
CAN ICES-3(A)/NMB-3(A)
The product warranty can be found at www.crestron.com/warranty.
The specic patents that cover Crestron products are listed at patents.crestron.com.
Certain Crestron products contain open source software. For specic information, please visit
www.crestron.com/opensource.
Crestron, the Crestron logo, and Zūm are either trademarks or registered trademarks of Crestron
Electronics, Inc. in the United States and/or other countries. App Store and iTunes are either
trademarks or registered trademarks of Apple, Inc. in the United States and/or other countries. UL and
the UL logo are either trademarks or registered trademarks of Underwriters Laboratories, Inc. in the
United States and/or other countries. Other trademarks, registered trademarks, and trade names may
be used in this document to refer to either the entities claiming the marks and names or their
products. Crestron disclaims any proprietary interest in the marks and names of others. Crestron is
not responsible for errors in typography or photography.
This document was written by the Technical Publications department at Crestron.
©2017 Crestron Electronics, Inc.
Crestron Electronics, Inc. Installation Guide - DOC. 7955A
15 Volvo Drive Rockleigh, NJ 07647 (2048126)
Tel: 888.CRESTRON 02.17
Fax: 201.767.7576 Specications subject to
www.crestron.com change without notice.
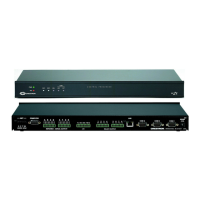
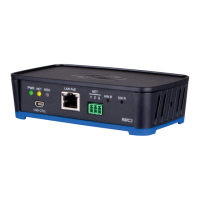
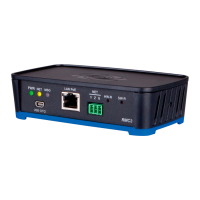
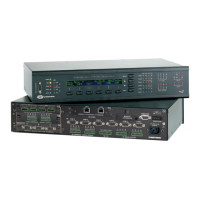
Connect the Network Bridge to the Zūm System
Adding the network bridge converts a stand-alone Zūm lighting control system for a
single room into a centrally controlled, networked system.
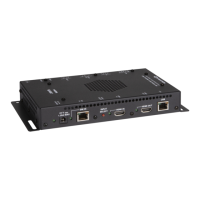
The ZUMMESH-NETBRIDGE communicates with the ZUM-FLOOR-HUB via a
ZUMNET-GATEWAY. This connection is made via a wireless communications protocol.
To join or leave the ZUM-FLOOR-HUB system, use the procedures outlined below.
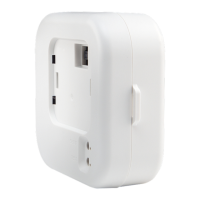
Connecting the ZUMMESH-NETBRIDGE to the ZUMNET-GATEWAY
In order for the ZUM-NETBRIDGE to communicate to the ZUM-FLOOR-HUB, it must rst
connect to a ZUMNET-GATEWAY.
NOTE: The ZUM-NETBRIDGE can be acquired by only one ZUMNET-GATEWAY.
1. Press the ACQUIRE button on the ZUMNET-GATEWAY to allow the
ZUMMESH-NETBRIDGE to join the system. Refer to the ZUMNET-GATEWAY’s
manual at www.crestron.com/manuals for details.
NOTE: In an environment where multiple ZUMNET-GATEWAYs are installed,
only one should be in Acquire mode at any time.
2. Connect the ZUMMESH-NETBRIDGE to the ZUMNET-GATEWAY.
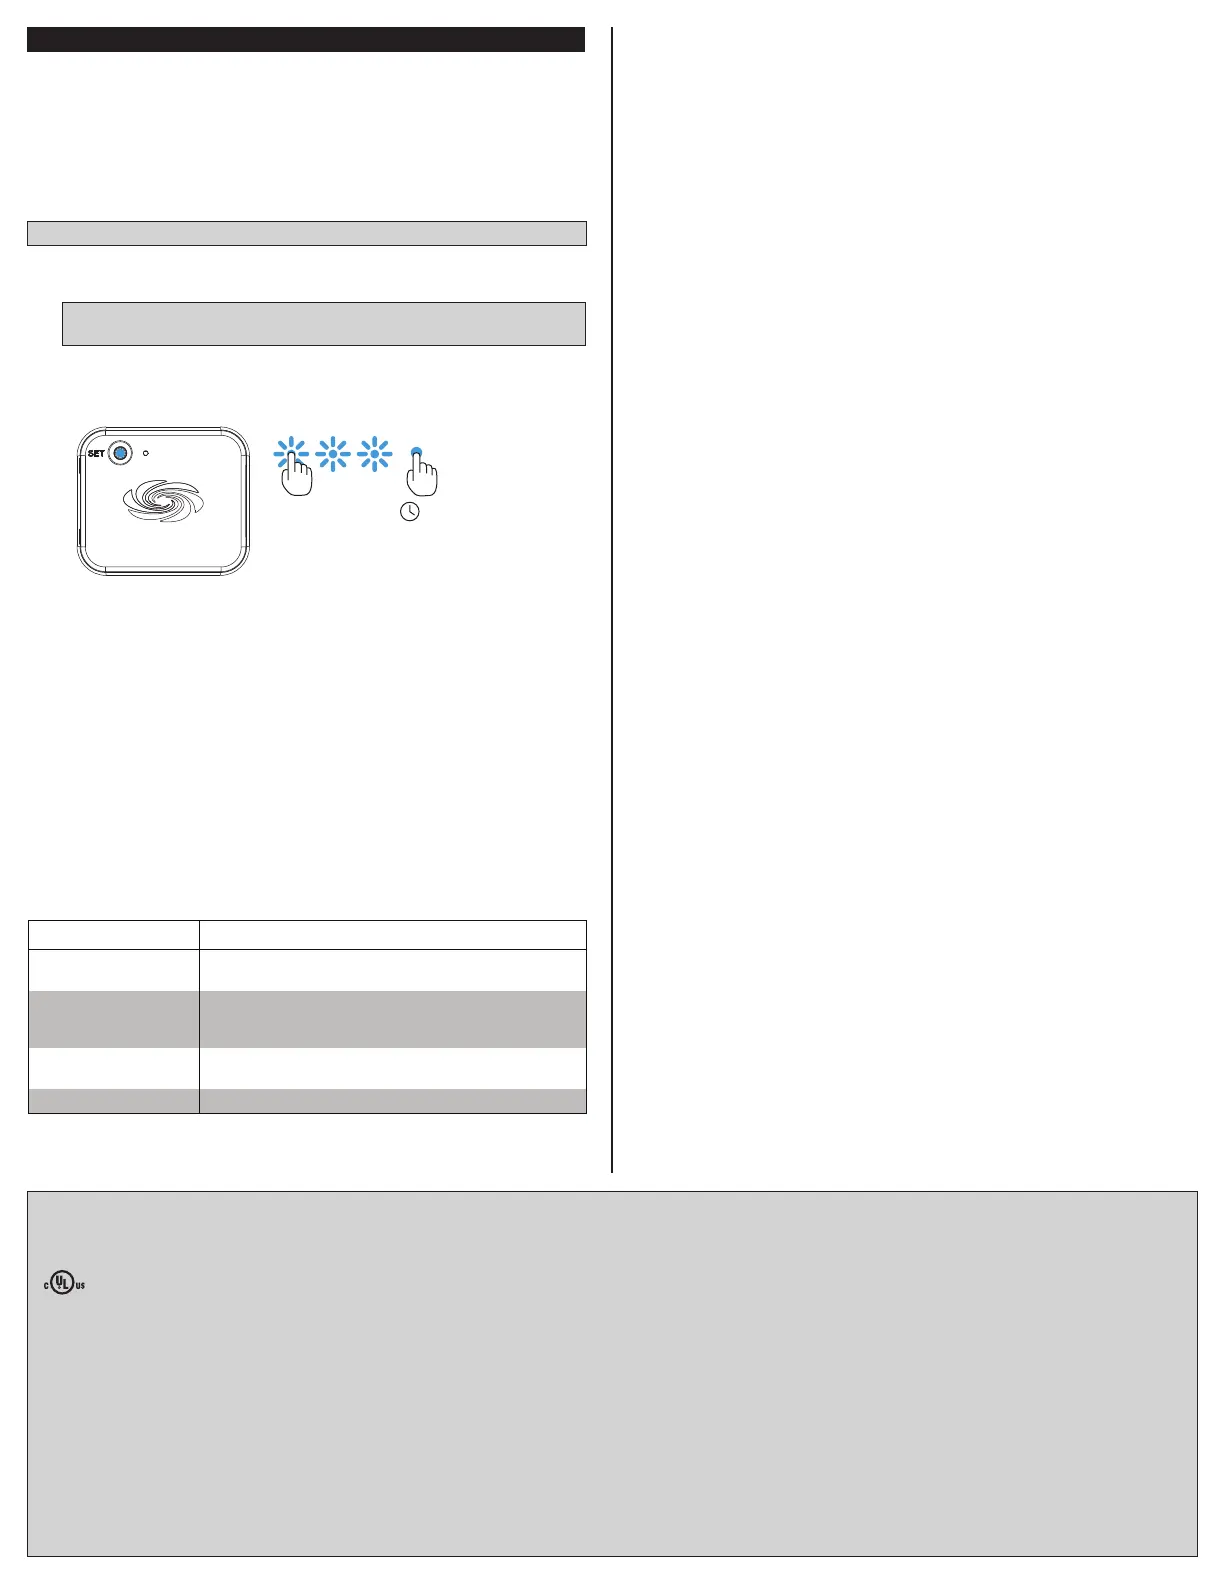
a. Tap the SET button on the ZUMMESH-NETBRIDGE three times, and then press
and hold it down (tap-tap-tap-press+hold) until the red LED on the device blinks
once (this can take up to 10 seconds).
2s or 10s
b. Release the SET button to start the acquire process. The red LED blinks slowly to
show that the device is attempting to connect to the ZUMNET-GATEWAY.
• The LED turns on for 5 seconds to show that the ZUMMESH-NETBRIDGE has
joined the network.
• The LED blinks fast to indicate that the ZUMMESH-NETBRIDGE failed to join
the network. Press the SET button to acknowledge the failure. Make sure that
the ZUMNET-GATEWAY is within range and repeat steps 1 and 2.
3. Once all ZUMMESH-NETBRIDGE has been acquired, press the ACQUIRE button to
take the ZUMNET-GATEWAY out of Acquire. Refer to the ZUMNET-GATEWAY’s
manual for details.
Disconnecting the ZUM-NETBRIDGE from the ZUMNET-GATEWAY
To leave the network, put the ZUM-NETBRIDGE into Acquire mode, as described in the
section above, when no ZUMNET-GATEWAY is in Acquire mode.
Verifying Communications Status
To check the communications status of the device, tap the SET button three times, and
then press and hold it down (tap-tap-tap-press+hold) for up to 2 seconds. The LED blinks
to indicate the communications status. Refer to the following table for details.
LED COMMUNICATIONS STATUS
Turns on for 5 seconds The device is communicating with the
ZUMMESH-FLOOR-HUB.
Blinks three times The device is communicating with the gateway, but the
gateway is not communicating with the
ZUMMESH-FLOOR-HUB.
Blinks twice The device was previously joined to the network but is
not communicating with the gateway.
Blinks once The device is not joined to the network.
 Loading...