7
AUTOMATIC ALTITUDE ADJUSTMENT
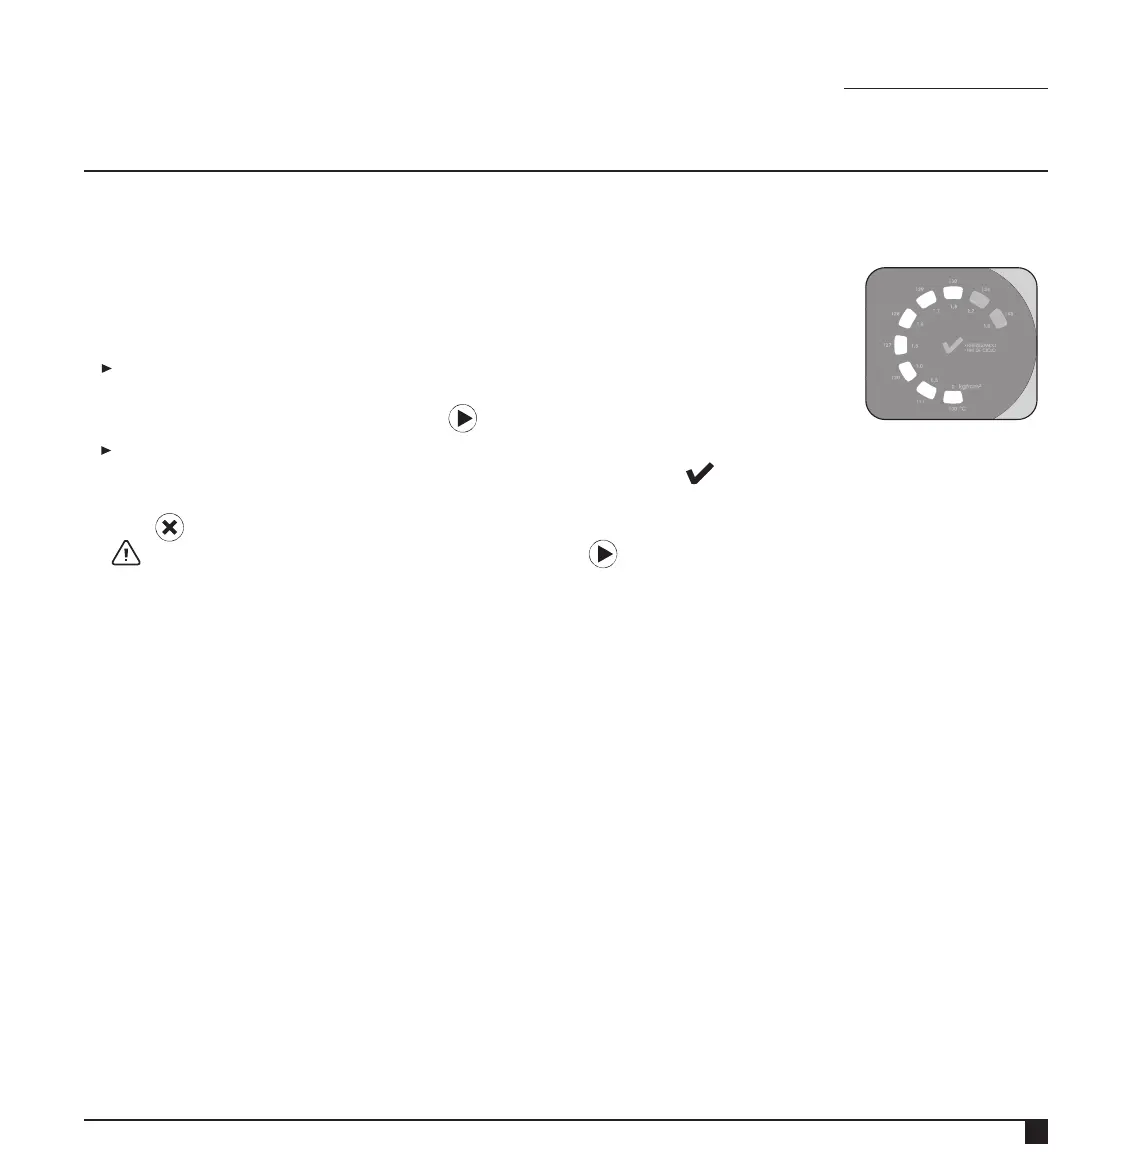
During heating process, the heating/drying LED will light up and the 7 LEDs (Fig. 7) will blink. The whole process will be
performed automatically in at most 15 minutes. At the end, the LED will light up, announcing the end of the
adjustment.
Press to return. Open the door and wait the chamber cool down to use (15 minutes, approximately).
If there are any problems during the adjustment, press to repeat. See ”Failure Indications” (page 10) following
the recommendations related to the shown failure message.
Open the door of the autoclave and, using the measuring cup, put the correct amount of
distilled water directly inside the chamber (150 ml for the Vitale Class 12 or 250 ml for the
Vitale Class 21). Close the door and press to begin.
2
1
The performance of the autoclave is directly related to the atmospheric pressure, which varies according to the
altitude of where is it installed. The following instructions will guide you on how to perform the Initial Cycle of your
autoclave. This reinforces that your autoclave will efficiently work at the location where it is installed.
Fig.6
If the equipment is transferred to another place, see the topic “Performing a New Automatic Altitude Adjustment”
(page 11).
When turning the autoclave on for the first time, the 7 first LEDs of the temperature/pressure
LED bar will keep alight (Fig 6), showing the need to perform the altitude adjustment, that is the
first cycle of the autoclave. Perform the adjustment without any materials, (only water must be
inside the chamber) following the instructions below:
CRISTÓFOLI
A U T O C L A V E S
U S E R M A N U A L



 To Next Page