The quality of installation may affect the performance and reliability of your Crossfire product. If you have any doubts or questions regarding installation, we recommend that you
contact your authorized Crossfire dealer. Remember to follow all wire and fuse requirements suggested in this manual. Warranty may void if proper installation technique is not
used (refer to warranty section in the rear of this manual).
IMPORTANT
Appropriate mounting is very important for prolonged life expectancy of any amplifier. Select a location of applicable space that allows sufficient airflow and provides protection
from moisture. Keep in mind that an amplifier should never be mounted upside down. Upside down mounting will compromise heat dissipation through the heatsink and will
engage the thermal protection circuit much sooner. Excessive heat can shorten your amplifier's life. To maximize heat dissipation, be sure to leave at least 2.5 inches of clearance
around the amplifier. Fans should be used in correspondence with an escape duct for heat when mounting the amplifier in an enclosed or restricted area.
Avoid slipping and scratching your new Crossfire amplifier by pre-drilling the mounting holes with either an 1/8" or 3mm diameter drill bit when using the screws supplied in the
accessory kit. Always investigate the mounting area thoroughly for electrical wires, vacuum lines, and brake or fuel lines before you start, as to prevent any potentially expensive
mistakes.
Heat is trapped inside the
amplifier, shortening the life
of the electronic components.
Incorrect Mounting
Correct Mounting
Heat is lifted from the
amplifier heatsink.
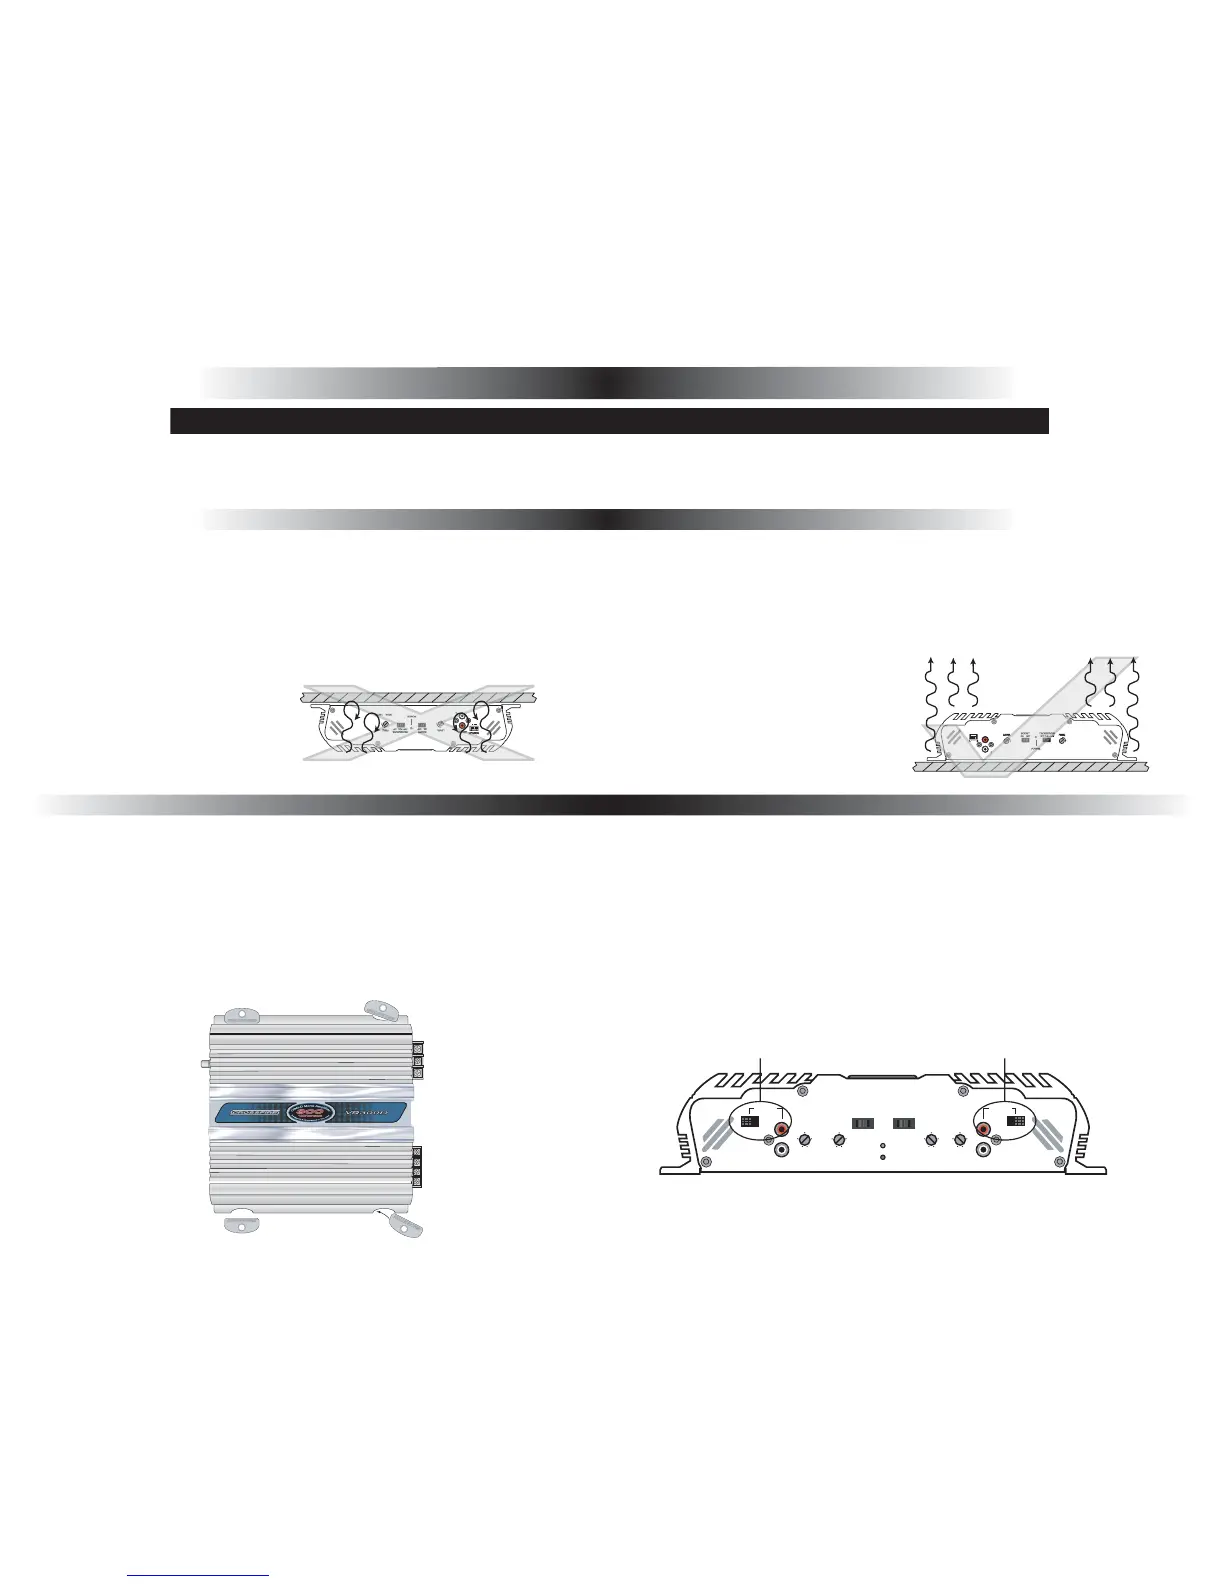
MOUNTING
Fig. 2
Fig. 1
Fig. 4
Fig. 3
(Fig. 1) Shows that this amplifier does NOT have
the mounting feet in place.
(Fig. 2) Place one end of the foot in the slot. Make
certain it is facing in the proper direction.
(Fig. 3) With a small rubber mallet, hammer the
opposite end of the foot until it snaps into the slot
correctly.
(Fig. 4) With the foot in place, it is normal for it to
have minimal play.
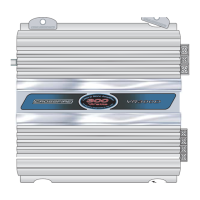
LOW INFRONT LOW IN REARLEVEL
R
L
R
L
X3 X1 X3 X1
LEVEL
FREQ
(Hz)
FREQ
(Hz)
HPF FULL LPF
POWER
PROT
CROSSOVER
HPF FULL LPF
CROSSOVER
3.2V
1.8V
420mV
165mV
150mV
50
105
225
395
500
50
105
225
390
500
3.2V
1.8V
420mV
165mV
150mV
fig. 1 fig. 2
This amplifier maybe equipped with an input sensitivity
switch(s) (fig. 1 and 2) which are meant to assist in
producing its rated power when using a head unit with
low voltage preamp outputs. For example, if your
model amplifier has this switch(s) and is afixed to the
"X3" position (fig. 1) the amplifier is most sensitive to
an input voltage range from 450mV-9V, where as when
set to the "X1" position it is most sensitive to an input
voltage range from 150mV-3V. However, this does not
mean you can connect or splice speaker level outputs
from a head unit to the RCA terminals of the amplifier.