I-Tech HD DriveCore Series Power Ampliers
Operation Manual
page 7
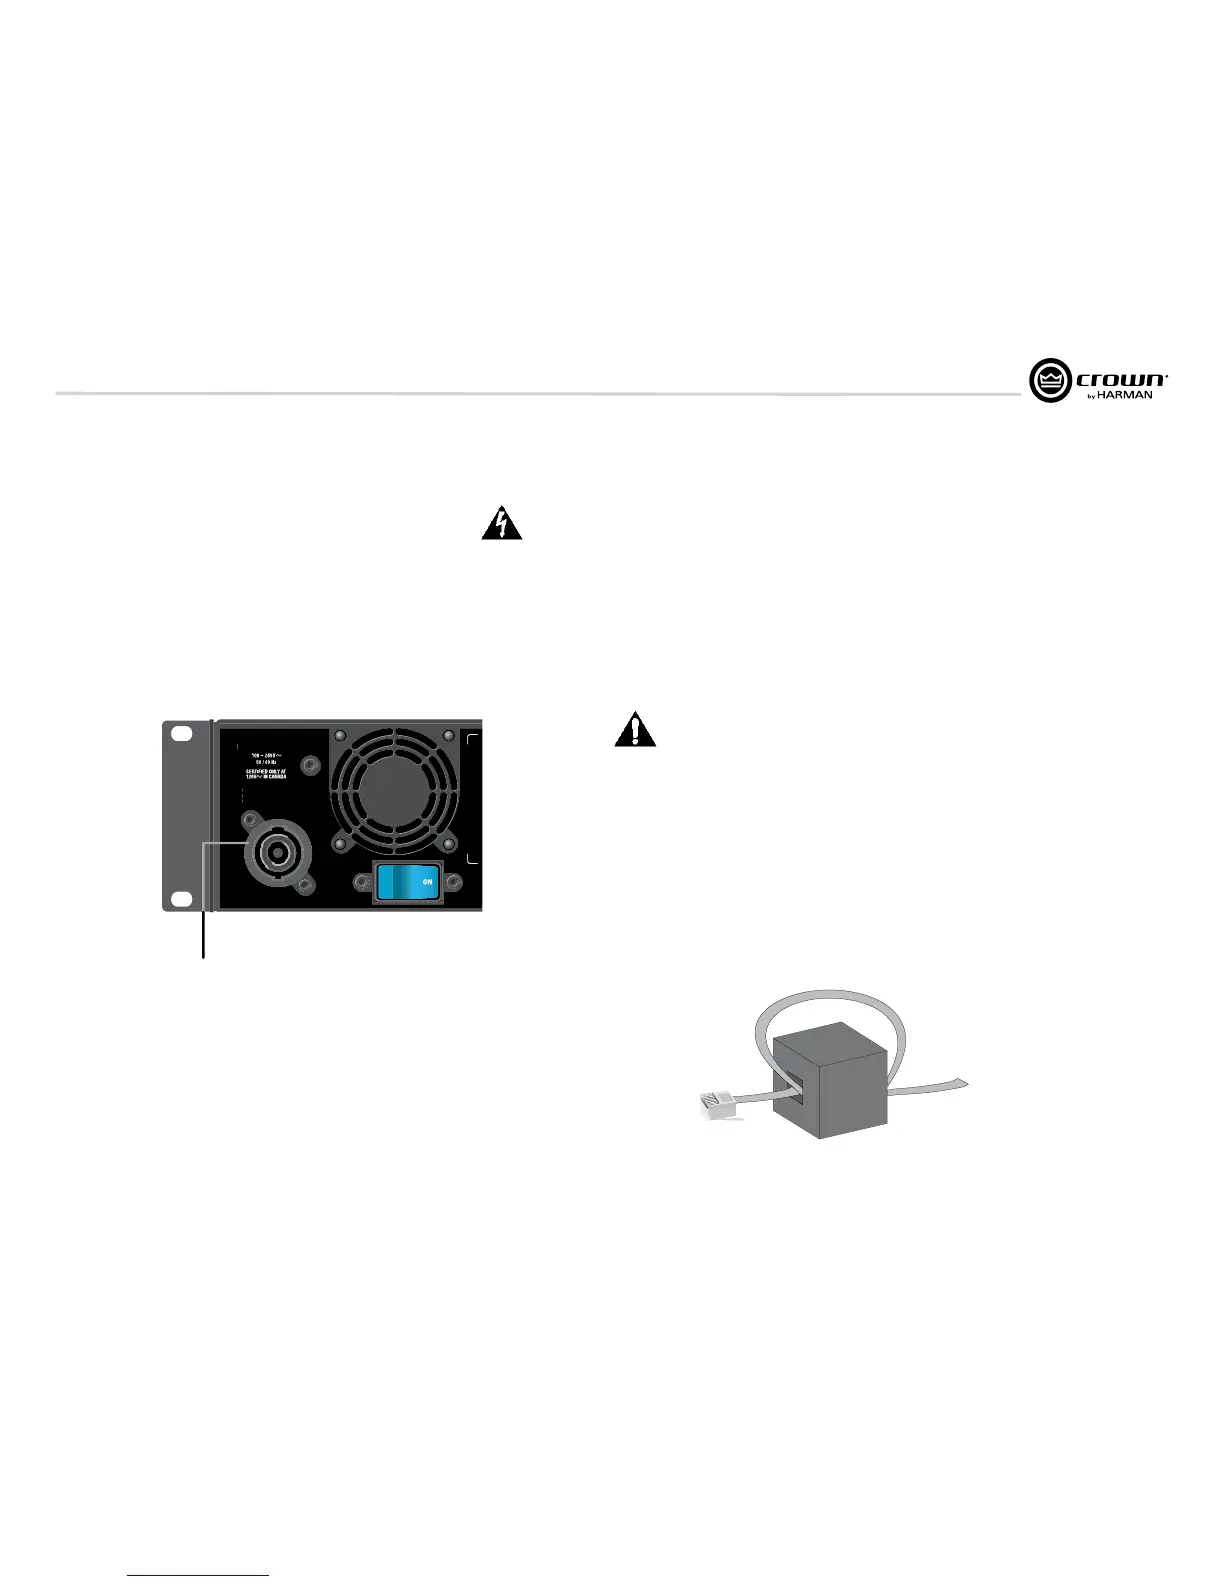
2.2 Connecting to AC Mains
WARNING: The third (ground) prong of the supplied AC power
cord connector is a required safety feature. Do not attempt to
disable this ground connection by using an adapter or other
methods.
Amplifiers do not create energy. The AC mains voltage and current must be
sufficient to deliver the power you expect. You must operate your amplifier
from an AC mains power source with not more than a 10% variation above
or a 10% variation below the amplifier’s specified line voltage range and
within the specified frequency requirements (indicated on the amplifier’s
back panel label). If you are unsure of the output voltage of your AC mains,
please consult your electrician.
2.3 Wire Inputs and Outputs
2.3.1 Wiring basics
• Always use shielded wire for input wiring. The higher the density of the
shield (the outer conductor) the better. Spiral wrapped shield is not
recom mended.
• When using unbalanced lines keep the cables as short as possible. Avoid
lengths greater than 10 feet (3 meters).
• Do not run audio input cables together with high-level wiring such as
loudspeaker wires or AC cords. (This lessens the chance of hum and noise
being induced into the input cables.)
• Turn the entire sound system off before changing any connections.
Crown is not liable for damage incurred when any transducer or compo nent
is over driven.
THE CHANNEL 2 AND 4 INPUT IS IGNORED by default in Bridge Mono
mode. It can be summed using the input source selector.
For additional information on audio input wiring please refer to the Crown
Amplifier Application Guide available online at www.crownaudio.com. It
contains helpful information on preventing unwanted subsonic frequen cies,
radio frequency interference, ground loops, and feedback oscillation.
When using network connections, pass the CAT 5 cable five times through a
ferrite core (Figure 2.4), available from Crown Audio Inc. This is to ensure
compliance with emission regulations.
2 Setup
Figure 2.3 Power Connector
 Loading...