Series 1000 and 1500
36
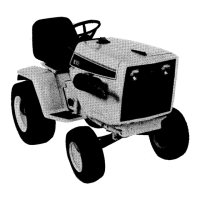
21.12.Using a 1/2” socket and 1/2” wrench, remove the
four hex nuts securing the transmission to the
frame.
See Figure 21.12.
CAUTION: The transmission must be supported
during removal of the bolts. Use a helper if nec
-
essary.
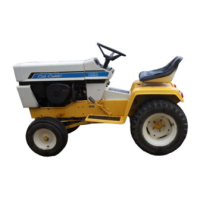
21.13.Lower the transmission from the rider. See Fig-
ure 21.13.
NOTE: There is a backing plate on the top of the
frame. There may be a spacer between the
frame and the transmission housing.
21.14.Reassemble in the reverse order of disassem-
bly.
NOTE: If it appears that the drive belts are worn,
we recommend replacing both of them when
servicing the transaxle. Use original OEM belts
to assure proper operation of the rider.
22. TRANSAXLE SERVICE AND INTERNALS:
CVT
• Transaxles needing service within the warranty
period qualify for like-kind exchange.
• If you are servicing transaxle internals, keep in
mind that different transaxles/components have
been used over the years.
• Carefully compare the transaxle with the illus-
trated parts list when ordering components.
23. TRACTION DRIVE BELT REPLACEMENT:
HYDROSTATIC LT
23.1. Turn-off the engine and allow all parts to cool
before beginning work.
23.2. Remove the cutting deck.
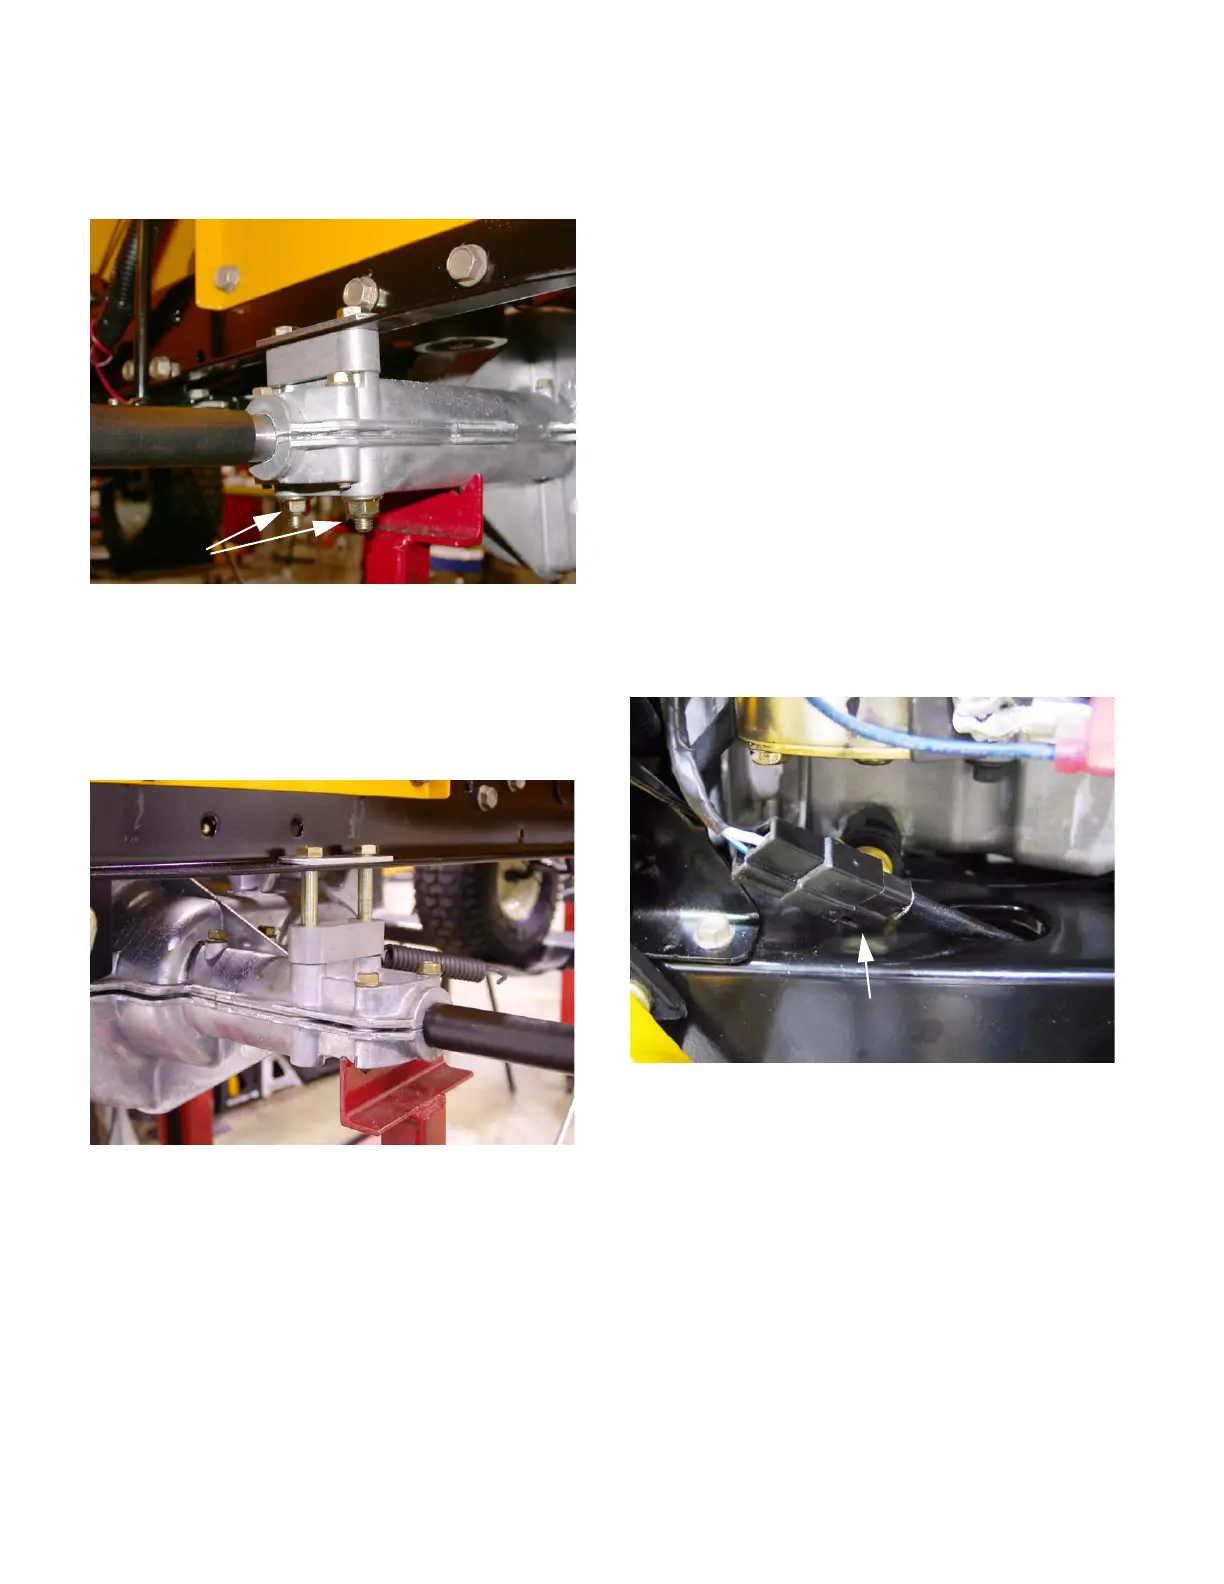
23.3. Identify and unplug the wires leading to the elec-
tric PTO clutch. See Figure 23.3.
Figure 21.12
Nuts
Figure 21.13
Figure 23.3
PTO clutch wires
 Loading...