21
• All batteries discharge during
storage. Keep the exterior of the
battery clean, especially the top. A
dirty battery will discharge itself
more rapidly.
• The battery must be stored with a
full charge. A discharged battery will
freeze at a higher temperature.
Specific Gravity Freezing Point
1.265 –71°F
1.250 –62°F
1.200 –16°F
1.150 5°F
1.100 16°F
• Recharge the battery before
returning to service; or every two
months, whichever comes first.
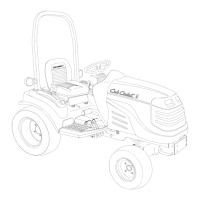
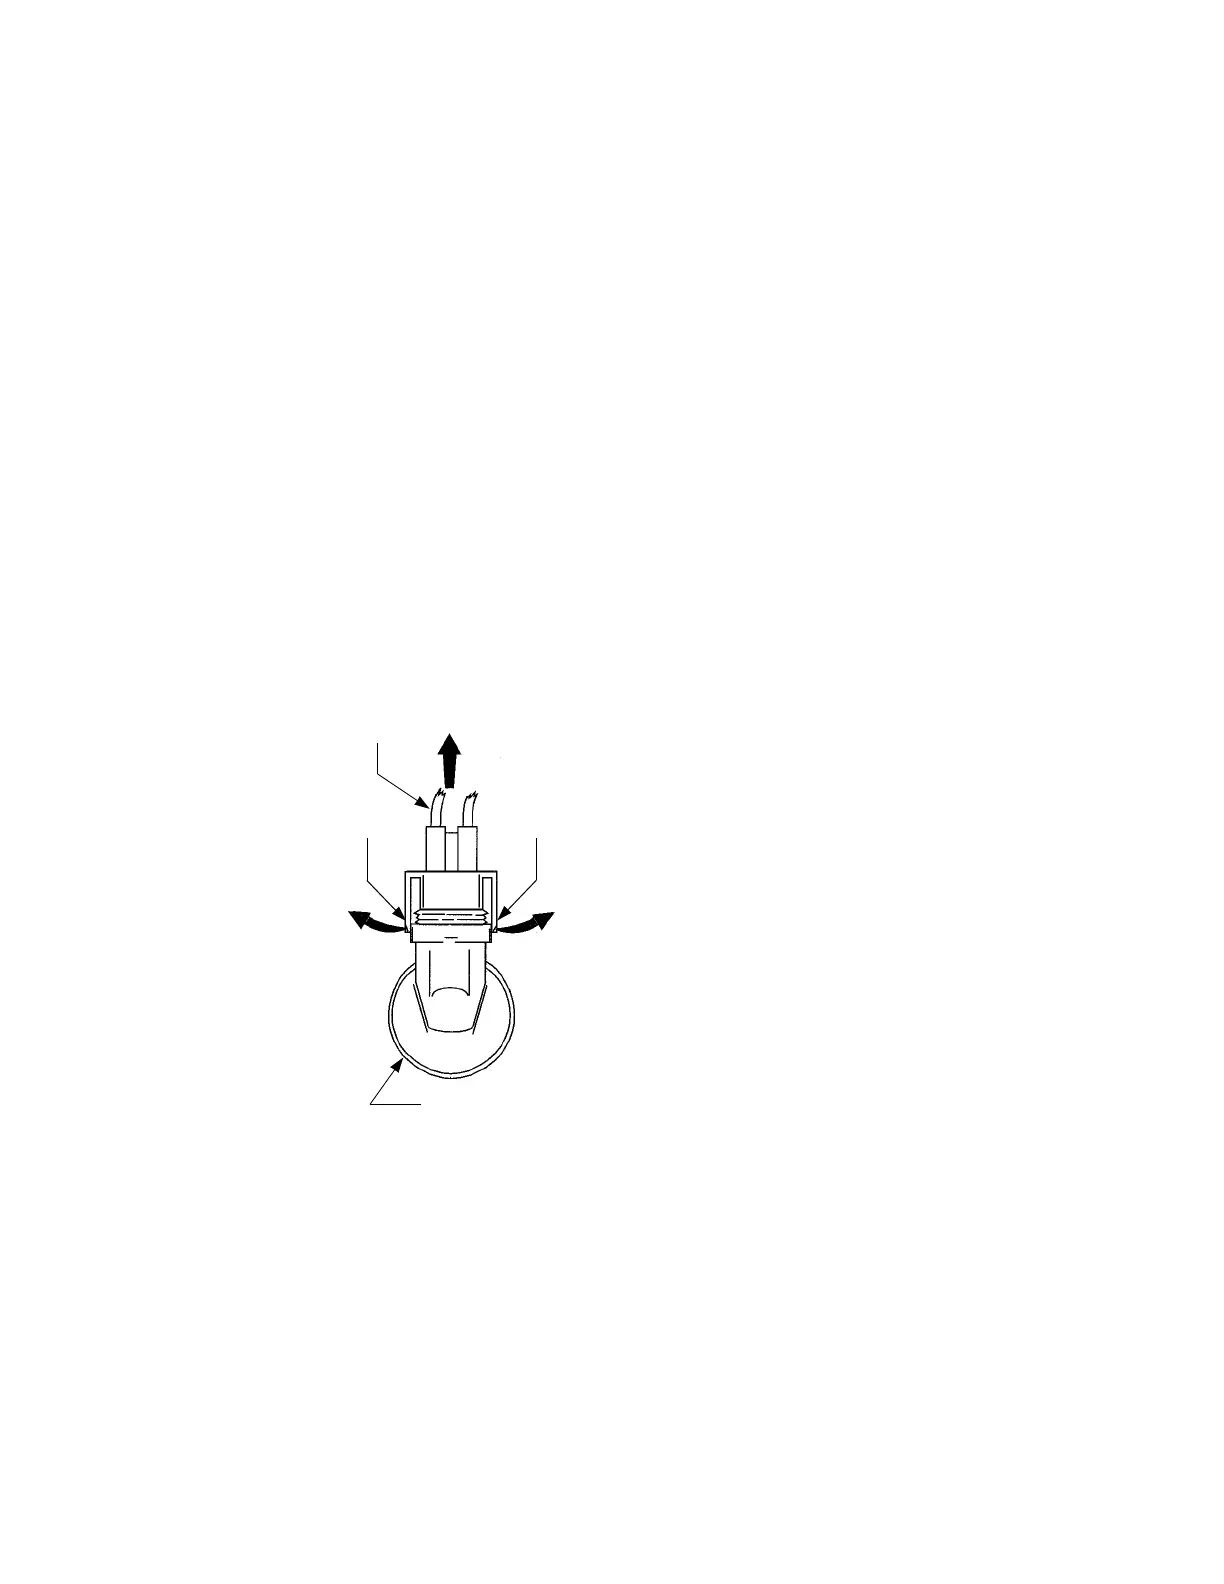
Headlight Bulb Replacement
Figure 19
The headlight assembly has two bulbs
one for the right and one for the left
reflector. To replace one or both
headlight bulbs:
• Lift the hood to expose the back
side of the headlight assembly.
• Pull both locking tabs away from
light bulb and pull wire harness
away. See Figure 19.
• Remove the light bulb from the
reflector by turning counterclock-
wise. The light bulb will be free of
the reflector when the notches in
thereflector and the tabs on the bulb
are aligned.
• Replace light bulb with like part.
• Align the tabs on the light bulb and
the notches in the reflector and
insert light bulb.
• Turn light bulb clockwise to lock in
place. Connect wire harness and
make sure that the locking tabs are
seated on the light bulb.
Tail Light Bulb Replacement
Each tail light assembly has two
lightbulbs. Access the back side of the
tail lights from under the rear fender.
NOTE: Because of the close proximity
of the fuel tank, extreme caution
should be taken when removing the
tail light sockets from the reflector
housings. The bulbs can be pulled
from the sockets and dropped into the
reflector housing, which will then
require removal of the reflector
housing to retrieve the bulb.
To replace a light bulb:
• Turn the light bulb socket
counterclockwise to align the tabs
on the socket with the notches in
the tail light reflector.
• Once aligned pull light socket out of
the tail light reflector.
• Pull the light bulb from the socket.
• Replace light bulbs with like part.
• Align the tabs of the socket with the
notches in the reflector and carefully
insert the socket.
• Turn socket clockwise to lock in
place. Make sure the socket is
locked securely in place.
Wire Harness
Locking Tab Locking Tab
Light Bulb Assembly

 Loading...