Periodic
Maintenance
3‐16
Maintenance and Adjustment of the UV
Adjust:
Pull back the adjuster cover
(1).
Loosen the locknut (2).
Turn the adjuster (3) in or out
to achieve proper free play.
Tighten the lock nut.
Slide the adjuster cover back
to its original position.
Caution:
Do not mix different type of brake
f
luid.
Use Dot 3 brake fluid only as
mixing
can cause brake failure and
expensive repairs.
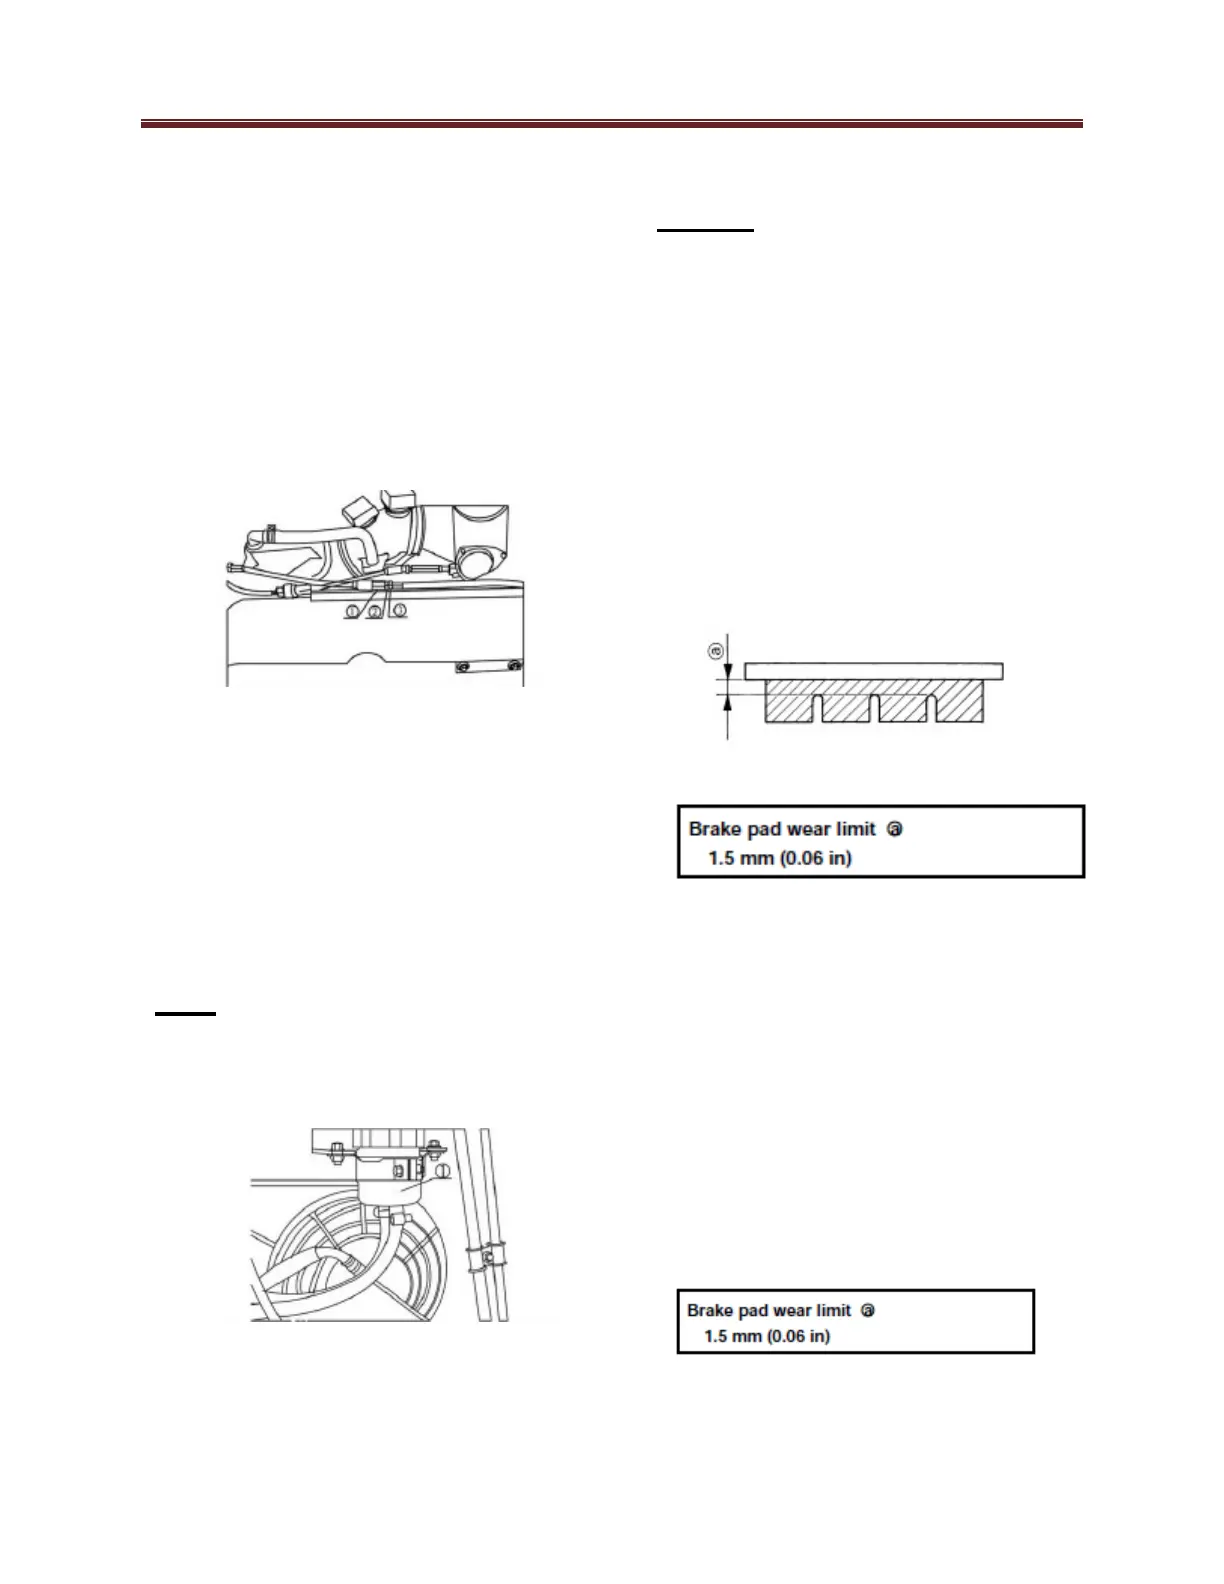
CHECKING THE FRONT BRAKE PADS
1.
Remove the front wheels.
2.
Check:
·When the brake pads wear indicator
grooves (a) have almost disappeared,
replace the
brake pads as a set.
5) Install the console, passenger’s
seat and driver’s seat.
Checking the Brake fluid Level
1)
Place the vehicle on a level surface.
2)
Lift the hood.
3)
Check the reservoir level line (1).
Fluid should be above the “Min” line.
Note:
Brake fluid may erode painted surfaces
or plastic parts. Always clean up spilled
fluid immediately.
3.
Operate the brake pedal.
4.
Install:
·front wheels
CHECKING THE REAR BRAKE PADS
1.
Remove the rear wheels.
2.
Check:
·When the brake pads wear indicator
grooves (a) have almost disappeared,
replace the
brake pads as a set.
3.
Install the rear wheels.
 Loading...