Assembly & Installation
4
10
Mount Assembly on Tractor - All Tractor Models
Install the mounting assembly on the tractor as follows:
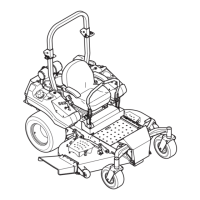
Insert the mounting brackets into the frame rails on the 1.
rear of your tractor as seen in Fig. 4-3. Slide the mounting
assembly in until the mounting hole in the cross brace
aligns with the hole on the tractor’s hitch plate.
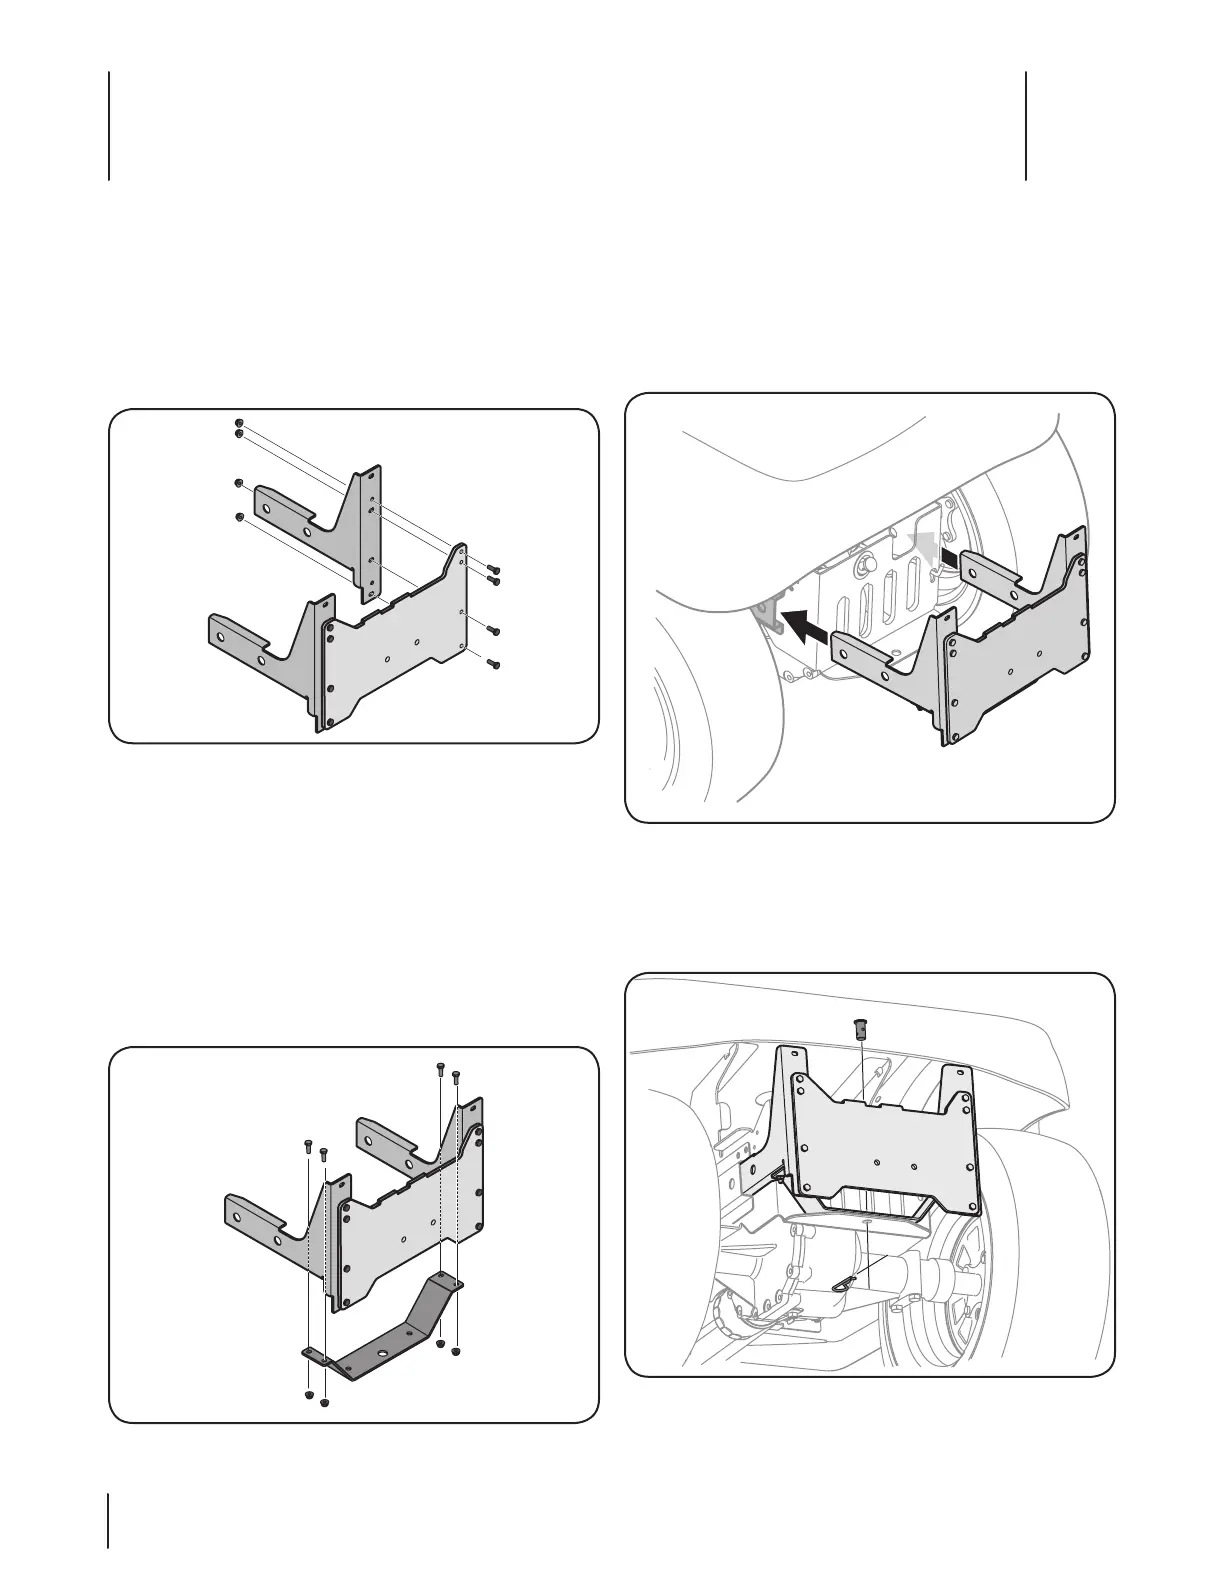
Secure the bagger mounting assembly to the tractor 2.
by inserting the clevis pin (711-0309A) down through
the aligned hole and secure with the internal cotter
pin (714-0117) included with the mounting kit. See
Fig. 4-4.
Assemble Mounting Brackets - All Tractor Models
To assemble the bagger mounting assembly, locate the
hitch bracket kit and follow these steps:
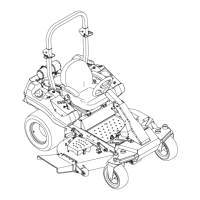
Attach the two catcher support brackets to the 1.
bagger mounting plate using eight Hex bolts (710-
3015) and flange lock nuts (712-04064) packed in with
the mounting brackets. Position both brackets with
the flanges facing towards the right. See Fig. 4-1.
Note: This universal mounting bracket assembly is
designed to work with other available attachments,
such as a weight kit used in conjunction with the snow
blade or snow thrower attachment. Utilize the contact
information on page 2, or contact the retailer in which
you purchased this equipment, to find out more about
available attachments for your specific tractor.
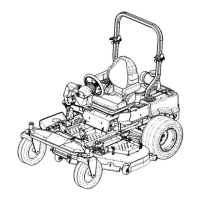
Mount the cross brace, with the bow in the brace 2.
facing away from the mounting brackets, to the
mounting assembly using four hex bolts (710-3015)
and flange lock nuts (712-04064), packed in with
the mounting brackets. See Fig. 4-2 for proper
orientation.
Figure 4-1
Figure 4-2
Figure 4-3
Figure 4-4
 Loading...