© CUB CAMPERS • 2.2 OWNER’S MANUAL V2 • 20/12/2022 PAGE 18 of 32
5. Set up the 2 additional
Upright Spigot poles
that extend the Extended Deluxe
awning further forward of the trailer body. TIP: Set the Extended Deluxe awning
in line with the 3 Velcro pole settings first, and after setting up this area of the
awning, the extended section will be easier to set up.
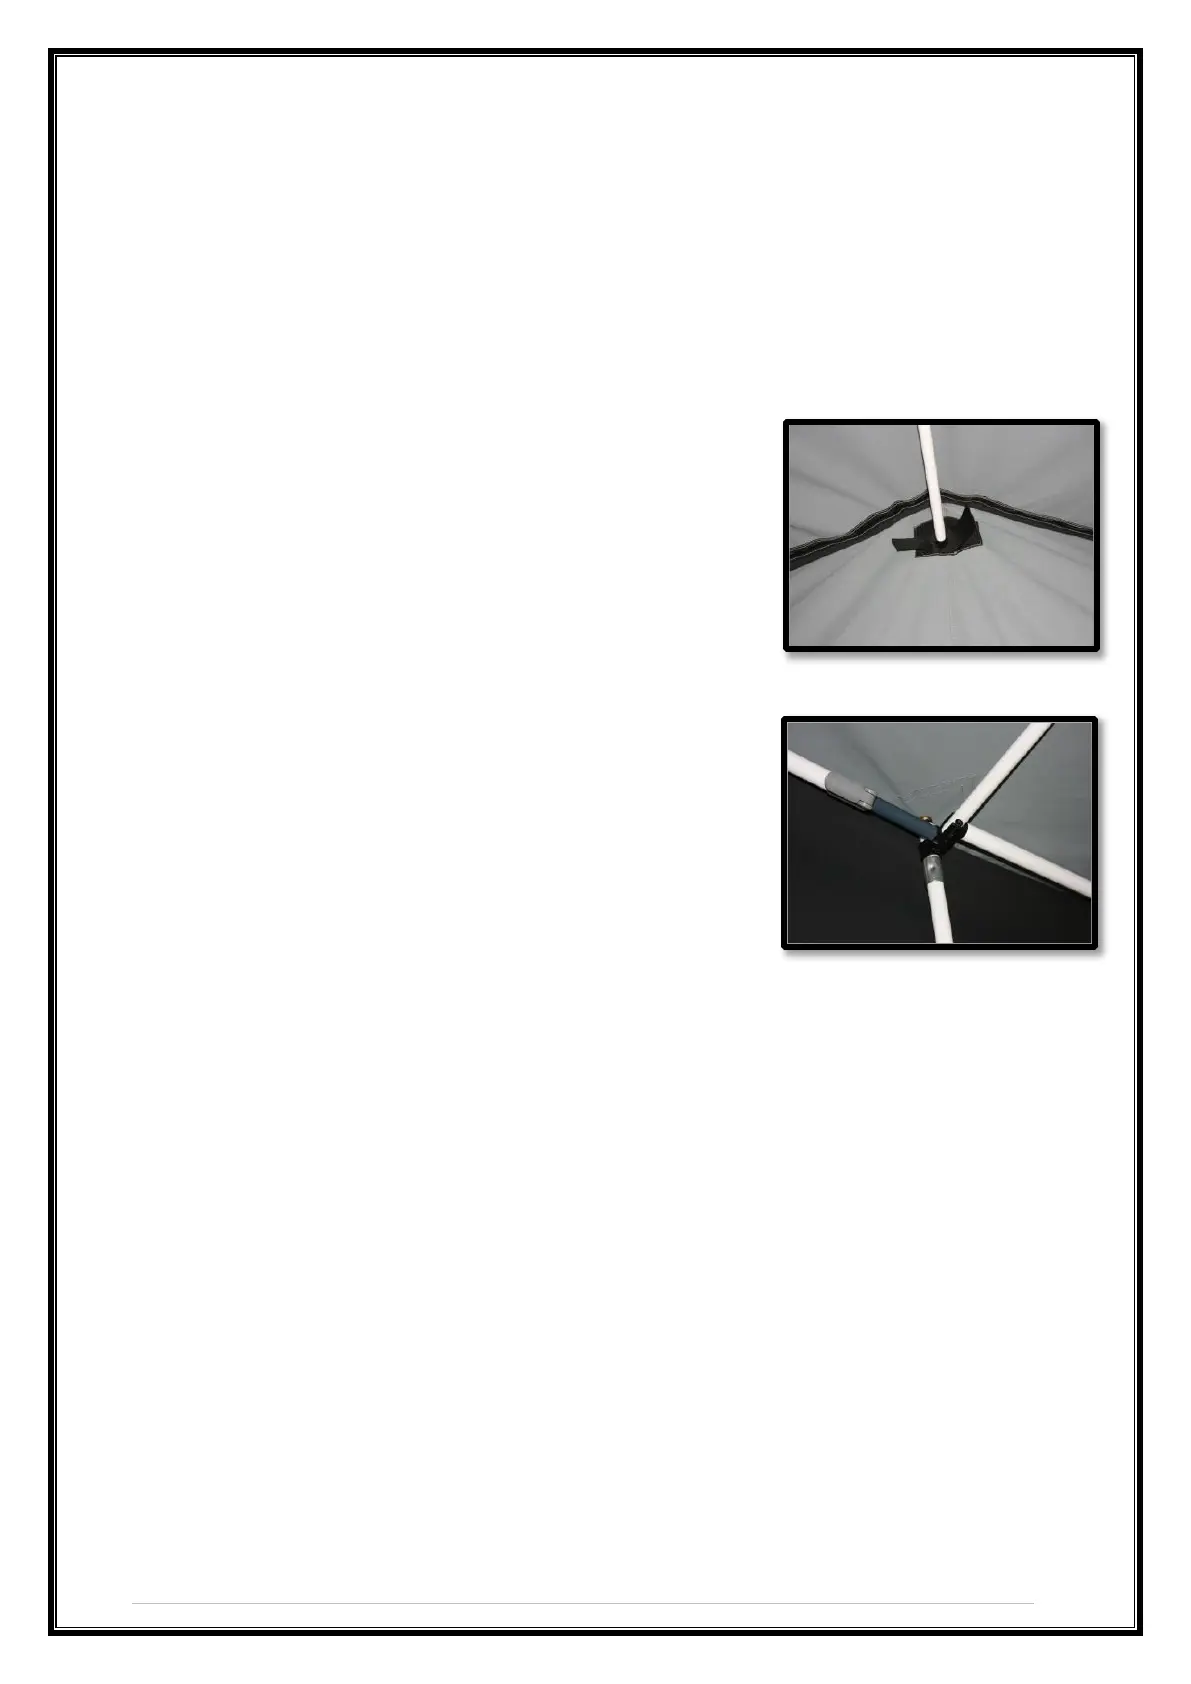
6. Raise the centre (or high point)
Upright Spigot pole
but keep it within a
manageable height to attach further poles.
7. Affix the
Velcro Spreader Poles
to the Velcro patch on
the trailer tent by aligning it with the Velcro where
you can feel the tent bar behind the canvas. Snap the
cup end onto the
Upright Spigot pole
(above the
collar). Open the snap lock adjuster and spread the
pole outwards tightly and close the snap lock
adjuster to prevent the spreader from closing
inwards. Secure the awning to the
Velcro Spreader
Poles
with the Velcro ties sewn on to the inner side of
the awning.
8. Snap the
Cup Spreader Poles
(Cup at both ends) on
to the
Velcro Spreader Poles
forward of the collar,
loosen the snap lock adjuster and extend outwards
firm firmly and then close the snap lock adjuster to
prevent the
Cup Spreader Poles
from closing inwards
and finally secure the
Cup Spreader Poles
to the
awning with the Velcro ties sewn on to the inner side
of the awning.
9. Starting with the centre (high point of awning pitch roof)
Upright Spigot pole,
loosen the snap lock adjuster, and raise the pole to suitable height. Close the
snap lock adjuster to secure the
Upright Spigot pole,
then follow with the other
Upright Spigot poles.
Now tighten the securing ropes to hold the awning frame
in position. NOTE: Ensure the front (outer edge) of the awning is NOT higher than
the awning zip where affixed to the trailer tent section and this will allow water
run-off to be away from the zippered join.
10. Fitting of removable walls is as easy as zipping one side of the front and rear
walls to the trailer tent section, and Velcro fixing the top edge of the wall to the
Velcro edge of the Extended Deluxe awning. Use the small pegs provided to fix
the bottom edge of the wall to the ground, a hammer/mallet will be required to
drive the small pegs into the ground through the eyelets at the base of the wall.


 To Next Page