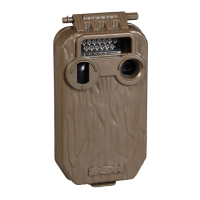
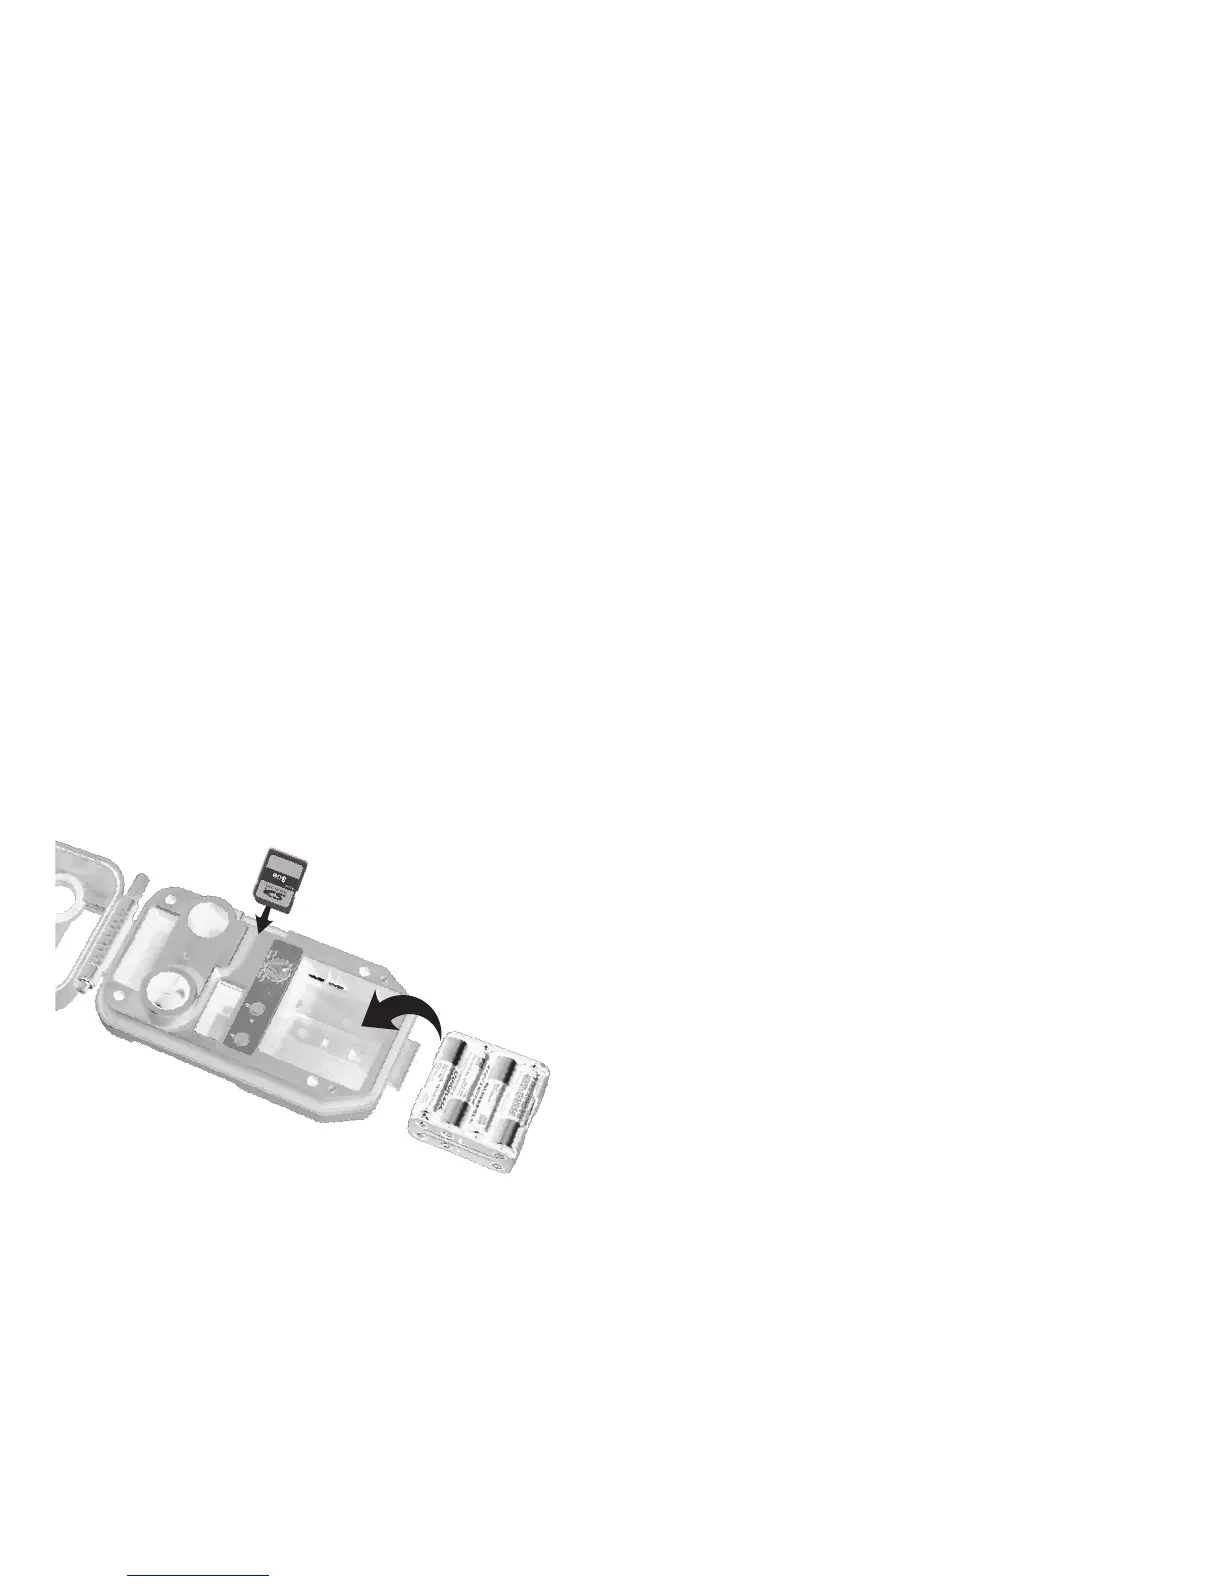
Step 2 – Installing Batteries and SD Card
4URNTHEROTARYKNOBTOTHEOFF position.
/PENTHECOVERANDREMOVETHEBATTERYHOLDER
)NSTALL!!ALKALINEOR!!LITHIUMBATTERIES
Lithium batteries will
provide longer battery life
and better night IR images.
Make sure to observe
correct polarity. Close the door.
!SERIESOFNUMBERSDISPLAYED4HESEARETHE3%%.
®
camera’s
hardware and software version numbers.
7AITUNTILTHE,#$DISPLAYGOESBLANKANDTHE
GREENANDRED,%$SAREOFF
)NSTALLYOUR3$CARD"ESURETOOBSERVETHECORRECT
polarity with clipped corner up.
Battery Install
SD Card
Install
Step 3 – Setting up the SEEN
®
4URNTHEROTARYKNOBTOTime position,
press A and B to set. Time is AM/PM format.
4URNTHEROTARYKNOBTODate position,
press A and B to set.
4URNTHEROTARYKNOBTOYear position,
press A and B to set.
,ATERYOUWILLREADStep 8 – More Features
FORINFORMATIONONTHE-%.5POSITIONS
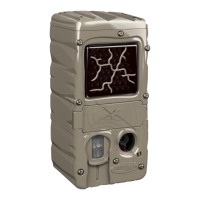
Step 4 – Attaching SEEN
®
to a Tree
7ERECOMMENDYOUlRSTTRYYOUR3%%.
®
camera
at home.
&OROPTIMUMDETECTIONOFDEERSIZEDANIMALSWE
RECOMMENDMOUNTING3%%.
®
about
TOINCHES
OFFTHEGROUNDTHISISABOUTWAISTHIGHTOSLIGHTLY
HIGHER
&ORBESTIMAGEQUALITYINSTALL
3%%.
®
ABOUTTO
FEETFROMWHEREANIMALSAREEXPECTED
.
3%%.
®
will detect animals at distances
from directly in front
OFTHECAMERATOABOUTFEET
Note that detection
distance varies greatly with
air temperature, animal
size, and the speed the animal is moving.