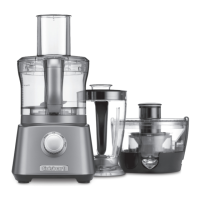
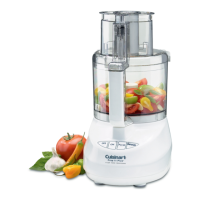
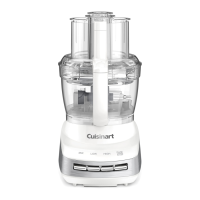
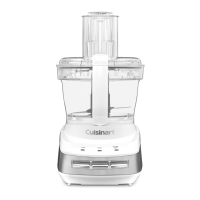
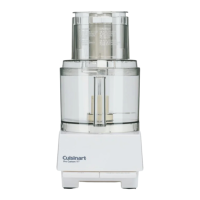
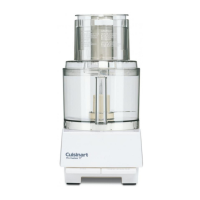
FOOD
PROCESSOR
ASSEMBLY
Please
note
that
the
work bowl with collar willfit on
the
base
in eight
different
positions.
The
handle
can
be
in
front
or
on
either
side,
and
the
feed
tube
in
front,
back,
or
on
either
side.
Directions
for
use
reference
a
certain
position
for
instructional
purposes
only.
CHOPPING
BLADE
ASSEMBLY
1.
Hold
work
bowl
collar
in
one
hand
and
work
bowl
handle
in
the
other.
Twist
bowl
clockwise
onto
collar.
2.
Place
collar with bowl
onto
motor
base
with
handle
facing front.
3.
Place
chopping
blade
over
shaft
in
work
bowl.
Chopping
blade
should
slide
easily
to
the
bottom
of
the
bowl.
Lower
blade
will
almost
touch
bottom
of
bowl.
BE
SURE
TO
HANDLE
THE
METAL
BLADE
WITH
CARE,
AS
IT IS
RAZOR
SHARP!
4.
Put
cover
on
work
bowl,
with
feed
tube
at
about
11
o'clock.
Turn
the
cover
clockwise
until it fits into position. Cover lock
must
click into locked position prior to
use.
Ifyou have trouble fitting
the
cover
on
the
work bowl, turn
chopping
blade
hub
slightly
and
replace
cover.
5.
The
food
pusher
fits in
feed
tube
with
the
more
rounded
side
toward
the
outside
of
the
bowl.
6. Plug
your
unit into a wall
outlet.
7. To remove cover, unlock it by turning it counterclockwise,
then
lift it
straight
up.
SLICING
AND
SHREDDING
DISC
ASSEMBLY
1.
Hold
collar
in
one
hand
and
work
bowl
handle
in
the
other.
Twist
bowl
clockwise
onto
collar.
2.
Place
collar with bowl
onto
motor
base
with
handle
facing front.
3. Place
adapter
stem
onto
the
center
shaft.
Place
the
slicing/
shredding
disc
onto
shaft
with
the
desired
cutting
blade
facing
up. To
slice:
Attach
disc
to
stem
with
the
raised
edge
of
slicer
on top. To
shred:
Attach
disc
to
stem
with
the
raised
shredding
slots
on
top.
BE
SURE
TO HANDLE THE METAL DISC WITH
CARE,
AS
IT IS
RAZOR
SHARP.
4.
The
food
pusher
fits in
feed
tube
with
the
more
rounded
side
toward
the
outside
of
the
bowl.
5.
Put
cover
on
work
bowl,
with
feed
tube
at
about
11
o'clock.
Turn
the
cover
clockwise
until it fits into position.
Cover
lock
must
click into
locked
position
prior
to
use.
If you
have
trouble
fitting
the
cover
on
the
work
bowl,
turn
chopping
blade
hub
slightly
and
replace
cover.
Plug
your
unit into a
household
electrical
outlet.
To
remove
cover,
unlock
it by
turning
it
counterclockwise,
then
lift it
straight
up.
OPERATION
Your
SmartPower
Premier
Duet™
appliance
uses
the
Low
and
High
speeds
with
the
food
processor
attachment.
When
using
the
food
processor,
always
use
Low
when
slicing
or
shredding,
and
either
High
or
Low
when
chopping.
You
may
also
use
the
Pulse
button
set
on
Low
or
High
for
pulse
chopping.
CHOPPING
BLADE
FUNCTION
1. To
use
your
food
processor,
make
sure
that
the
bowl is
assembled
properly
and
the
chopping
blade
and
cover
are
locked
into
place.
2. Add
ingredients
to
the
work
bowl,
either
through
the
feed
tube
or
directly
into
the
bowl.
3.
Press
the
On
button.
The
red
LED light will illuminate.
For
continuous
operation,
press
the
Low
or
High
button.
Motor will
start
if
you
have
followed
Assembly
instructions.
To
turn
motor
off,
press
the
selected
speed
button
again
or
the
Off
button.
4.
When
done
chopping,
press
the
Off
button
and
wait for
blade
to
stop.
Then
remove
cover
by
turning
it
counterclockwise.
Never
turn
cover
back
and
forth
to
start
and
stop
the
processor.
Never
try
to
remove
cover
and
work
bowl
together;
this
can
damage
the
work
bowl.
5 It is
important
not
to
let
the
metal
blade
fall
out
of
the
work
bowl
as
you
empty
it.
Before
tilting bowl,
use
a
spatula
to
remove
food
from
around
the
blade.
Carefully
remove
the
blade
by
the
plastic
hub.
6. Hold
top
of
blade
in
place
with
finger
or
spatula
while
pouring
out
processed
food.
At
this
point
you
may
either
lift
the
work bowl off
the
motor
base
or
hold
the
collar
at
its
base
and
turn
the
handle
of
the
bowl
counterclockwise
and
lift
blade
straight
up.