STEP 8
-----------------------------------------------------------------------------------
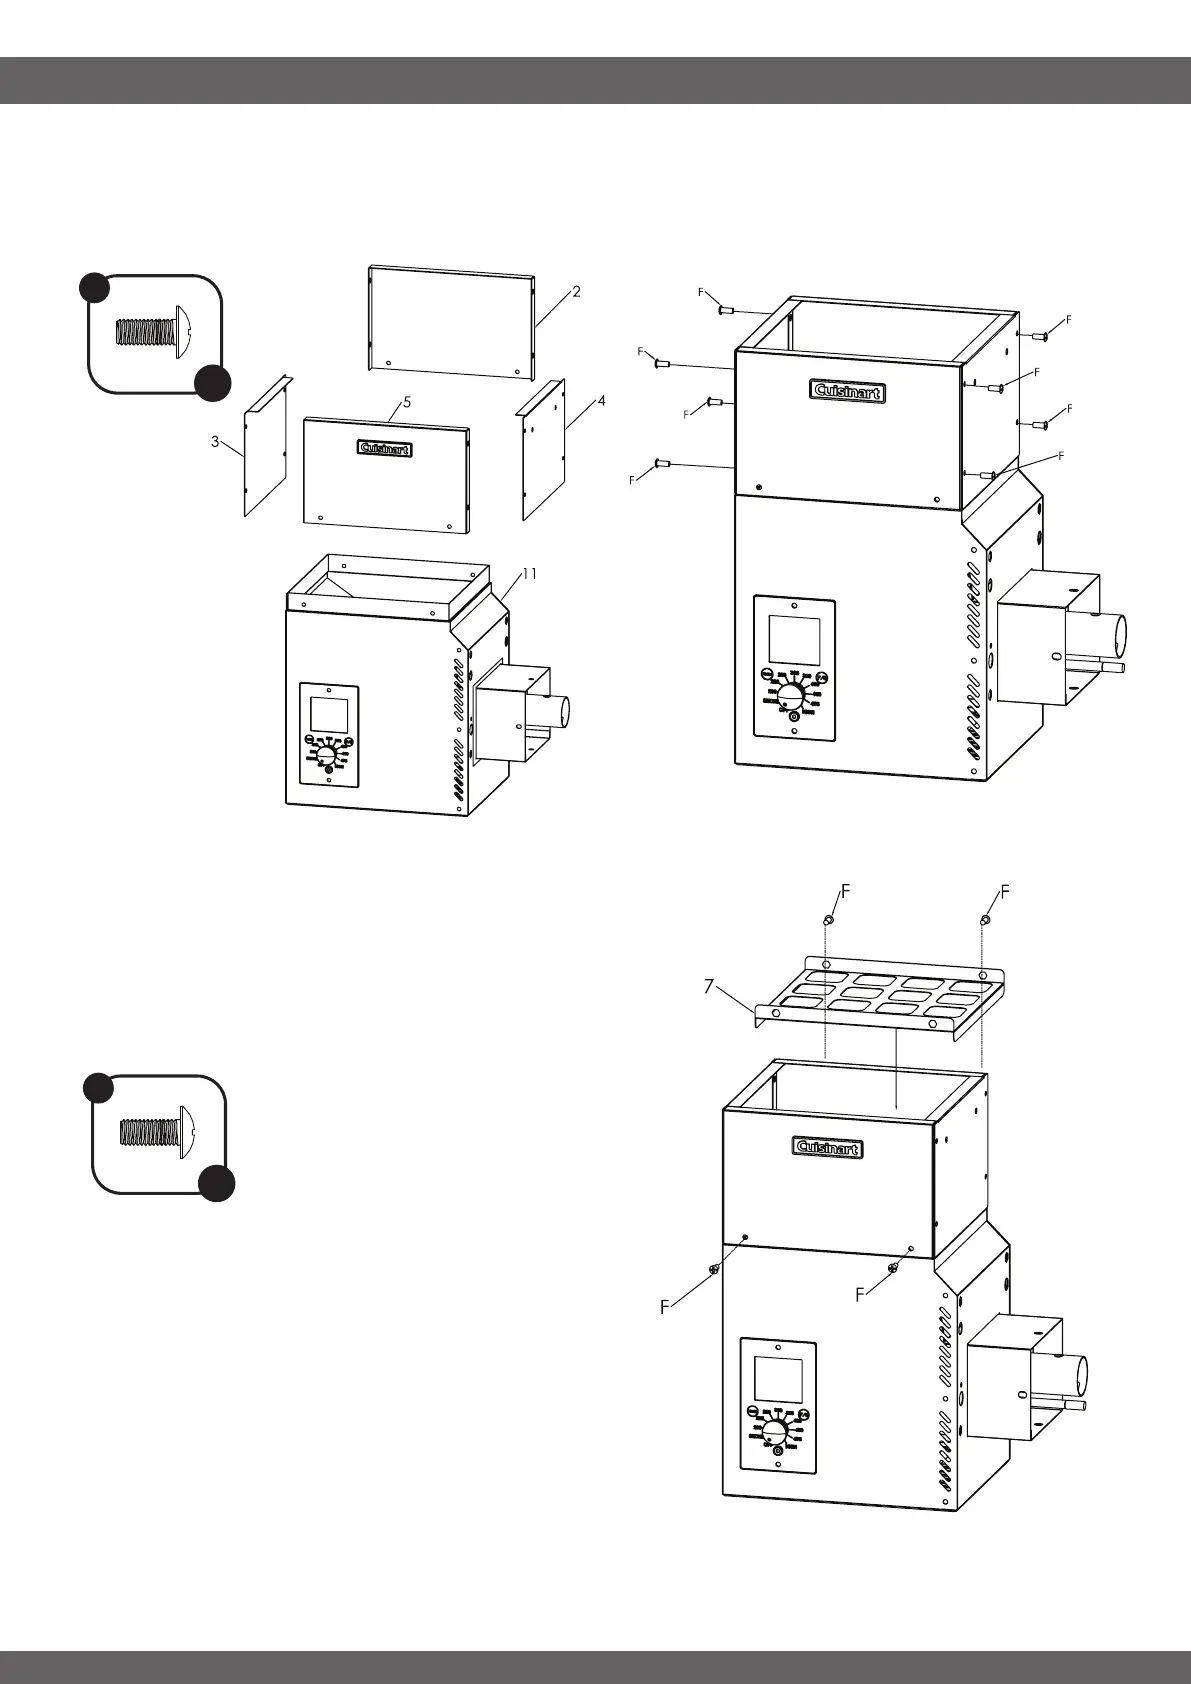
• Assemble the top section of the hopper as shown. Note the positions of Panels (2), (3), (4), and (5).
Secure the panels to each other using 8 Screws (F).
12
ASSEMBLY INSTRUCTIONS
F
x 4
STEP 9
-----------------------------------------------------------------------------------
• Insert the Hopper Grate (7) into the hopper ensuring
the four threaded holes line up with the holes on the
front and back of the hopper.
• Secure the upper hopper assembly to the Hopper
Body with four Screws (F) by threading them into the
Hopper Grate (7).
F
x8