ASSEMBLY INSTRUCTIONS
17
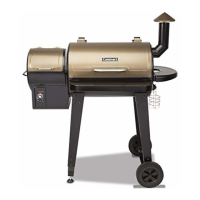
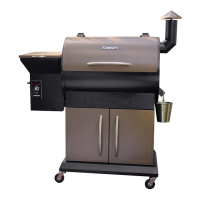
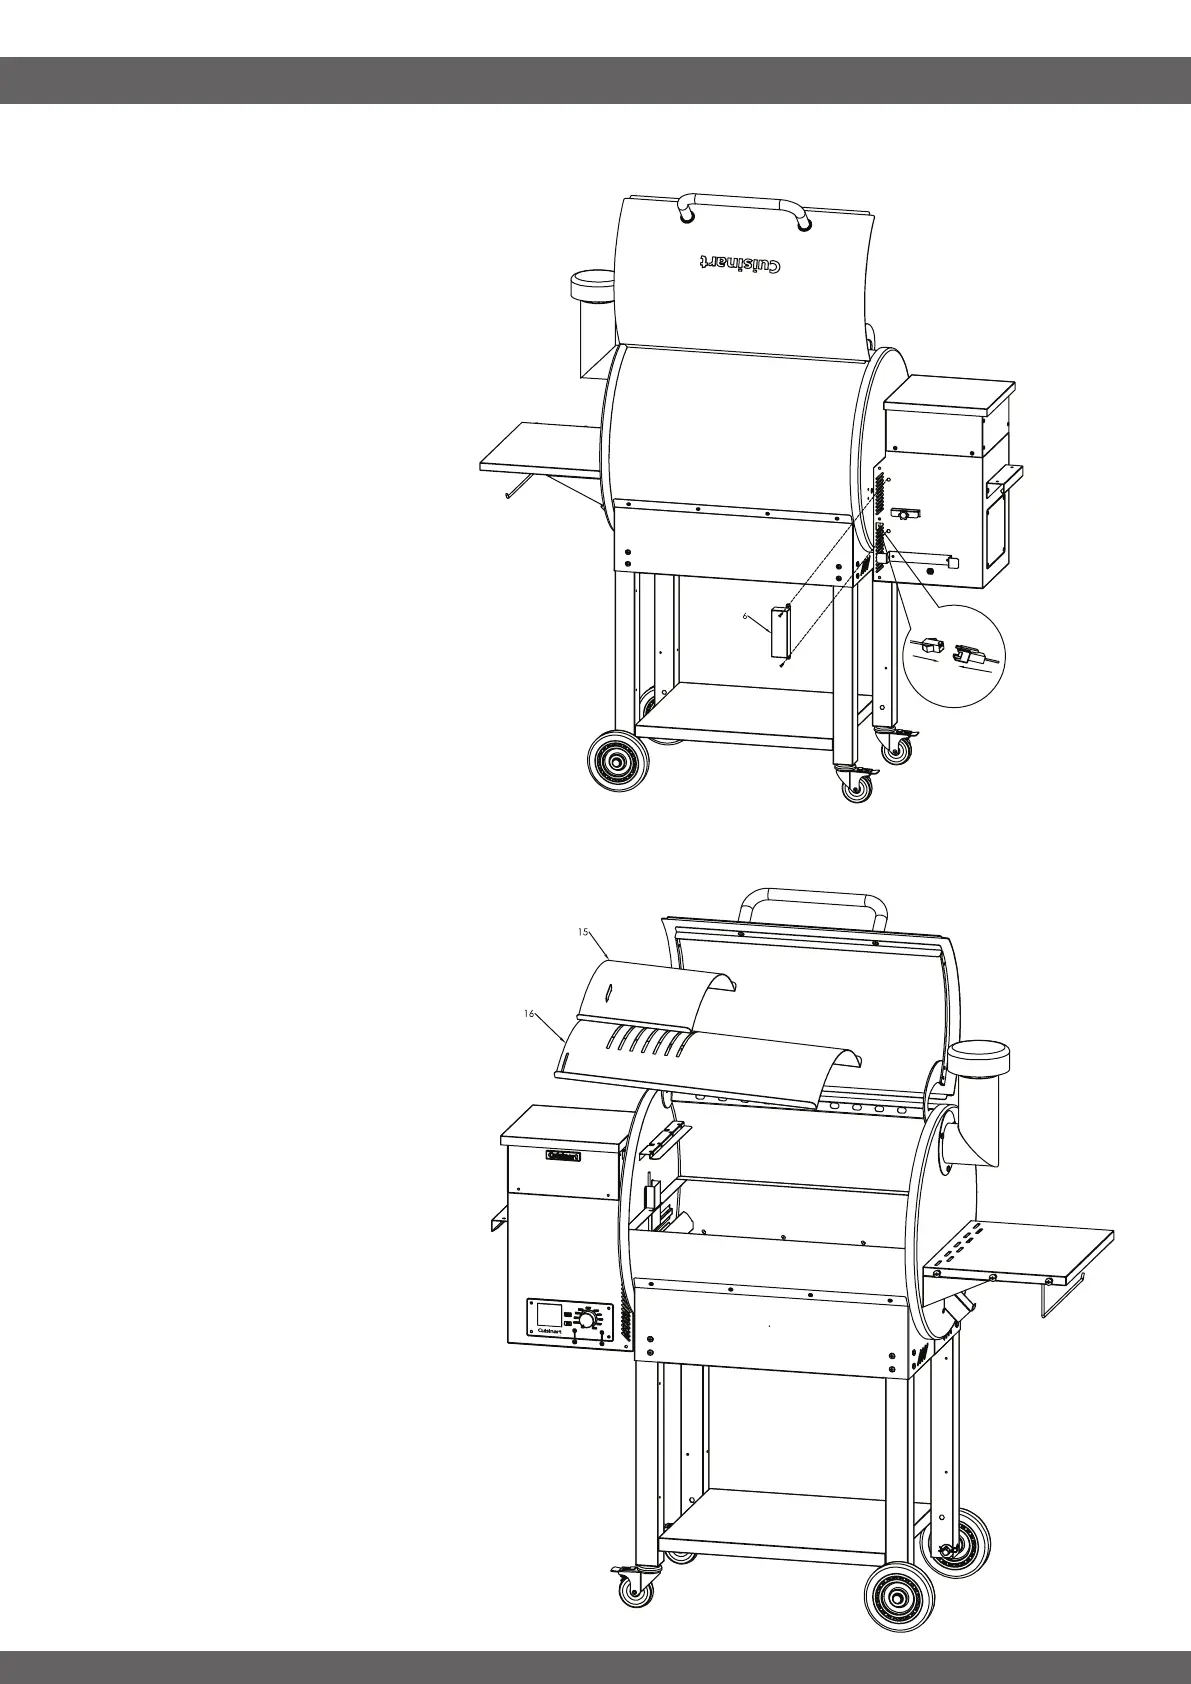
STEP 20 - INTERNAL COMPONENTS
-----------------------------------------------------------------------------------
STEP 19 - HOPPER INSTALLATION
-----------------------------------------------------------------------------------
• Insert the Drip Shield (16) into the
main body as shown. The slats of
the Drip Shield (16) should be directly
above the fire pot. The drip shield
slots into two tabs on the left side and
rests on top of the Grease Channel on
the right side tilting down towards it.
• Place the Sear Shutter (15) on top of
the slats.
• Connect the Temperature Probe
connectors at the back of the
hopper.
• Remove the pre-installed screws
from the back of the hopper
and use them to attach the
Temperature Probe Cover (6).
Ensure the wire and connector are
safely contained inside the cover
without any pinching.