8
Instructions for Use
Before rst use, remove all packaging from the waf e iron. Wipe the housing and waf e plates with a clean,
damp cloth. The waf e iron has a non stick surface; we suggest seasoning this with cooking spray or a a-
vourless
vegetable oil. You may also nd this helpful before each use of the waf e iron.
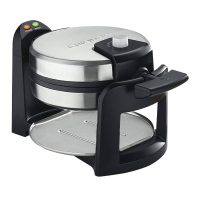
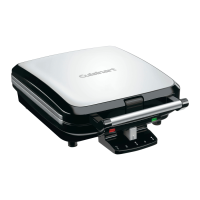
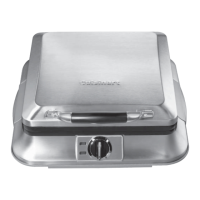
ß Place the closed waf e iron on a clean, at surface where you intend to bake. Plug the power cord into a
suitable mains outlet.
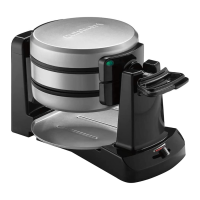
ß Turn the control dial clockwise from the ‘OFF’ position to the desired browning setting 1-6. The red indi-
cator light will illuminate to signal power is on and the waf e iron is preheating.
Waf e Browning Guide
Setting Colour
1-2 Light Brown
3-4 Golden Brown
5-6 Dark Brown
ß When the waf e iron reaches the desired temperature the green indicator light will illuminate and an
audible tone will sound. You are ready to begin baking.
N.B. The rst time you use the waf e iron it may have a slight odour and may smoke a little. This is nor-
mal and common to appliances with a non stick surface.
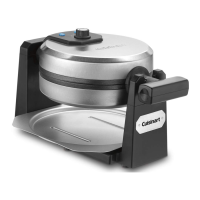
ß Lift the lid of the waf e iron by grasping the handle and lifting up. The lid will remain in an upright posi-
tion until lowered manually.
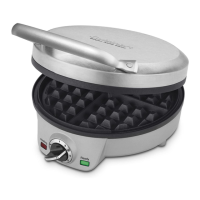
ß Pour the batter into the centre of the lower waf e grid. Use a heat-proof plastic or wooden spatula to
spread the batter evenly over the grids. Close the lid, the green light will turn off but the red light will
remain illuminated.
N.B. Never use metal utensils, as they will damage the nonstick coating.
 Loading...