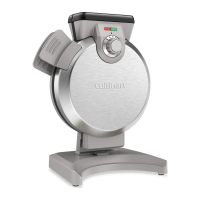
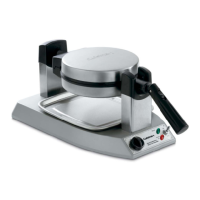
9
ß Baking time is determined by the browning level that you choose. It may take up to 4 minutes.
ß When the waf e is ready, the green light will illuminate and an audible tone will sound. Remove the waf e
by lifting the lid and gently loosening the edges with a heat-proof plastic or wooden spatula.
ß When you have nished baking, turn the control dial anticlockwise to the ‘OFF’ setting. The red indicator
light will turn off. Unplug the power cord from the mains and allow the waf e iron to cool down comple-
tely before handling.
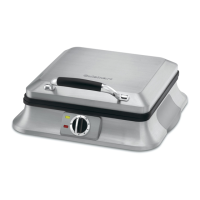
Hints and Tips
ß Experiment with setting no. 1-6 to nd which colour waf e most suites your taste.
ß For evenly lled waf es, pour the batter onto the centre of the lower grid and spread out evenly to the
edges. The entire lower grid should be lled.
ß Use approximately 300ml of batter for 4 waf es.
ß Waf es are best served hot, immediately after cooking, but baked waf es, may be kept warm in a low
oven. Do not wrap in foil as they may loose their crispiness.
ß Baked waf es may be frozen. Allow to cool completely, place in plastic food bag. Use baking parchment
to keep the waf es separated and freeze. Reheat in a toaster or toaster oven when ready to eat.
ß For added avour, serve your waf es with fruit syrups, warmed fruit compote, fresh berries, chopped fruit
or yogurt.
ß For sweeter waf es serve with a dusting of icing sugar, whipped cream, ice cream or chocolate sauce.
 Loading...