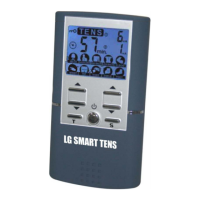
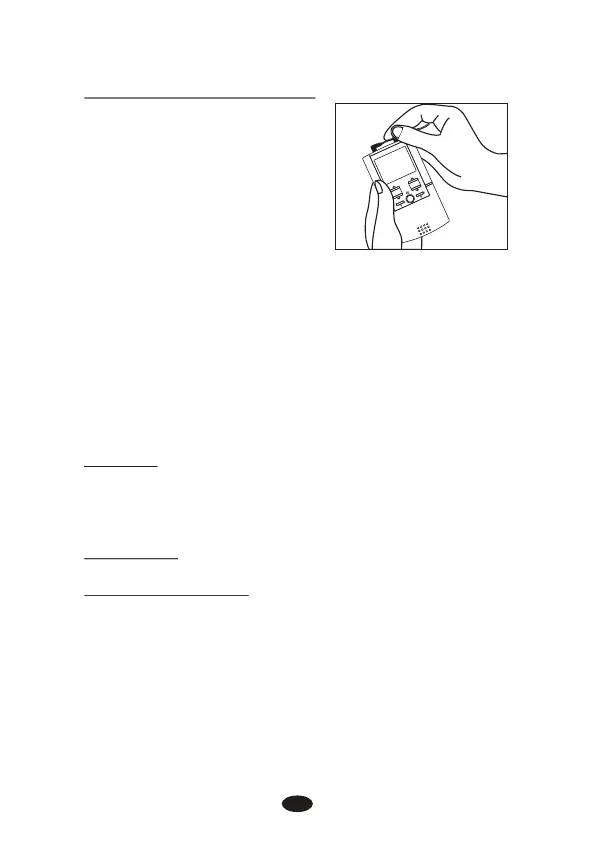
4.3 Connect lead wires to device
1) Before proceeding to this step,
be sure the device is
completely turns OFF.
2) The wires provided with the
system insert into the jack
sockets located on top of the
device.
3) Holding the insulated portion
of the connector, push the plug
end of the wire into one of the jacks (see drawing); one or
two sets of wires may be used.
4) This device has two output receptacles controlled by
Channel 1 and Channel 2 at the top of the unit. You may
choose to use one channel with one pair of lead wires or
both channels with two pairs of lead wires. Using both
channels gives the user the advantage of stimulating two
different areas at the same time.
CAUTION:
Do not insert the plug of the patient lead wire into any AC
power supply socket.
4.4 Electrode
4.4.1 Electrode options
The electrodes are disposable and should be routinely replaced
when they start to lose their adhesive nature. If you are unsure
of your electrode adhesive properties, order new replacement
electrodes. Replacement electrodes should be re-ordered through
or on the advice of your physician to ensure proper quality.
Follow application procedures outlined in electrode packing, to
maintain optimal stimulation and to prevent skin irritation.
17
LG
S
MA
RT T
EN
S
 Loading...