CURTMFG.COM
•
NEED ASSISTANCE?
•
877.287.8 634
•
40247-INS-RD
•
PAGE 2
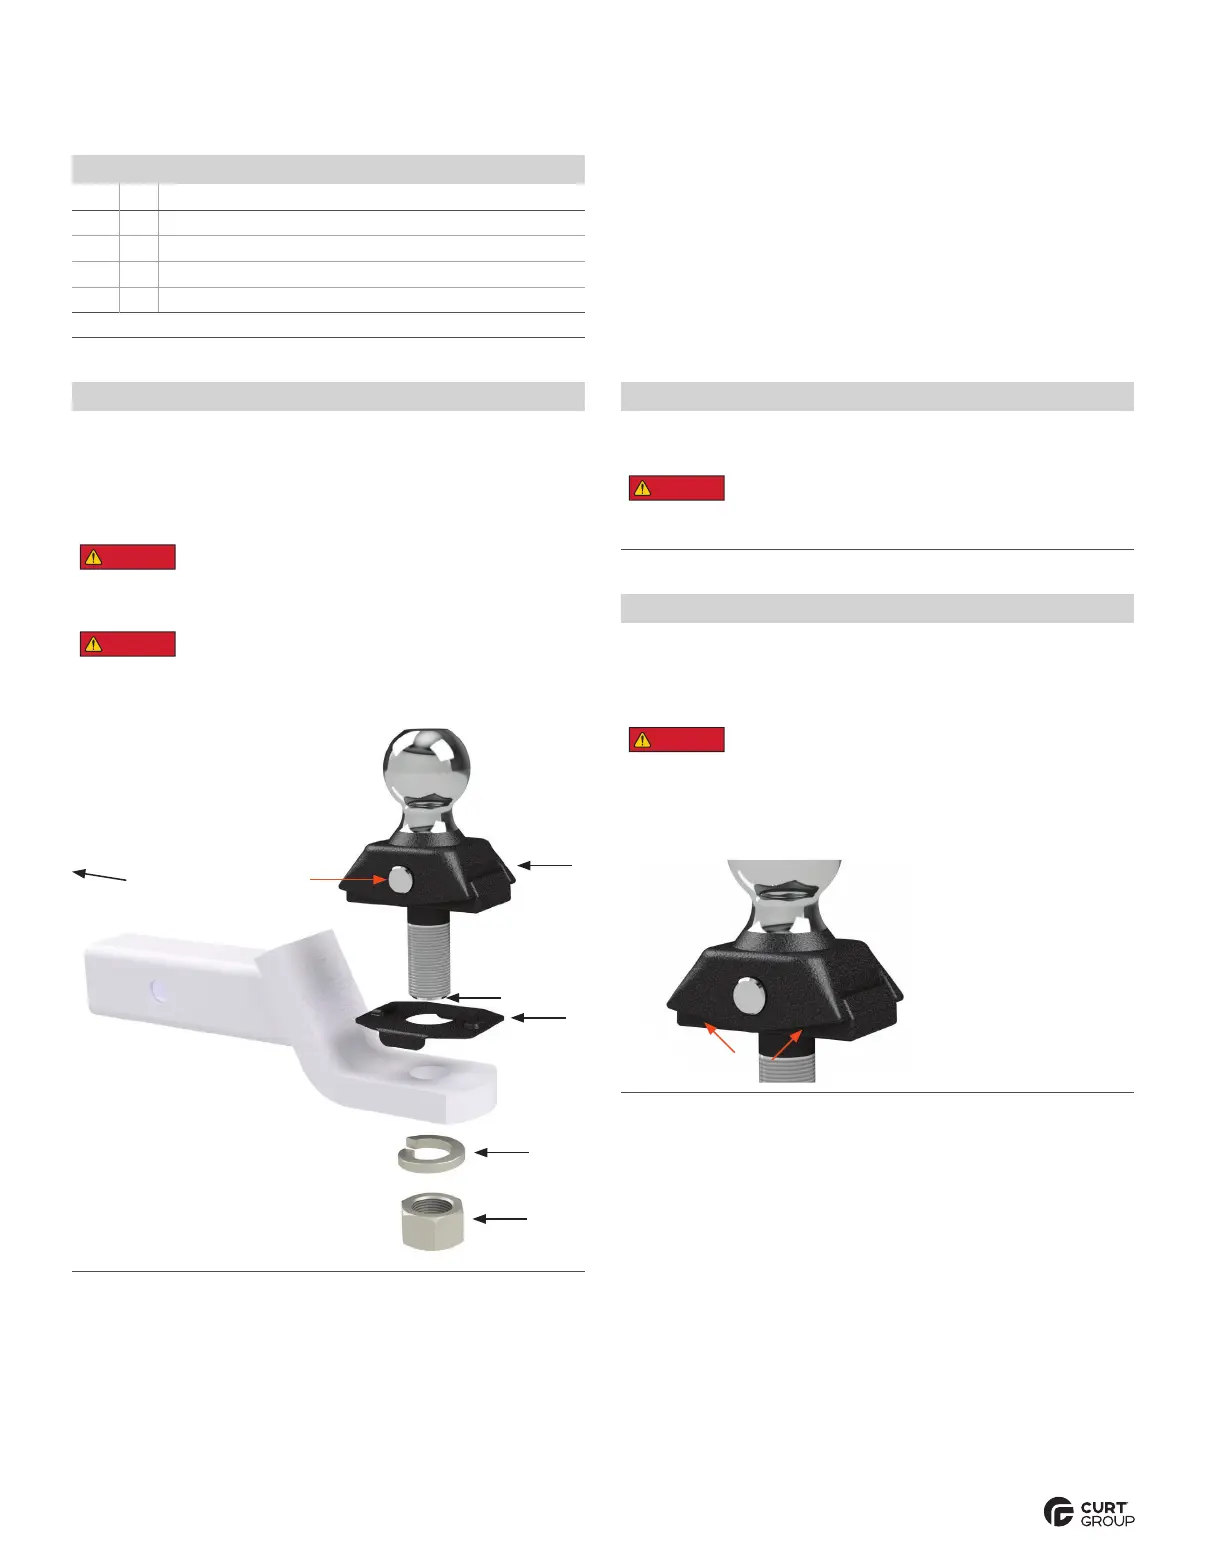
Step 1
Place the anti-rotate base plate (#2) over the trailer ball shank (#1).
The trailer ball must be mounted so that the ball articulation
is in the same direction as vehicle travel.
Place the lock washer (#3) over the trailer ball shank
and secure with the provided hex nut (#4).
The anti-rotatation base plate must be used in the
orientation shown or serious injury or death may result.
DA NGER
The anti-rotatation base plate tabs must fit freely over the width
of the ball mount tongue or serious injury or death may result.
1
2
3
4
Grease zerk
location
Vehicle
travel
Trailer ball
pivot pin
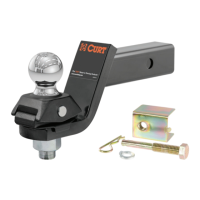
Step 2
Tighten the hex nut (#4) to 250 ft-lbs. The threaded
shank must extend beyond the nut when tightened.
DA NGER
Failure to tighten hardware to the specified
torque can result in serious injury or death.
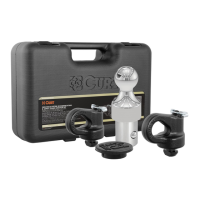
ASSEMBLY
Parts List
Item Qty Description
1 1 Trailer ball assembly
2 1 Anti-rotation base plate
3 1 Lock washer, 1"
4 1 Hex nut, 1"
Ball mount sold separately
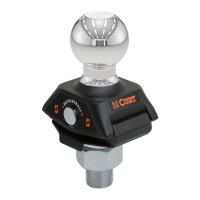
Step 3
Grease the trailer ball assembly, using the grease zerk
located on the bottom of the RockerBall
™
shank. Grease
prior to initial use and once every 3 months or 3,000 miles
of use with a high-quality molybdenum-based grease.
Failure to grease the trailer ball assembly may lead
to failure and can result in serious injury or death.
RockerBall
™
is adequately lubricated when
grease can be seen in the areas marked below.