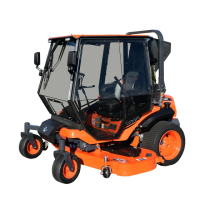
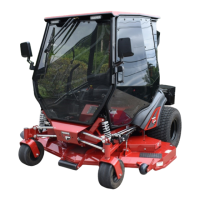
CAB INSTALLATION
11 of 23
Step 8: (A/C Cover Panels)
8.1 See fig. 8.1. Install the Compressor Debris Cover
onto the A/C compressor mount as shown.
Tools Required
3/8” hex wrench or socket
Hardware Used Qty
1/4-20 x 5/8” Flanged Hex Bolt 4
8.2 Per fig. 8.2, secure the upper hose to the lower
tab on the left ROPS mount with a 3/4” P-clamp,
1/4” x 1” bolt and nut. Secure each hose to the
upper tab of the compressor debris cover with a P-
clamp, bolt, and nut. Arrange the clamps and
hoses so that the hoses will clear the cover then
tighten snug.
Tools Required
3/8” and 7/16” hex wrenches or sockets
Hardware Used Qty
3/4” P-clamp 3
1/4-20 x 3/4” Flanged Hex Bolt 2
1/4-20 Flanged Lock Nut 2
8.3 See fig. 8.3. Make sure all wires and hoses are
secured, and nothing will contact any moving
parts, then place the flywheel shroud on top of the
A/C compressor assembly. Secure with 1/4” x 5/8”
lg. screws and tighten snug,
Tools Required
3/8” hex wrench or socket
Hardware Used Qty
1/4-20 x 5/8” Flanged Hex Bolt 12
Fig. 8.2 (A/C hose P-clamps)
Fig. 8.1 (Compressor Debris Cover)
1/4-20 bolts
1/4-20 bolts
P-Clamp
P-Clamps
Fig. 8.3 (Flywheel shroud)
 Loading...