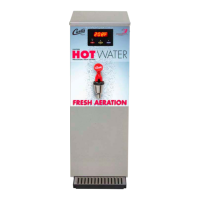
Connect the Power Cord
1 Lay the unit on its side, on a padded surface, with the
bottom of the unit exposed.
2 Remove the bottom cover from the unit.
3 On units that will be operated at 120 Vac, disconnect
the red wire from the “L2” terminal on the power block
and reconnect it to the “N” terminal.
4 Feed the end of the power cable, through the strain
relief, into the unit and connect it to the power block
according to the ELECTRICAL SCHEMATIC.
5 Tighten the strain relief. Do not connect the other end
of the power cable at this time.
6 Replace the bottom cover and tip the unit up into the
vertical position.
INSTALLATION INSTRUCTIONS II25
Back of
unit
Installation
8#*/45"--"5*0/*/4536$5*0/4ø 0108NC
Leveling
7 Position the water boiler on the countertop. Make sure
it is level left to right and front to back.
Connect the Water Supply
8 Flush the water supply line prior to installation to purge
BJSBOEEFCSJTGSPNUIFXBUFSmMUFSBOEUVCJOH
9 $POOFDUUIFXBUFSTVQQMZMJOFUPUIFnBSFmUUJOHPOUIF
back of the unit.
10 Turn on the water supply valve and check for leaks.
NOTICE: Before proceeding, make sure that the
counter is capable of supporting at least 120 lbs.
to allow for the water boiler at full capacity.
Strain
relief
Power
block
Bottom View - Cover Removed

 Loading...