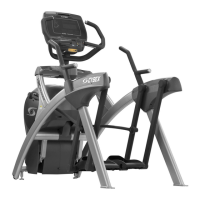
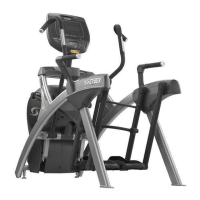
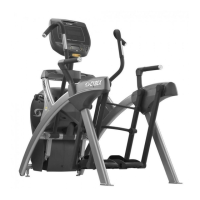
Cybex 750A/750AT Arc Trainer Service Manual
Service
Page 4-4
DRIVE DIAGNOSTICS
Enter Drive Diagnostics by holding the ENTER key for 3 seconds while in Static I/0 test. This creates a
diagnostics screen for controlling and viewing lower controller values.
Text Area shows “DRIVE DIAGNOSTICS”.
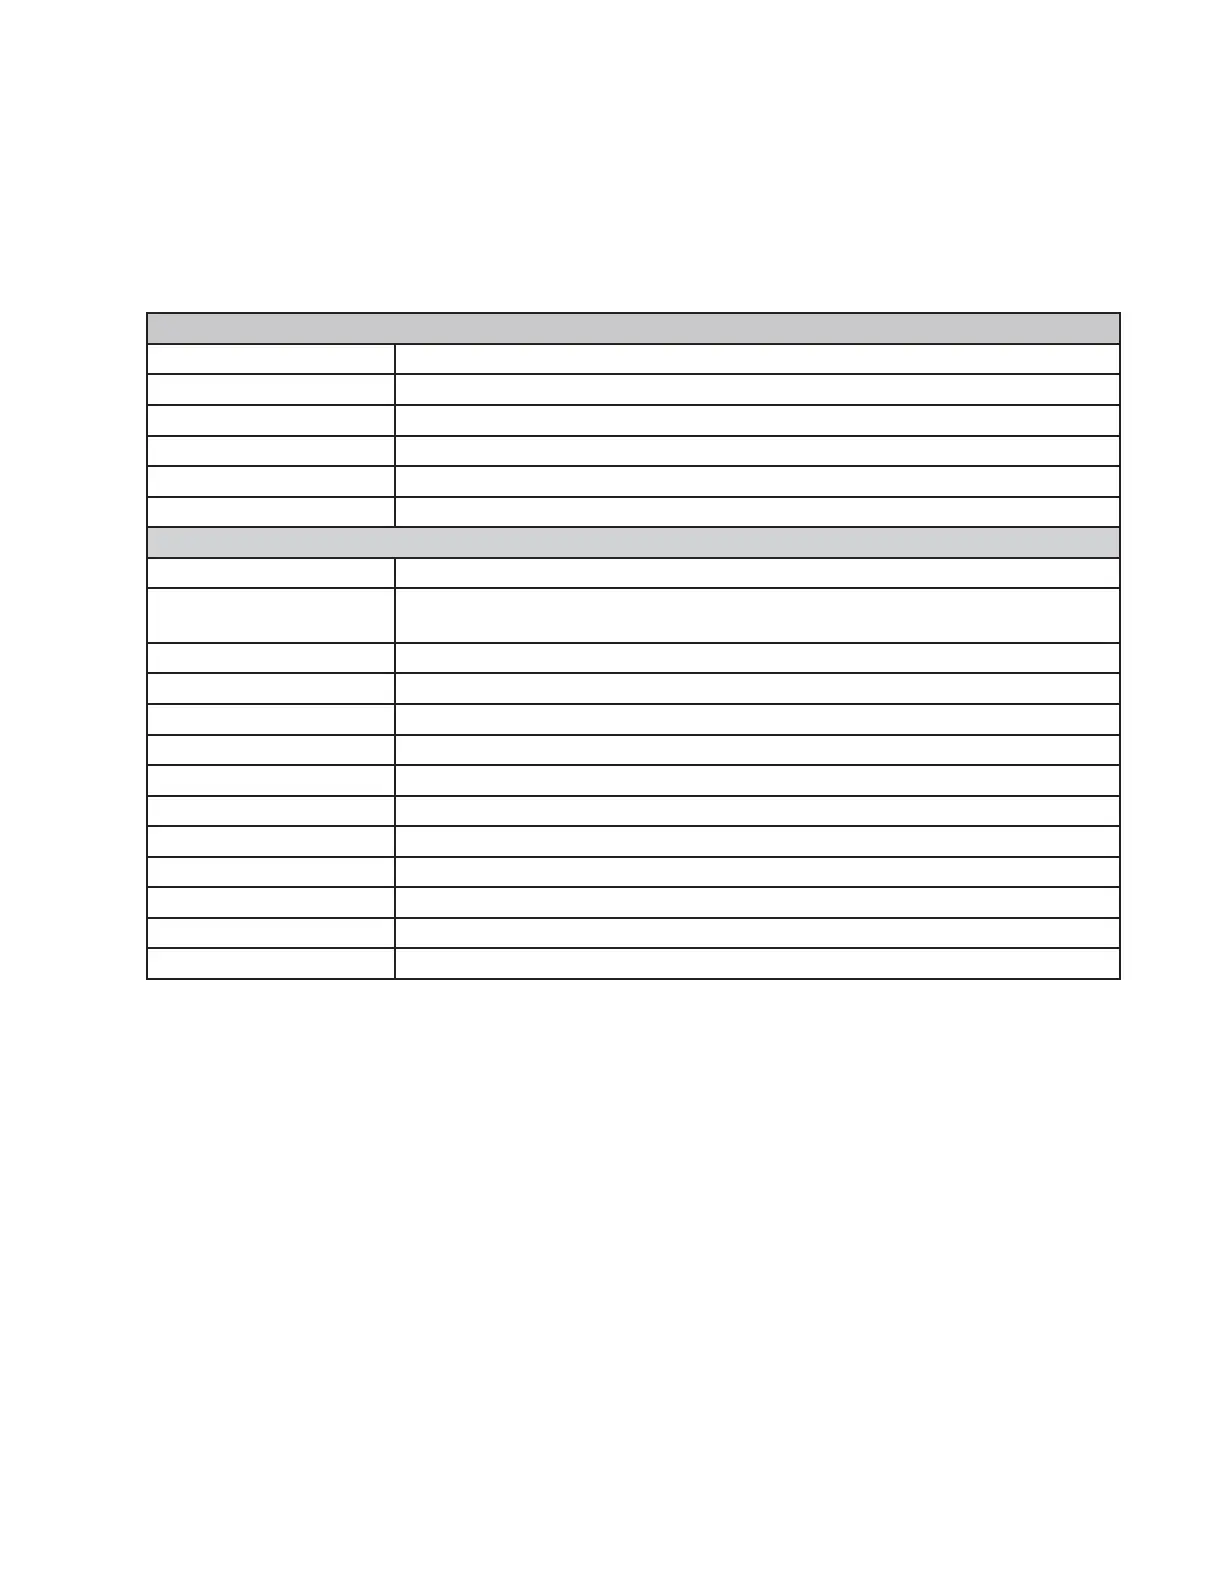
Navigation Keys
LOAD +/- Directly control the brake torque from 0 to max
QUICK/START Sets brake to 100% torque
INCLINE +/- Control function as if in Active Mode
ENTER Enters diagnostic mode
CLEAR Backs up one step
PAUSE/END Exits Diagnostics
Drive Diagnostics Menu
BRAKE ID X Allows viewing/setting the brake type using keypad. X=Brake type
INCLINE CAL 1 Incline calibration value #1 and calibration routine entry; press QUICK/START
to initiate auto-calibration.
INCLINE CAL 2 Incline calibration value #2; view the incline calibration data.
LOAD CAL 1 Brake calibration value 1; view and modify the calibration values.
LOAD CAL 2 Brake calibration value 2; view and modify the calibration values.
LOAD CAL 3 Brake calibration value 3; view and modify the calibration values.
CHARGE [# - Text] Returns the state of the battery charger.
BATT VOLTS XX.X Returns the actual battery voltage in volts.
BATT AMPS X.XX Returns the charge in Amps
BATT LVL [# Text] Returns the health and status.
PWR SOURCE [- text] Returns the power source.
MICRO TEMP XXX LCB Microprocessor temperature.
LCB CODE VX.XX Drive fi rmware version
Brake ID
The unit has two different brake types, with the possiblity for more. Use the keypad or the +/- keys to populate
alternate numbers.
Enter both accepts what is displayed, stores it, and exits back to the Drive Diagnostics menu, moving forward
to the next item in the list.
Incline
The incline must be calibrated due to the variations in the pot setting and other mechanical deviations. The
lower controller stores the calibration values. Incline allows running and viewing the calibration routine as well
as seeing the values for 0% and 20%.
Press QUICK/START to cause the incline calibration routine to start. “CALIBRATING” is displayed on the text
area and the A/D value in displayed in the RESISTANCE window.
The controller runs the incline to maximum until it can’t move any further. Once at the movement maximum,
the lower controller will stop and store the A/D value for the 20% incline position. Value is shown in the
RESISTANCE window. The value for 0% incline is shown in the INCLINE window.
When completed, “SAVED” is shown briefl y in the Text Area and test exits back to menu.