15
16
C100 M0 Y19 K23
Pantone 3145C
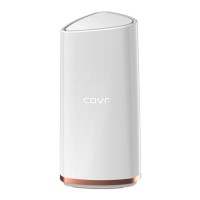
Placing the Covr Points
After you have completed the setup process, place the Covr Points around your home. Follow these
simple steps to nd the optimal location for your Covr Points. It is recommended that you keep the
Covr Points close to one another when rst powering them up in order to ensure trouble-free pairing.
1.
Plug in the remaining Covr
Point and wait for the LED on
the front to blink amber. This
indicates that the Covr Points
are automatically pairing.
1.
Connect the power adapter and plug in
the Covr Point labeled A.
3.
Type http://covr.local./ into a web browser
and follow the instructions to complete the
setup.
2.
When the Covr LED is blinking amber,
connect your PC or laptop to the Wi-Fi name
(SSID) printed on the back of the device, or
on the included Wi-Fi Conguration Card.
2.
Wait for the LEDs to turn
solid white. This indicates
that pairing has been
completed and your Seamless
Wi-Fi System is set up.
3.
Unplug the Covr Points and move
them to the areas of your home
where you want to extend Wi-Fi
coverage. Plug them in and wait
for them to boot up. When the LED
turns solid white, this indicates a
strong connection to your whole
home network.
4.
A ashing white LED indicates a
weak connection. Move the Covr
Point closer to the other Covr
Point to improve signal strength.
* Once installed, if you’d like to turn off
the COVR LED, go to ‘Settings’ on the
D-Link Wi-Fi app, then Management >
System > LED OFF.
C100 M0 Y19 K23
Pantone 3145C
Set Up Using
A Web Browser
Covr’s intuitive setup wizard will guide you through the setup
process and have your whole-home network up and running
in no time.
4.
The wizard will guide you through
the setup process. Click or tap NEXT
to get started and follow the simple
instructions.
http://covr.local./
A
Wi-Fi
Wi-Fi
SSID:
Password:
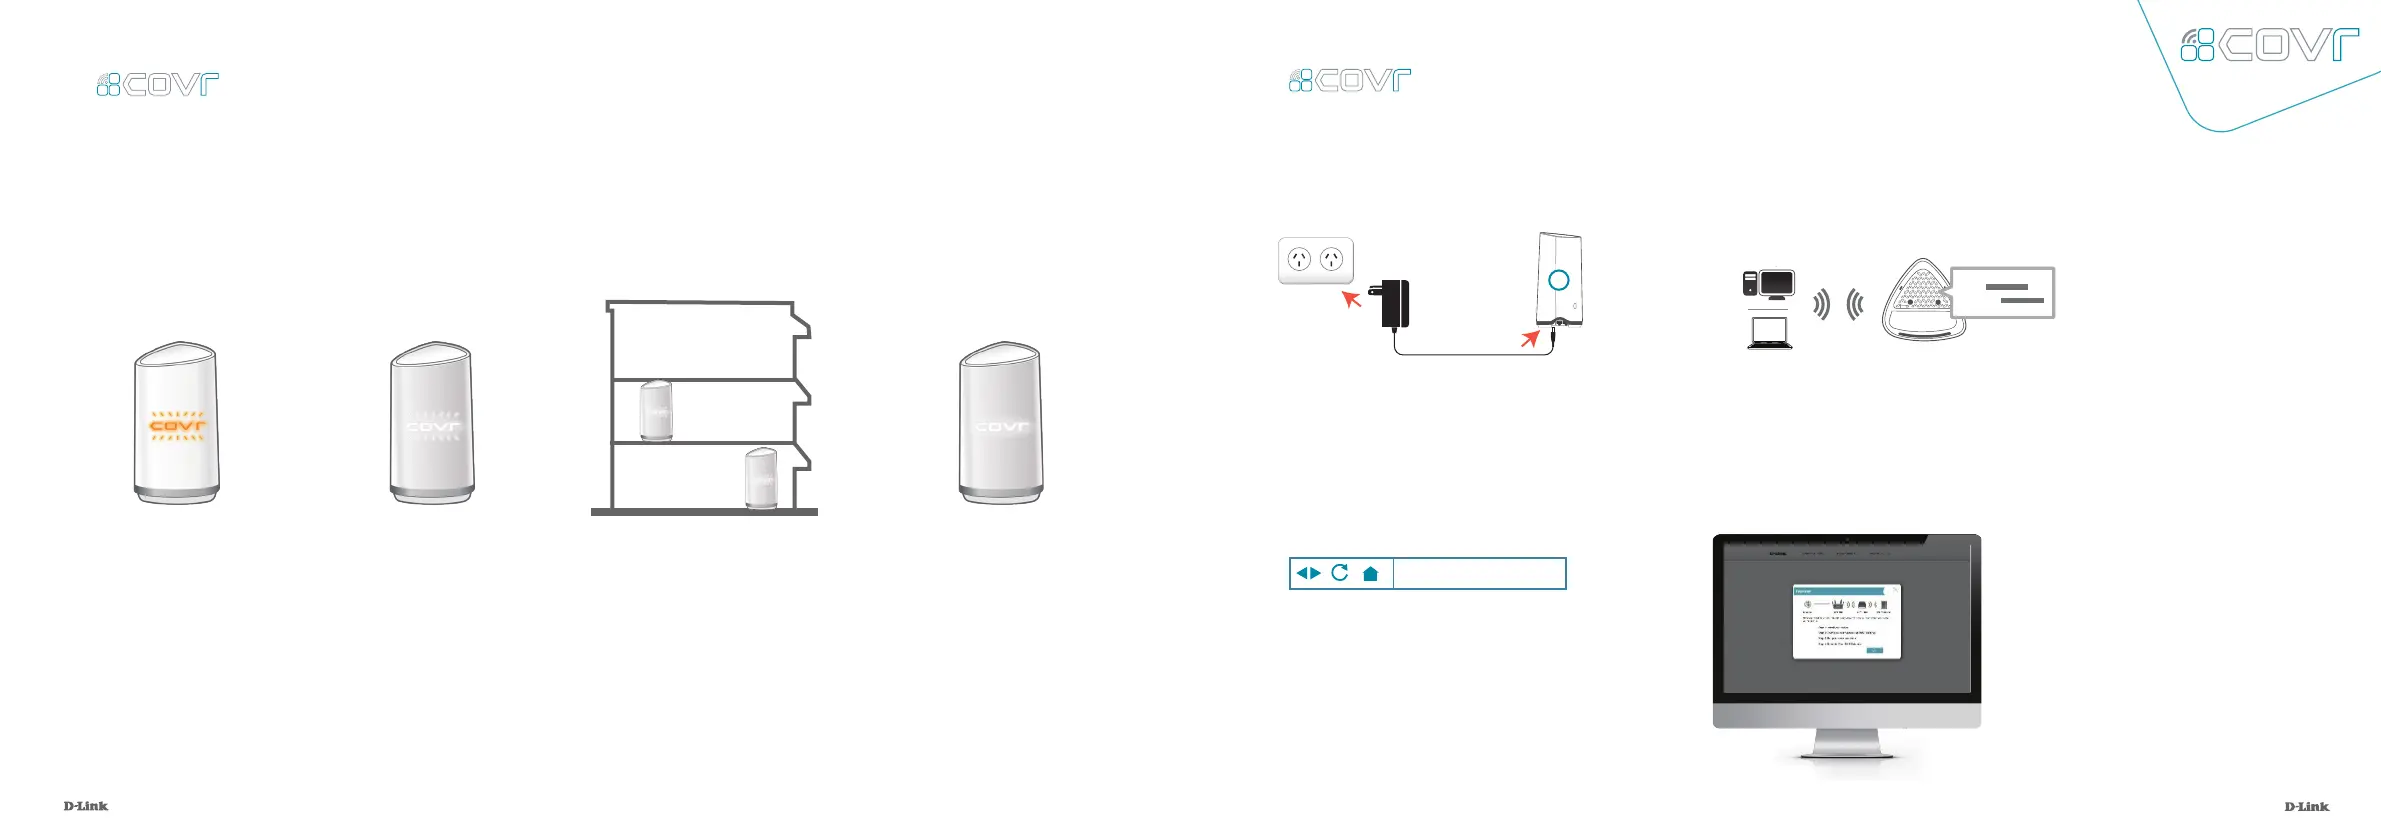 Loading...