3
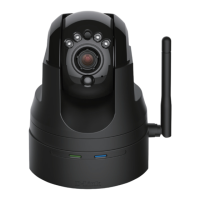
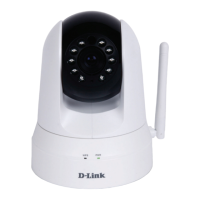
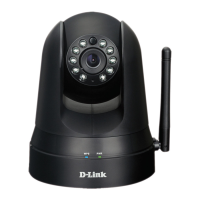
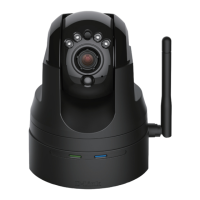
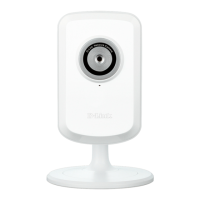
Connect the included Ethernet cable to the network cable connector located on the DCS-5009L and
attach it to the network.
Attach the external power supply to the DC power input connector located on the DCS-5009L and
connect it to your wall outlet or power strip. Power is conrmed when the green LED Power Indicator
is it.
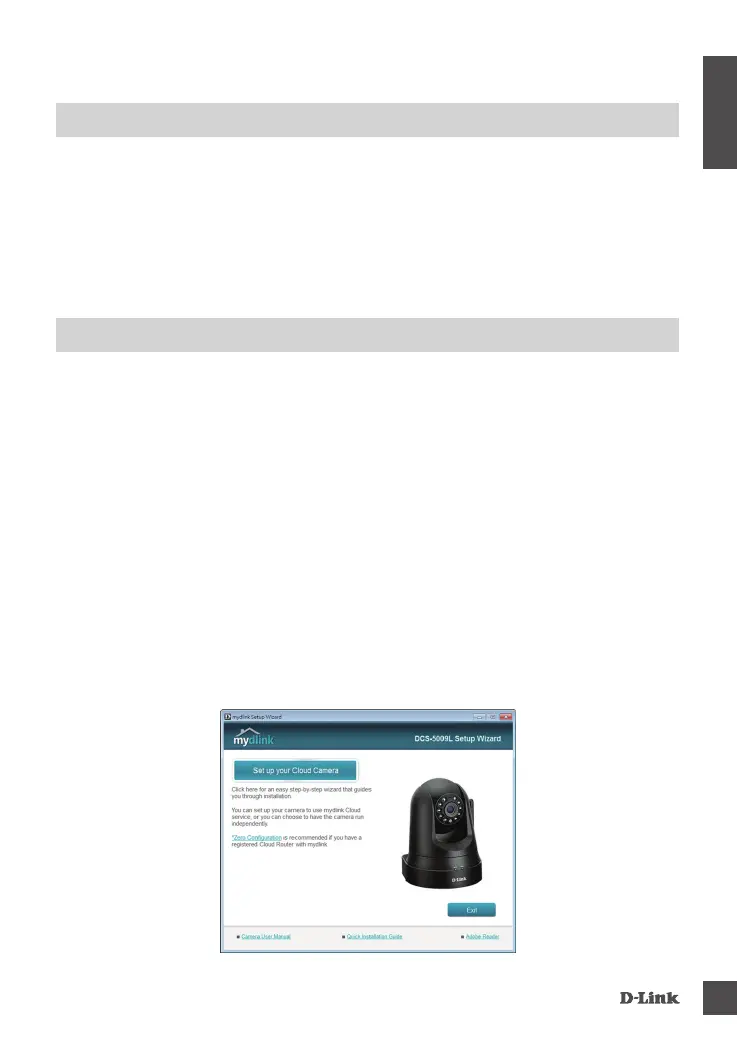
Insert the DCS-5009L Driver CD in the CD-ROM drive. If the CD Autorun function does not
automatically start on your computer, go to. In the run box type (where D:
represents the drive letter of your CD-ROM drive) and click When the autorun screen appears,
click and follow the on-screen instructions.
Click on the button to start the wizard, and follow the instructions from the Installation Wizard to
nish setting up your camera.
• Computer with Microsoft Windows
®
8/7/Vista/XP, or Mac OS X 10.6 or higher
• PC with 1.3GHz or above and at least 128MB RAM
• Internet Explorer 7, Firefox 12, Safari 6, or Chrome 20 or higher version with Java installed and
enabled
• Existing 10/100 Ethernet-based network or 802.11g/n wireless network
 Loading...