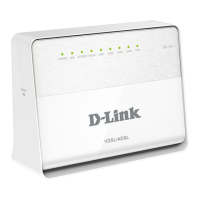
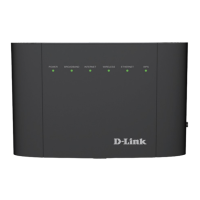
D SL-124
3
ENGLISH
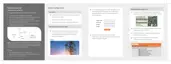
PRODUCT SETUP
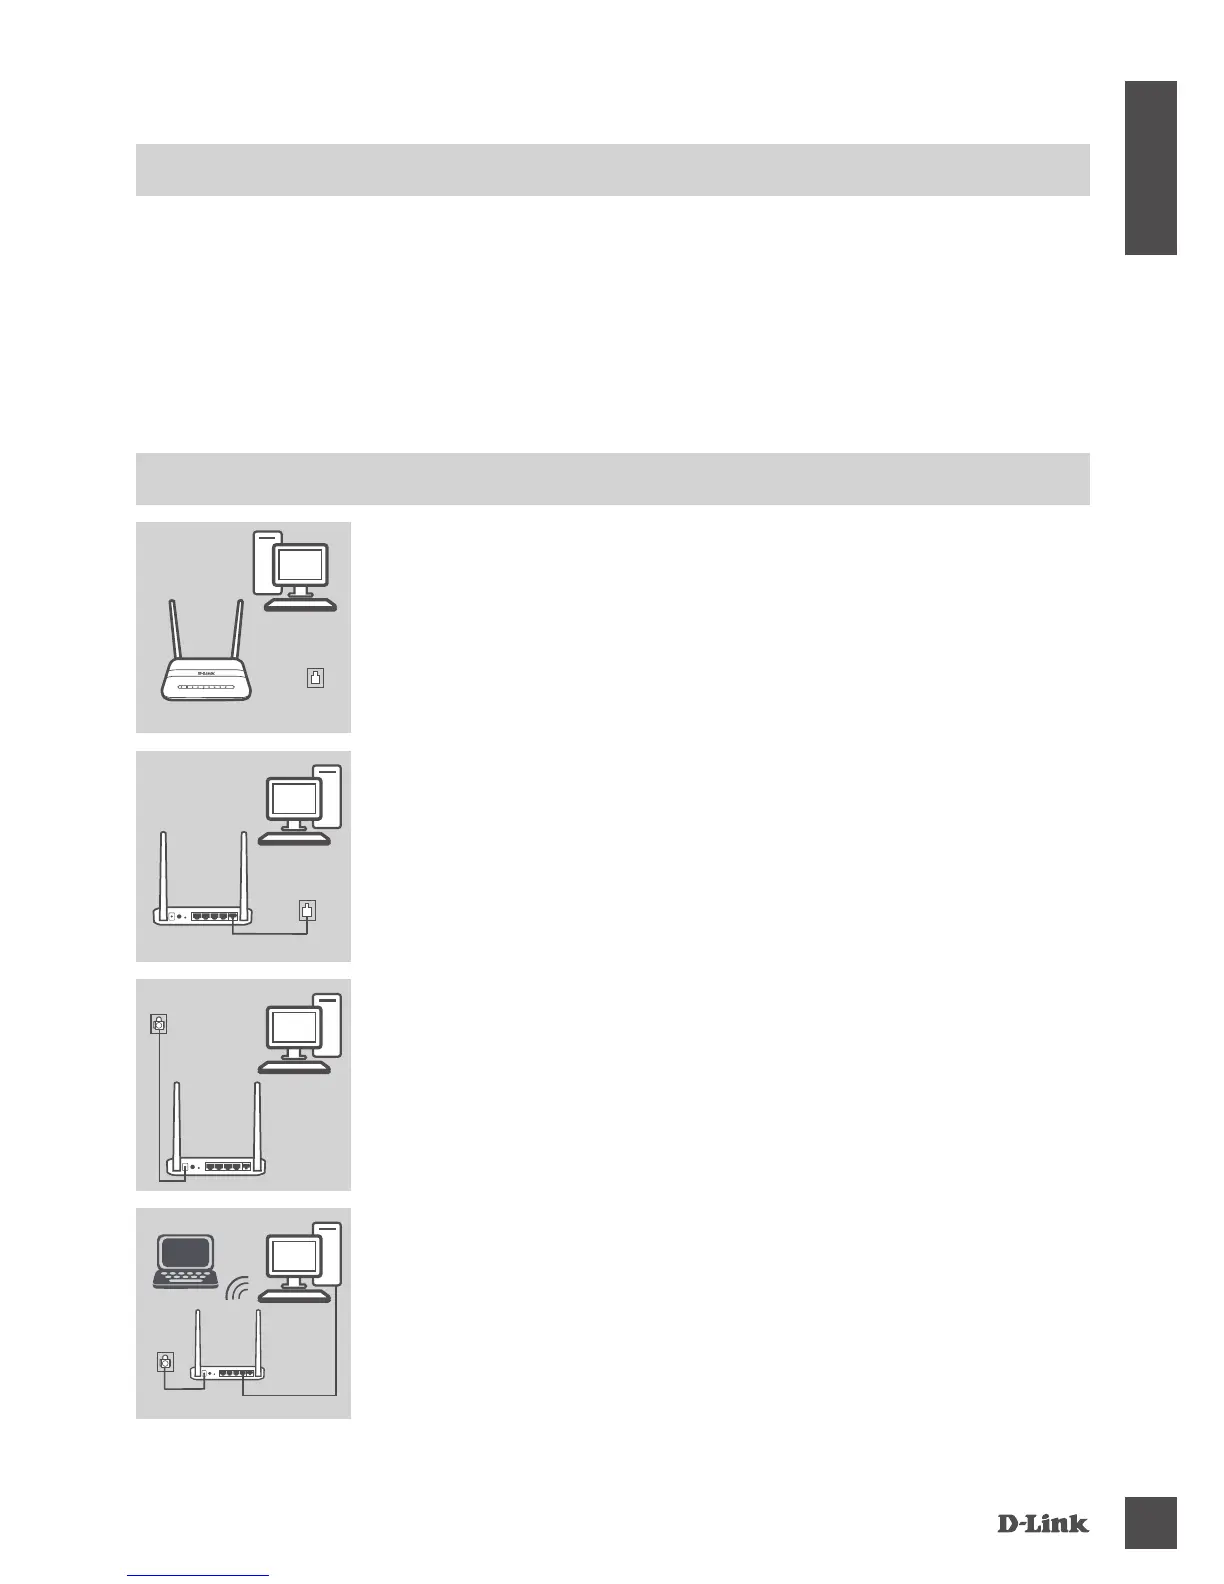
Step 1
Position your DSL-124 near your PC and a telephone wall jack
which provides DSL service. Keep the modem router in an open
area for better wireless coverage.
PC
DSL-124 Phone
Step 2
Plug one end of the supplied DSL phone cable into the DSL port on
the back of the modem router, and the other end into the telephone
wall jack.
PC
DSL-124
HARDWARE SETUP
Step 3
Connect the supplied power adapter to the modem router and a
power outlet, and press the power button. The device LEDs will light
up. Wait approximately one minute before proceeding to step 4.
DSL-124
Power
PC
Step 4
Plug one end of the supplied Ethernet cable into the port labeled
1 on the back of the modem router, and the other end into the
Ethernet port on your computer.
If you are setting up the DSL-124 using a laptop or mobile
device, connect using the default Wi-Fi network name D-Link.
DSL-124
Power
PC
SYSTEM REQUIREMENTS
• ADSL/VDSL Internet service
• Computer with:
• Microsoft Windows
®
10/8/7/Vista/XP SP3 or Mac with OS X 10.3 or higher
• Internet Explorer 9, Firefox 23, Safari 7, or Chrome 28 or higher version with Java installed
and enabled
PC
Phone
 Loading...