7
iC e a n d Wa t e r
aU t o M a t i C iC e Ma k e r
Connect the ice maker to the water supply as instructed in
the installation instructions. Proper water flow and a level
refrigerator are essential for optimal ice maker performance.
Operating Instructions
• Confirmicebinisinplaceandice
maker arm is down.
• Afterfreezersectionreaches
between 0° to 2° F (-18° to -17°
C), ice maker fills with water
and begins operating. You will
have a complete harvest of ice
approximately every three hours.
• Allowapproximately24hoursafterinstallationtoreceivefirst
harvest of ice.
• Discardicecreatedwithinfirst12hoursofoperationtoassure
system is flushed of impurities.
• Stopiceproductionbyraisingicemakerarmuntilclickisheard.
• Icemakerwillremainintheoffpositionuntilarmispushed
down.
• Thefirstoneortwobatcheswillprobablycontainundersized
and irregular cubes because of air in the supply line.
• Whentheicecubesareejecteditisnormalforseveralcubesto
be joined together at the ends. They can easily be broken apart.
The ice maker will continue to make ice until the supply of ice
cubes raises the ice maker arm, shutting the ice maker off.
• Certainsoundsmayaccompanythevariouscyclesoftheice
maker. The motor may have a slight hum, the cubes will rattle
as they fall into an empty storage pan and the water valve may
click or “buzz” occasionally.
• Iftheiceisnotusedfrequently,theicecubeswillbecome
cloudy, shrink, stick together and taste stale. Empty the ice
storage bin periodically and wash it in lukewarm water. Be sure
to dry the bin thoroughly before replacing it.
• Beveragesandfoodsshouldnotbeplacedintheicestorage
bin for quick chilling. These items can block the ice maker arm,
causing the ice maker to malfunction.
• Turnoff(armup)theicemakerwhenthewatersupplyistobe
shut off for several hours.
To Remove the Ice Bin:
• Pullitforward,awayfromtheicemaker.Toavoidtheicemaker
dumping ice while the bin is removed, turn the ice maker off by
raising the icemaker arm.
To Install the Ice Bin:
• Reversetheaboveprocedure.Turntheicemakeronby
lowering the ice maker arm.
CAUTION
To avoid personal injury or property damage, observe the
following:
• Donotplacefingersorhands on the automatic ice making
mechanism while the refrigerator is plugged in. This will
help protect you from possible injury. It will also prevent
interference with moving parts of the ejector mechanism
and the heating element that releases the cubes.
• Undercertainrarecircumstances,icecubesmaybe
discolored, usually appearing with a green-bluish hue. The
cause of this unusual discoloration can be a combination
of factors such as certain characteristics of local waters,
household plumbing and the accumulation of copper salts
in an inactive water supply line which feeds the ice maker.
Continued consumption of such discolored ice cubes may
be injurious to health. If such discoloration is observed,
discard the ice cubes and contact your dealer to purchase
and install a water line filter.
• Waterdamageduetoimproperwaterconnectionmay
cause mold/mildew growth.
• Cleanupwaterandicespillstoavoidpersonalinjuryandto
prevent mold/mildew growth.
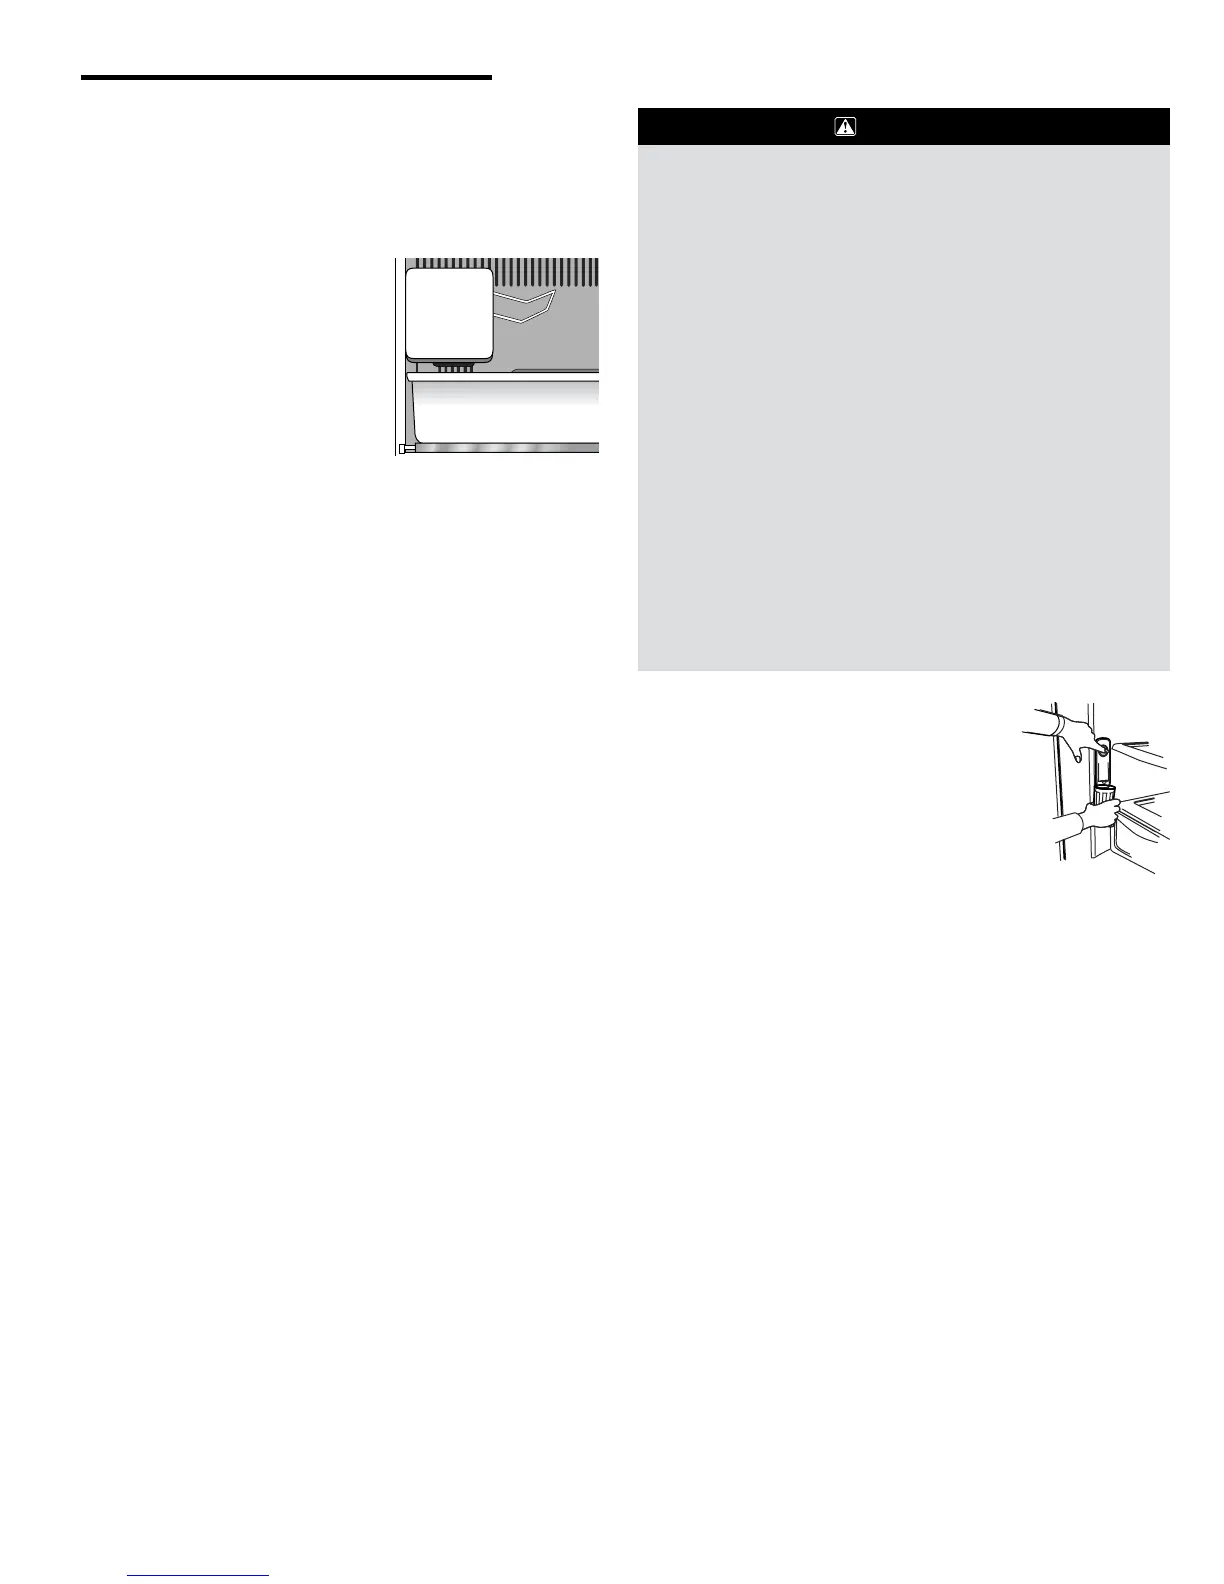
Water Dispenser
The Water Dispenser is located on the left
side wall of the fresh food section. This
design is for cold water dispensing only.
To Dispense Water:
• Holdcontainerunderspoutandpress
dispenser pad.