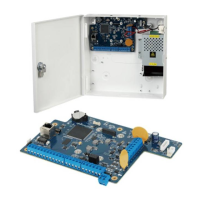
Alarm Control Panel Installer Manual
48
Press and to select the Area that you want to configure, and then press . Step 3
By pressing + 2, you can enter the EDITING mode for changing the description of Area.
Configure the settings. See Table 1-21. Step 4
Press and to alter the options. Press to confirm the setting and move to the next
submenu.
The two numeric fields 000.00 represent minutes and seconds.
Table 1-21 Areas settings
Set the entry delay 1 and entry delay 2.
During the delayed time, the alarm is not reported. When this value is set
to 0, there is no entry delay and the alarm is reported directly.
Set the exit delay time.
The alarm is not valid when it is triggered during exit delay time. When this
value is set to 0, there will be no exit delay time and the arming is operated
directly.
Set the buzzer alarm duration for each area (minutes/seconds).
Set the buzzer alarm delay duration for each area (minutes/seconds).
The area undergoing programming can be programmed to follow other
AREAS in AND mode.
If the area is in AND, it means that the programmed area can no longer be
armed or disarmed through a direct code or remote control.
For example, the protection of staircases shared by two apartments, which
arm when both areas of the two apartments are armed and disarmed
when one of the two systems disarm.
TIMER1/TIMER2/
TIMER3/TIMER4
Provides 4 timers that can be used to control the arming or disarming of
the area.
Press and or directly press the value + to alter the timer
to be set. After making the selection, press to move to the next field,
and after setting the fourth timer, press to go back to the start of the
AREAS menu. Select another area or press to exit the AREAS
menu.
The CLIENT ID is different for each area and represents the identification
used by PSTN. The alarm event links multiple areas and each area
respectively links PSTN transmission.

 Loading...