11 English
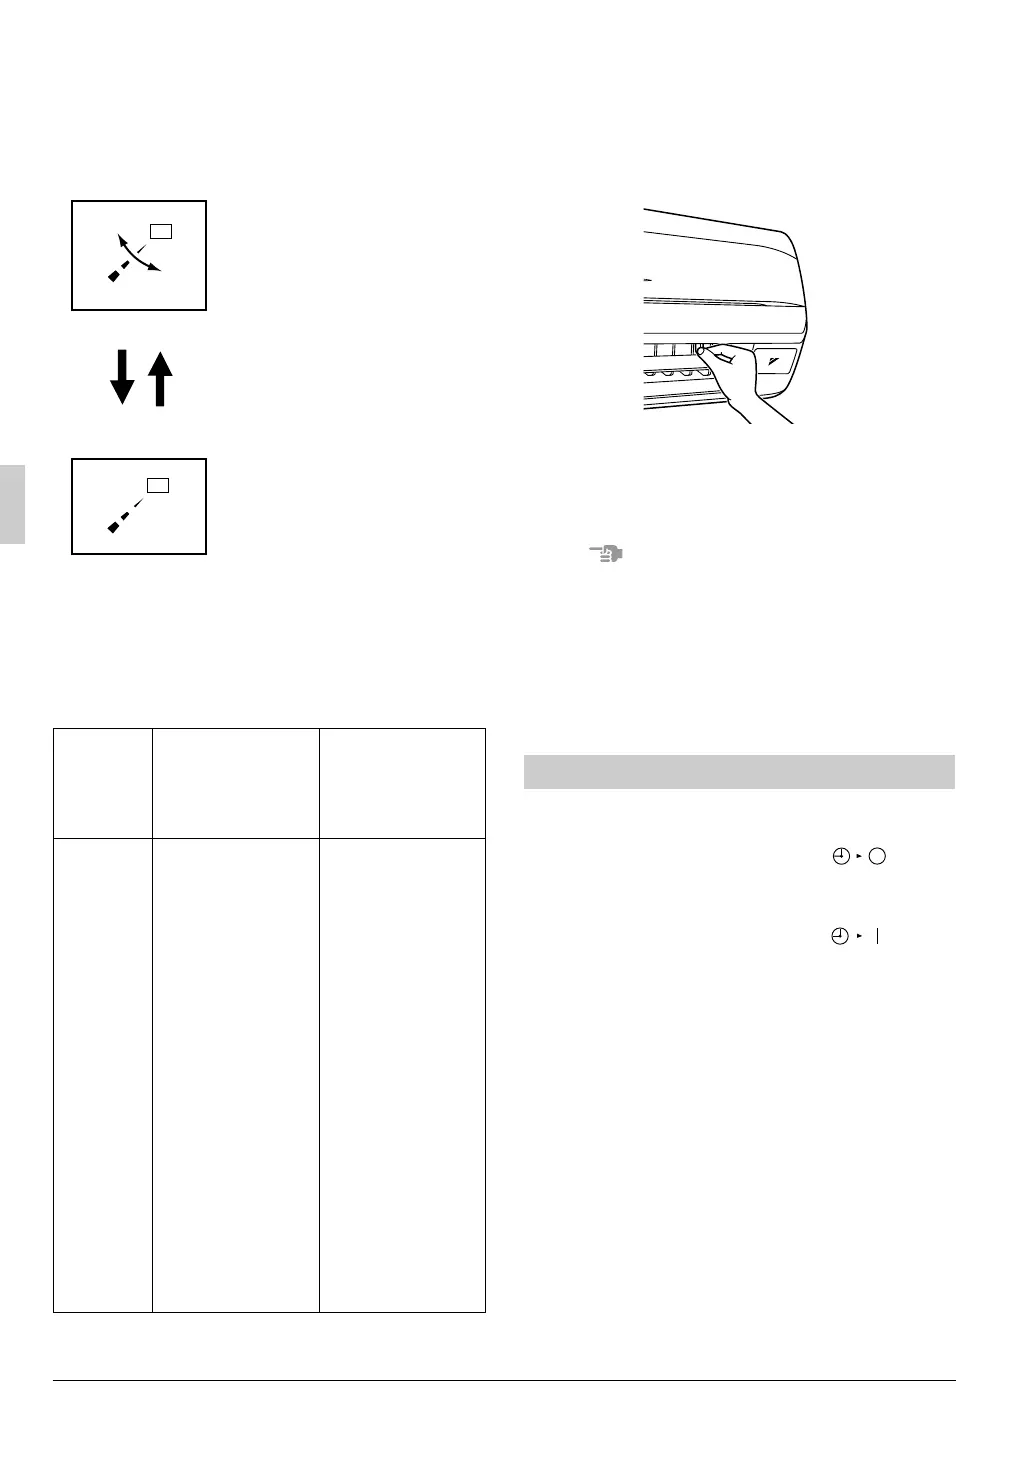
A. UP AND DOWN DIRECTION
Press the AIRFLOW DIRECTION
ADJUST BUTTON to select the air
direction as shown below.
DISPLAY appears and the
airflow direction continu-
ously varies. (Automatic
swing setting)
Press AIRFLOW DIREC-
TION ADJUST BUTTON to
select the air direction of
your choice.
DISPLAY vanishes the air-
flow direction is fixed
(Fixed airflow direction set-
ting).
MOVEMENT OF THE AIRFLOW FLAP
For the following conditions, micro computer
controls the airflow direction so it may be dif-
ferent from the display.
Operation
mode
•
COOLING
•
AUTOMATIC
COOLING
•
PROGRAM DRY
•
HEATING
•
AUTOMATIC
HEATING
Vertical
airflow
•
When operating
continuously at
downward air-
flow direction
(Air blows in the
automatically set
direction for a
period of time to
prevent conden-
sation on the air-
flow flaps.)
•
When room
temperature is
higher than the
set temperature
•
When the HEAT-
ING OPERATION
starts or during
DEFROST
OPERATION (if
frost forms on the
outdoor unit)
(The air dis-
charge direction
becomes hori-
zontal so that it
does not blow
directly toward
your body.)
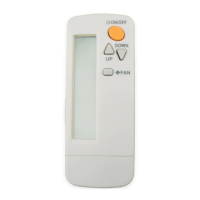
B. LEFT AND RIGHT DIRECTION
Hold the tabs on edge louvers (horizontal air-
flow direction adjustment flaps) down slightly
and adjust left and right to match the room
conditions or your preference.
Stop the horizontal flaps at a position where
you can hold the tabs and adjust it left and
right.
NOTE
• Only make adjustments after you have
stopped the airflow direction swing in a
position where adjustments are possible.
Your hand may get caught if you attempt to
make adjustments while the unit is swing-
ing.
Operate in the following order.
•
The timer is operated in the following two ways.
Programming the stop time ( )
.... The system stops operating after the
set time has elapsed.
Programming the start time ( )
.... The system starts operating after the
set time has elapsed.
• The start and the stop time can be simulta-
neously programmed.
• The timer setting is effective only once.
When using the TIMER operation every
day, the setting is required before each
use.
PROGRAM TIMER OPERATION
01_EN_3P302565-1.fm Page 11 Monday, February 13, 2012 4:09 PM