6 Electrical installation
Installation manual
16
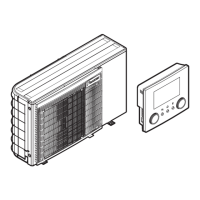
EBLA09~16DA + EDLA09~16DA
Daikin Altherma 3 M
4P620239-1 – 2020.06
a Accessories in standalone domestic hot water tank
(EKHWS*D* and EKHWSU*D*)
a1: Contactor
a2: Terminal block
b Connection kit for third‑party tank with built‑in thermostat
(EKHY3PART2)
c Flow switch (EKFLSW1)
d Demand PCB (A8P: EKRP1AHTA)
e Digital I/O PCB (A4P: EKRP1HBAA)
f Smart grid relay kit (EKRELSG)
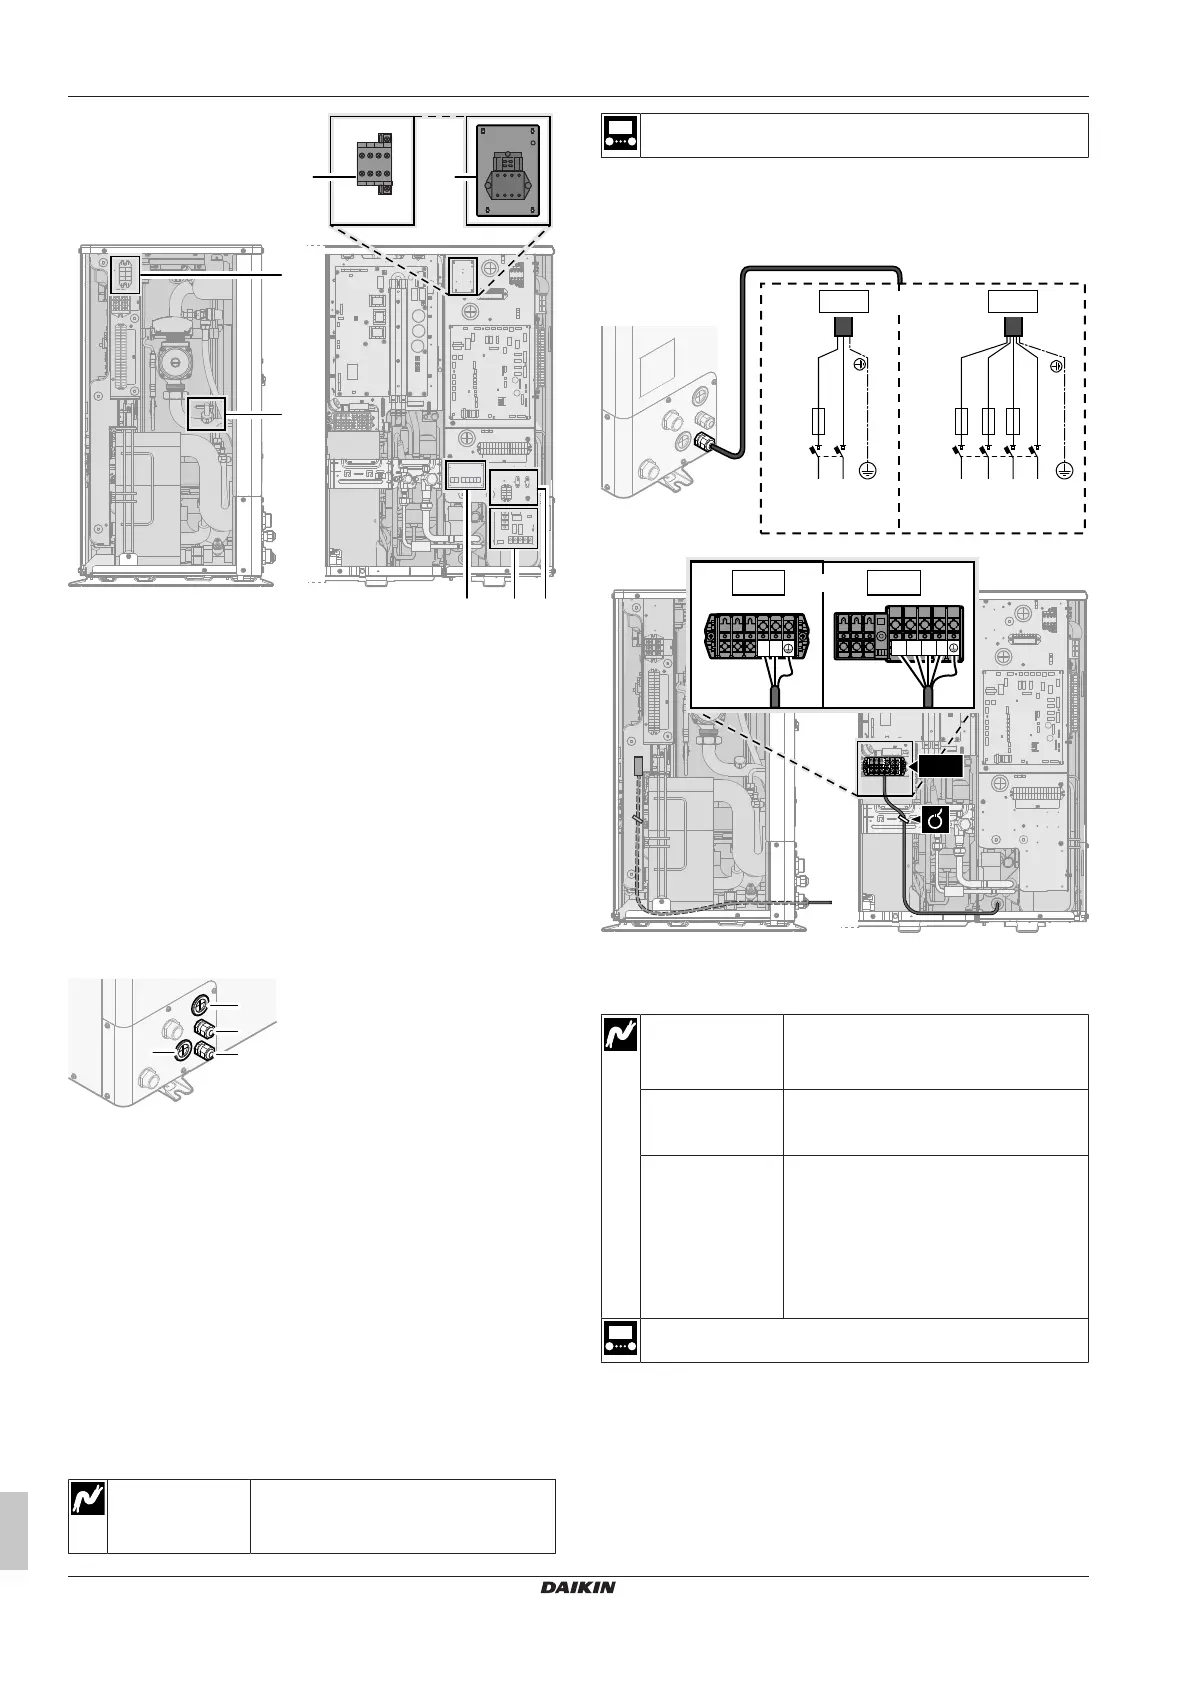
6.3.1 To connect the electrical wiring to the
outdoor unit
1 Open the service cover. See "4.3.1 To open the outdoor
unit"[410].
2 Insert the cables at the back of the unit, and route them through
the unit to the appropriate terminal blocks.
a High voltage options
b Low voltage options
c Power supply for backup heater (in case of unit with
integrated backup heater)
Wiring for backup heater kit (in case of external backup
heater kit)
d Unit power supply
3 Connect the wires to the appropriate terminals, and fix the
cables with cable ties.
6.3.2 To connect the main power supply
This topic describes 2 possible ways to connect the main power
supply:
▪ In case of normal kWh rate power supply
▪ In case of preferential kWh rate power supply
In case of normal kWh rate power supply
Normal kWh rate
power supply
Wires: 1N+GND, OR 3N+GND
Maximum running current: Refer to name
plate on unit.
—
1 Open the service cover. See "4.3.1 To open the outdoor
unit"[410].
2 Connect as follows (1N~or 3N~ depending on model, see name
plate):
NL N PE
Q1DI
X1M.L
X1M.L1
X1M.L2
X1M.L3
X1M.N
X1M.N
X1M.
X1M.
L3L2L1 N PE
Q1DI
1N~ 3N~
OR
1N~, 50 Hz,
220-240 V AC
3N~, 50 Hz,
380-415 V AC
X1M
OR
1N~ 3N~
L1 L2 L3 N
L N
3 Fix the cables with cable ties to the cable tie mountings.
In case of preferential kWh rate power supply
Preferential kWh
rate power supply
Wires: 1N+GND, OR 3N+GND
Maximum running current: Refer to name
plate on unit.
Separate normal
kWh rate power
supply
Wires: 1N
Maximum running current: 6.3A
Preferential kWh
rate power supply
contact
Wires: 2×(0.75~1.25mm²)
Maximum length: 50m.
Preferential kWh rate power supply
contact: 16VDC detection (voltage
supplied by PCB). The voltage-free
contact shall ensure the minimum
applicable load of 15VDC, 10mA.
[9.8] Benefit kWh power supply
1 Open the service cover. See "4.3.1 To open the outdoor
unit"[410].
2 Connect the preferential kWh rate power supply (1N~or 3N~
depending on model, see name plate).
 Loading...