5 Operation
Operation manual
6
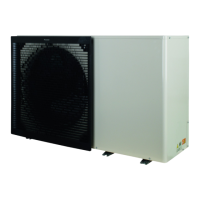
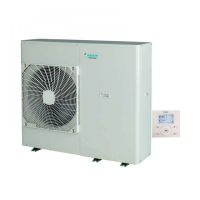
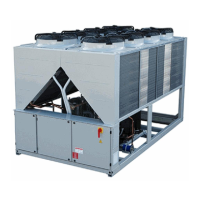
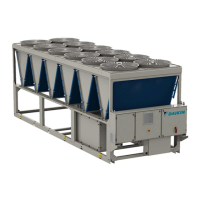
EWAA011~016DA + EWYA009~016DA
Packaged air-cooled water chillers
and packaged air to water heat pumps
4P620244-1C – 2023.11
X1, X2 Outdoor ambient temperature
Y1~Y4 Desired leaving water temperature
a WD curve before changes
b WD curve after changes
c Slope
d Offset
Possible actions on this screen
Select slope or offset.
Increase or decrease the slope/offset.
When slope is selected: set slope and go to offset.
When offset is selected: set offset.
Confirm changes and return to the submenu.
2-points curve
X1, X2 Outdoor ambient temperature
Y1, Y2 Desired leaving water temperature
Possible actions on this screen
Go through the temperatures.
Change the temperature.
Go to the next temperature.
Confirm changes and proceed.
More information
For more information, see also:
▪ "5.4Turning operation ON or OFF"[410]
▪ "5.6Space heating/cooling control"[410]
▪ "5.7Schedule screen: Example"[411]
▪ "5.8Weather-dependent curve"[413]
▪ User reference guide
5 Operation
INFORMATION
Heating is only applicable in case of reversible models.
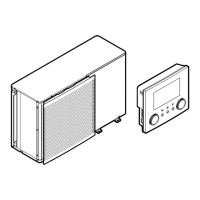
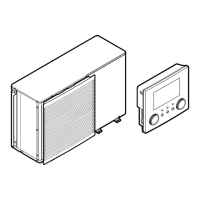
5.1 User interface: Overview
The user interface has the following components:
a Slot for WLAN cartridge
b USB connector
c LCD screen
d Dials and buttons
Slot for WLAN cartridge
With the WLAN cartridge, the installer can connect the system to the
internet. As user you can then control the system via the ONECTA
app. Note: This slot cannot be used for SD cards.
USB connector
With a USB memory stick, the installer can:
▪ Update the software. This requires a correct config file on the USB
memory stick.
▪ Import the settings generated by E-Configurator (Heating
Solutions Navigator) from the USB memory stick to the user
interface (MMI). This requires a correct config file on the USB
memory stick.
▪ Export the current settings (i.e. field settings, MMI EEPROM
settings, schedule timers) from the user interface (MMI) to the
USB memory stick.
LCD screen
The LCD screen has a sleeping function. After 15 min of non-
interaction with the user interface, the screen darkens. Pressing any
button or rotating any dial awakens the display.
Dials and buttons
You use the dials and buttons:
▪ To navigate through the screens, menus and settings of the LCD
screen
▪ To set values
Item Description
a Left dial The LCD shows an arc on the left side of the
display when you can use the left dial.
▪ : Turn, then press the left dial. Navigate
through the menu structure.
▪ : Turn the left dial. Choose a menu item.
▪ : Press the left dial. Confirm your choice
or go to a submenu.
b Back button : Press to go back 1 step in the menu structure.
c Home
button
: Press to go back to the home screen.
d Help button : Press to show a help text related to the current
page (if available).
e Right dial The LCD shows an arc on the right side of the
display when you can use the right dial.
▪ : Turn, then press the right dial. Change
a value or setting, shown at the right side of the
screen.
▪ : Turn the right dial. Navigate through
the possible values and settings.
▪ : Press the right dial. Confirm your
choice and go to the next menu item.
 Loading...